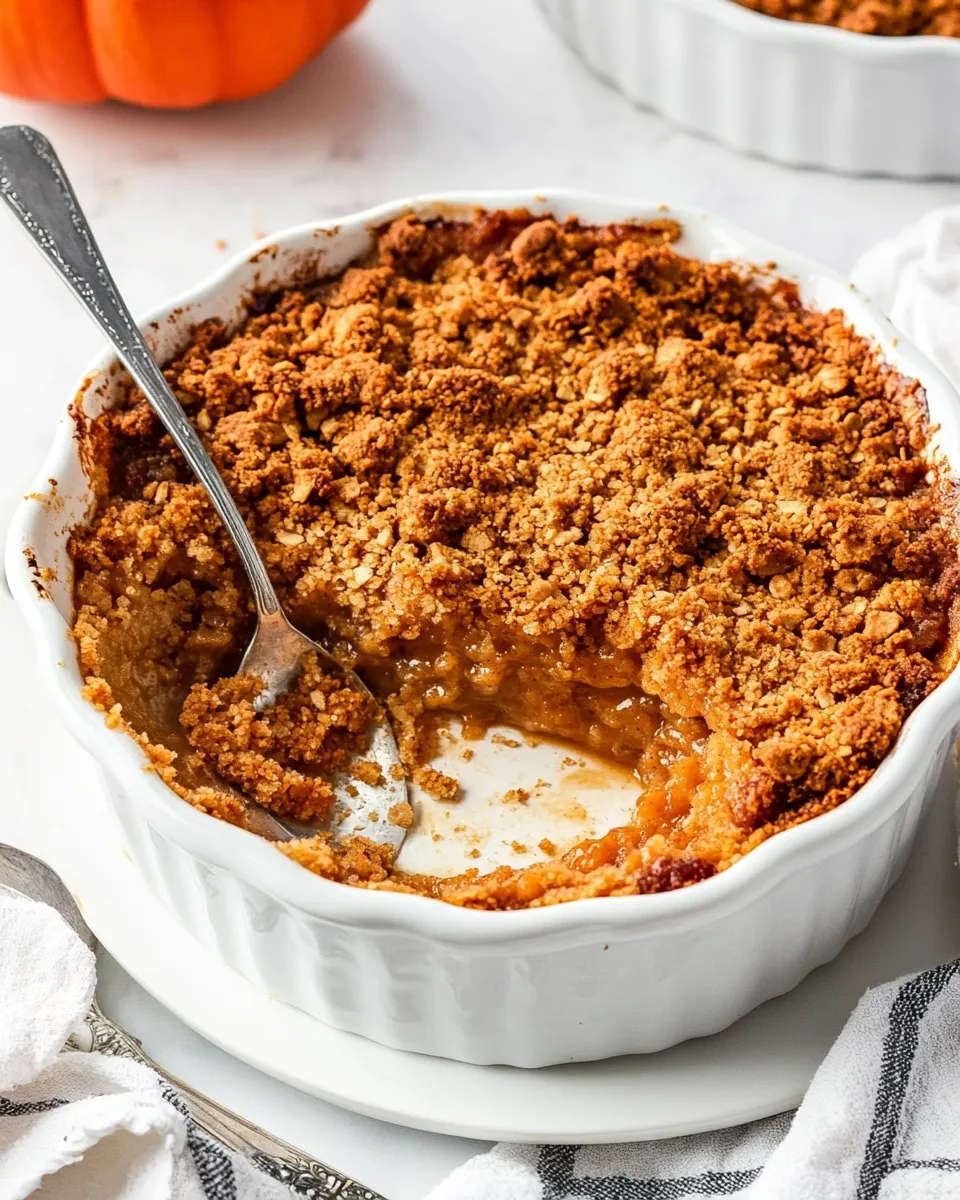
Fall is here, and with it comes the warm, comforting aroma of pumpkin spice wafting through the kitchen. There’s something truly special about a dessert that embodies the essence of autumn, and this Pumpkin Crisp Recipe is just that. With layers of spiced pumpkin filling and a buttery, crumbly topping, it’s a deliciously indulgent treat perfect for cozy gatherings or a quiet night in. This easy-to-make dessert will have your friends and family asking for seconds, and you’ll love how simple it is to whip up.
Why This Pumpkin Crisp Recipe Stands Out
There are countless pumpkin desserts out there, but this Pumpkin Crisp Recipe stands out for several reasons. Firstly, it captures the rich and velvety flavor of pumpkin puree, which serves as the star ingredient. The addition of sweetened condensed milk lends a delightful creaminess that elevates the dish to new heights. Secondly, the spiced topping is perfectly balanced, offering a satisfying crunch that complements the smooth filling. Lastly, this recipe is incredibly versatile and can easily be adapted to suit your preferences. Whether you enjoy it warm with a scoop of ice cream or chilled, this dessert is sure to please.
Your Shopping Guide
Before diving into the kitchen, here’s a detailed shopping list to ensure you have everything you need for the Pumpkin Crisp Recipe:
- 15-ounce can pumpkin puree: Look for 100% pure pumpkin, not pumpkin pie filling.
- 14-ounce can sweetened condensed milk: This will add a rich sweetness and creamy texture.
- 2 large eggs: Eggs help set the pumpkin filling.
- Salt: A key ingredient to enhance the flavors—make sure you have it on hand!
- Pumpkin pie spice: A blend of warm spices that brings the flavors of fall into your dessert.
- 1 cup packed brown sugar: This adds a deep, caramel-like sweetness.
- 2 cups all-purpose flour: Essential for the crispy topping.
- Cinnamon: A warm spice that complements the pumpkin beautifully.
- Unsalted butter: For that rich, buttery flavor in the topping.
What You’ll Need (Gear)
Gathering the right tools will make your cooking experience smoother. Here’s what you’ll need:
- Mixing bowls: For combining your ingredients.
- Whisk: To blend the eggs and other filling components.
- 9×13-inch baking dish: The perfect size for this Pumpkin Crisp Recipe.
- Spatula: For spreading the filling and topping evenly.
- Measuring cups and spoons: To ensure you get the right quantities.
- Oven mitts: Safety first when handling hot dishes!
Cooking Pumpkin Crisp Recipe: The Process
Now that you have your ingredients and gear ready, let’s dive into the cooking process. Follow these simple steps to create a delicious Pumpkin Crisp.
Step 1: Preheat Your Oven
Begin by preheating your oven to 350°F (175°C). This ensures that your Pumpkin Crisp will bake evenly.
Step 2: Prepare the Pumpkin Filling
In a large mixing bowl, combine the 15-ounce can of pumpkin puree, 14-ounce can of sweetened condensed milk, 2 large eggs, 1 teaspoon of salt, and 2 teaspoons of pumpkin pie spice. Whisk the mixture until it is smooth and well combined.
Step 3: Pour the Filling into the Baking Dish
Grease your 9×13-inch baking dish lightly with non-stick spray or butter. Pour the pumpkin filling into the dish, spreading it evenly.
Step 4: Make the Crispy Topping
In another bowl, combine 1 cup of packed brown sugar, 2 cups of all-purpose flour, 1 teaspoon of salt, 1 teaspoon of cinnamon, and 1 teaspoon of pumpkin pie spice. Mix these dry ingredients together before pouring in 12 tablespoons of melted unsalted butter. Stir until the mixture is crumbly.
Step 5: Add the Topping
Sprinkle the crumbly topping evenly over the pumpkin filling in the baking dish. Don’t worry about making it perfect; a rustic look adds to the charm!
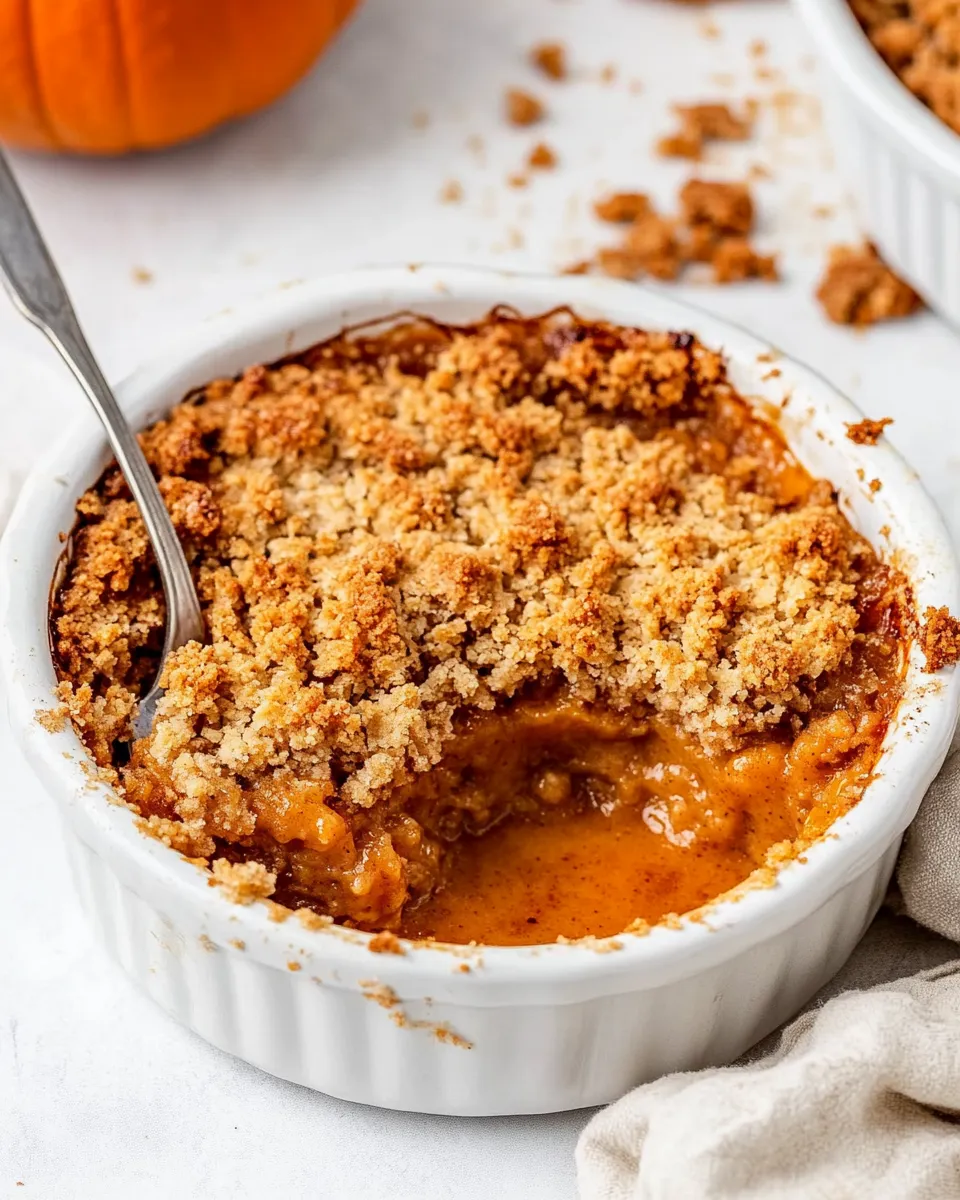
Step 6: Bake the Crisp
Bake your Pumpkin Crisp in the preheated oven for about 40-45 minutes, or until the topping is golden brown and the filling is set. You can check for doneness by inserting a toothpick into the center; it should come out clean.
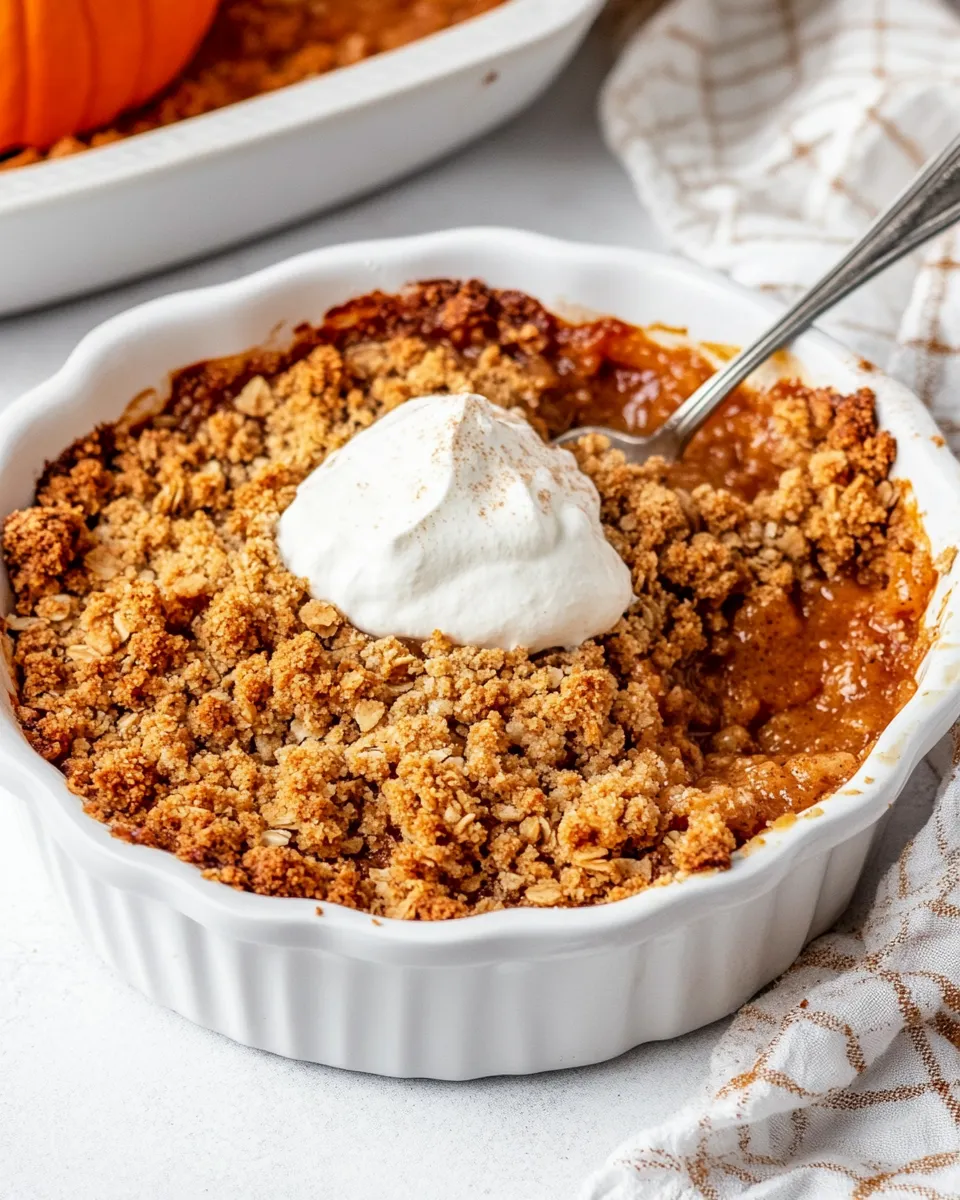
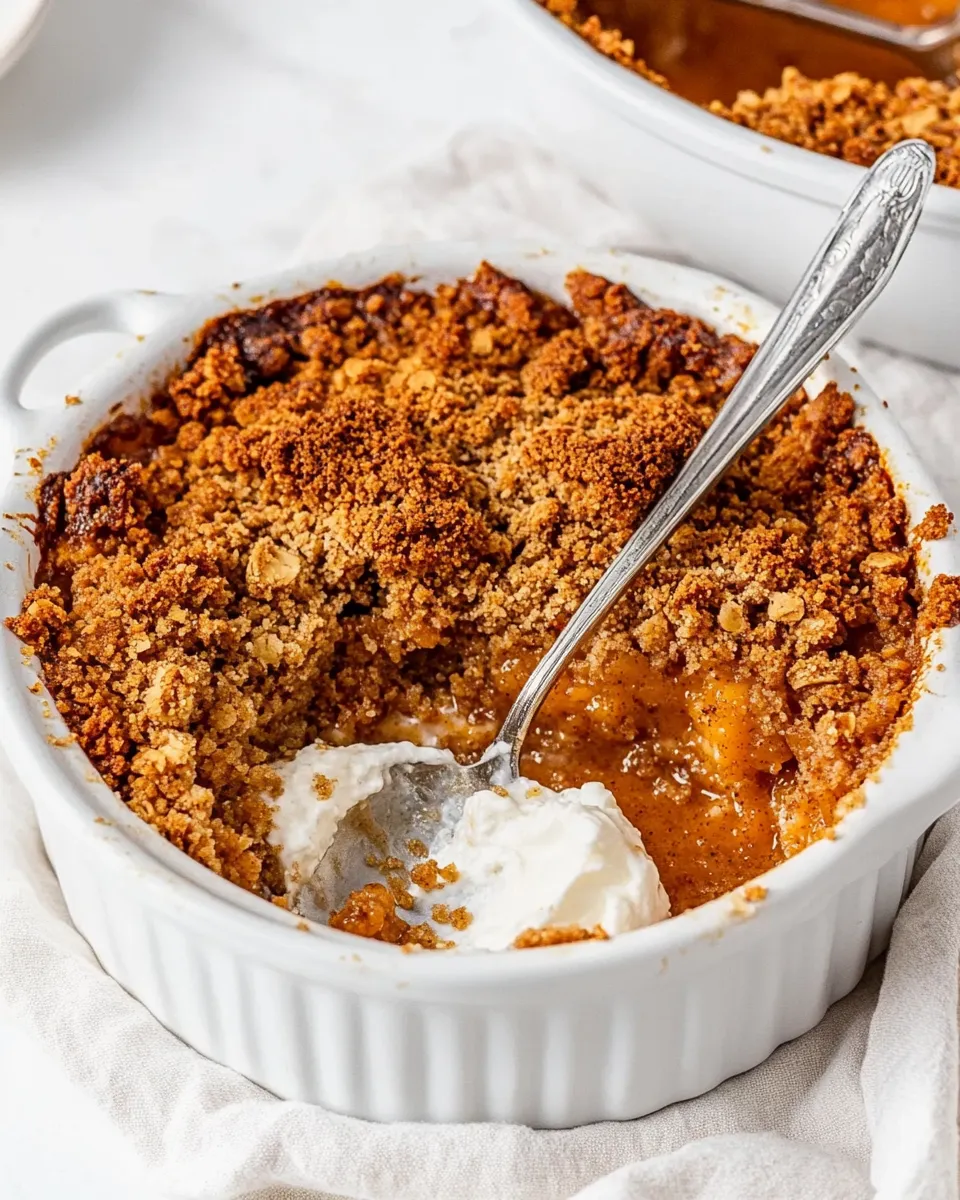
Step 7: Cool and Serve
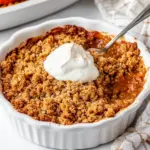
Once baked, allow the Pumpkin Crisp to cool for at least 15 minutes before serving. This will help the flavors meld together beautifully. Serve warm with a dollop of whipped cream or a scoop of your favorite ice cream!
Make It Your Way
This Pumpkin Crisp Recipe is wonderfully adaptable. Here are some ways to customize it to your liking:
- Add chopped nuts, such as pecans or walnuts, to the topping for added crunch.
- Incorporate chocolate chips into the pumpkin filling for a decadent twist.
- Use a gluten-free flour blend if you need a gluten-free option.
- Experiment with different spices, such as nutmeg or ginger, for a unique flavor profile.
Author’s Commentary
As a passionate baker, I believe that dessert should be an experience that brings joy to your taste buds. This Pumpkin Crisp Recipe does just that! Every bite is a delightful balance of creamy pumpkin and crunchy topping, making it a fall favorite. I love serving this dish at family gatherings; it always sparks joy and reminds us of the beauty of the season. Plus, it’s incredibly easy to whip up, allowing me to spend more time with loved ones and less time in the kitchen.
Storing, Freezing & Reheating
To store any leftovers, simply cover the Pumpkin Crisp with plastic wrap or aluminum foil and place it in the refrigerator. It will stay fresh for up to 3 days. If you want to enjoy it later, you can freeze the crisp for up to 2 months. Just be sure to wrap it tightly before freezing. To reheat, place individual portions in the microwave for about 30 seconds or until warmed through. You can also reheat the entire dish in the oven at 350°F (175°C) for about 15-20 minutes.
Your Questions, Answered
Can I use fresh pumpkin instead of canned pumpkin puree?
Yes! If you prefer to use fresh pumpkin, make sure to roast and puree it until smooth. You will need about 2 cups of fresh pumpkin puree for this recipe.
Is it possible to make this Pumpkin Crisp Recipe vegan?
Absolutely! You can substitute the eggs with flax eggs (1 tablespoon of ground flaxseed mixed with 2.5 tablespoons of water for each egg) and replace the sweetened condensed milk with a vegan alternative, such as coconut milk or a homemade version.
Can I make this Pumpkin Crisp ahead of time?
Yes! You can prepare the filling and topping separately and store them in the refrigerator for up to 24 hours. When you’re ready to bake, simply assemble and pop it in the oven.
What can I serve with Pumpkin Crisp?
This dessert is delicious on its own but pairs wonderfully with whipped cream, ice cream, or a drizzle of caramel sauce for an extra special treat.
Let’s Eat
This Pumpkin Crisp Recipe is an essential addition to your fall baking repertoire. It embodies the flavors of the season while being incredibly easy to prepare. Whether enjoyed at a family gathering or as a cozy evening treat, this dessert will surely bring warmth and happiness to your table. So roll up your sleeves, gather your ingredients, and let the delightful baking begin!
Pumpkin Crisp Recipe
Ingredients
For the Filling:
- 1 15-ounce can pumpkin puree 100% pure, not pie filling
- 1 14-ounce can sweetened condensed milk
- 2 large eggs
- 1 teaspoon salt
- 2 teaspoons pumpkin pie spice
For the Crispy Topping:
- 1 cup packed brown sugar
- 2 cups all-purpose flour
- 1 teaspoon salt
- 1 teaspoon cinnamon
- 1 teaspoon pumpkin pie spice
- 12 tablespoons unsalted butter melted
Instructions
- Step 1: Preheat your oven to 350°F (175°C).
- Step 2: In a large mixing bowl, combine the pumpkin puree, sweetened condensed milk, eggs, salt, and pumpkin pie spice. Whisk until smooth.
- Step 3: Grease a 9x13-inch baking dish and pour the pumpkin filling into it, spreading evenly.
- Step 4: In another bowl, mix the brown sugar, flour, salt, cinnamon, and pumpkin pie spice. Stir in the melted butter until crumbly.
- Step 5: Sprinkle the topping evenly over the pumpkin filling.
- Step 6: Bake for 40-45 minutes until the topping is golden brown and the filling is set.
- Step 7: Allow to cool for 15 minutes before serving. Enjoy warm with whipped cream or ice cream!
Equipment
- Mixing Bowls
- Whisk
- 9x13 inch Baking Dish
- Spatula
- Measuring cups and spoons
- Oven mitts
Notes
- Store leftovers covered in the refrigerator for up to 3 days.
- Freeze for up to 2 months, tightly wrapped.
- Reheat individual portions in the microwave for 30 seconds or the whole dish in the oven for 15-20 minutes.