
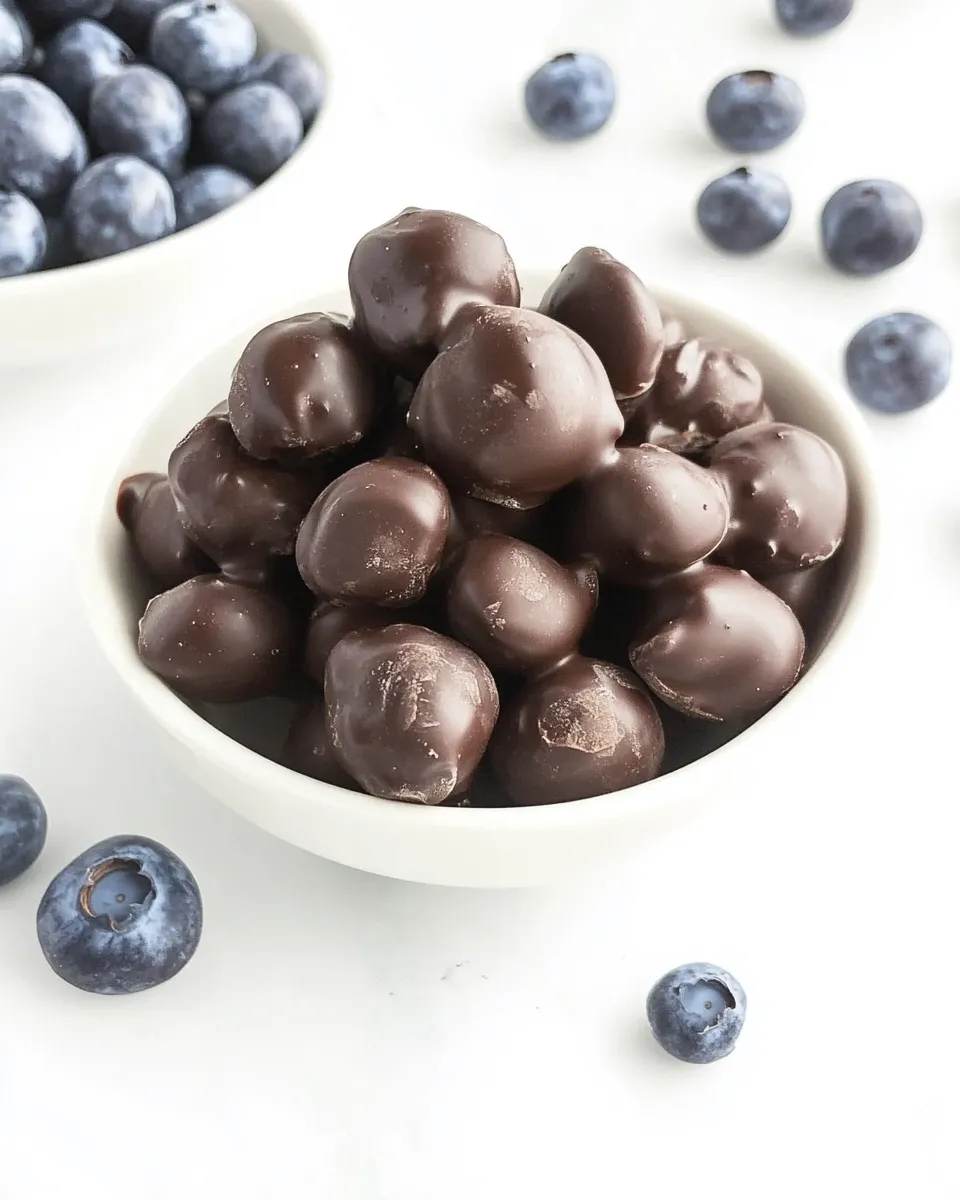
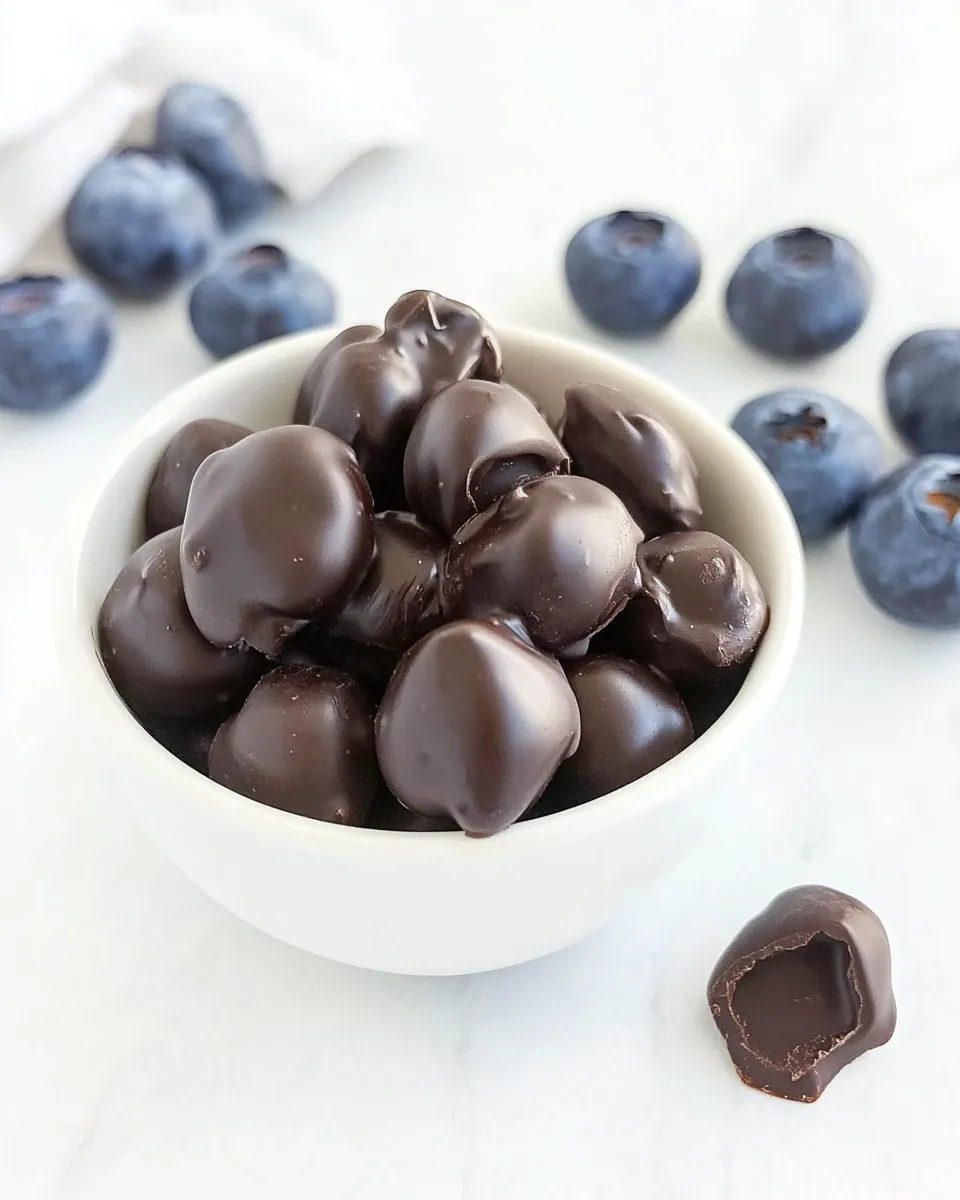
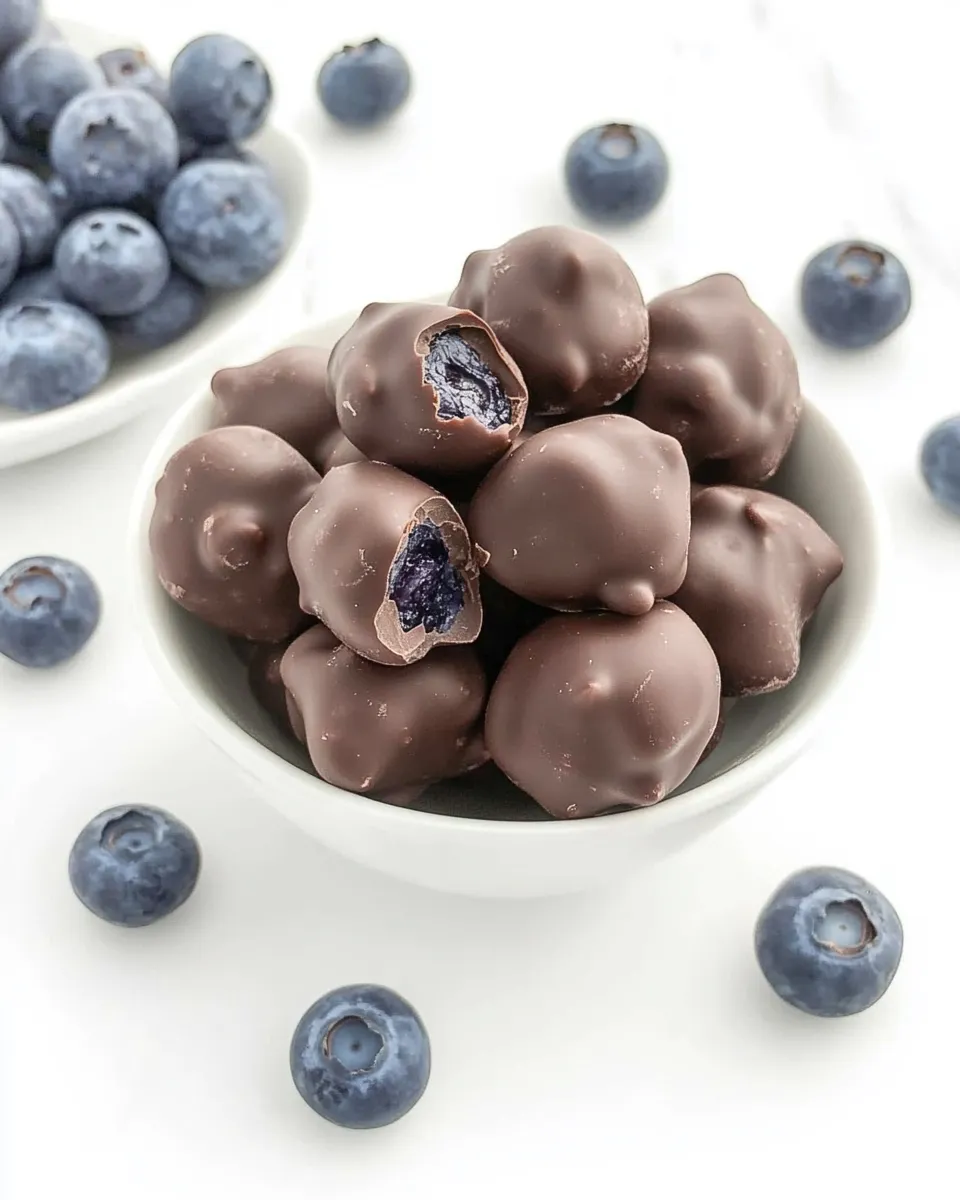
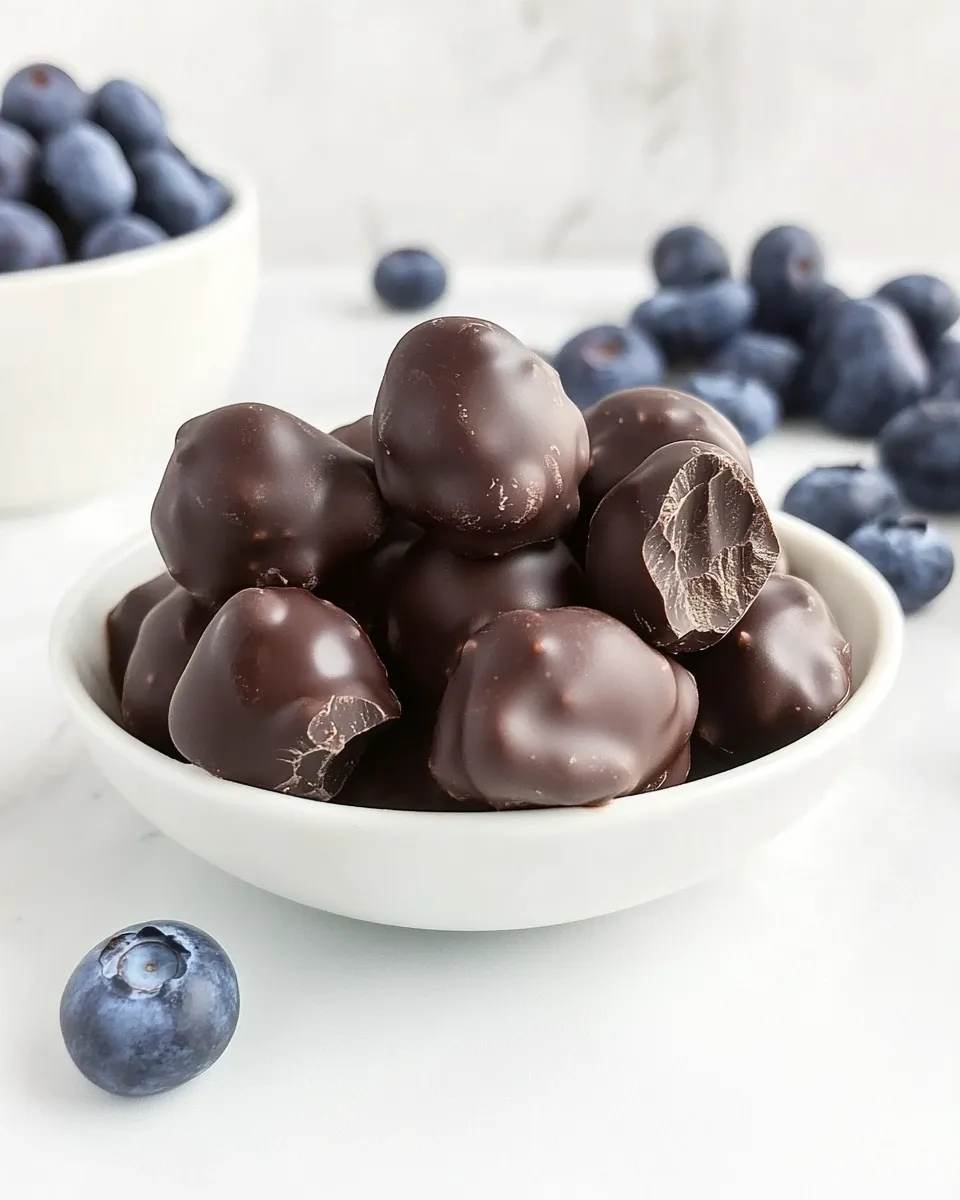
If you’re looking for a delightful treat that combines the richness of chocolate with the burst of juicy blueberries, then you’ve stumbled upon the perfect recipe. Chocolate Covered Blueberries are not only a delicious snack but also a healthy one, perfect for satisfying your sweet tooth without the guilt. Imagine biting into a plump blueberry, surrounded by a luscious layer of dark chocolate. Trust me; it’s a match made in dessert heaven!
Whether you’re preparing for a party, looking for a healthy snack, or simply wanting to indulge, this recipe is easy to make and even easier to love. Let’s dive into this sweet adventure!
What You’ll Love About This Recipe
- Simple Ingredients: Just three main ingredients and you’re set!
- Healthier Alternative: These treats are a healthier alternative to traditional candies.
- Perfect for Any Occasion: They make a great snack for parties, picnics, or just a cozy night in.
- Customizable: Feel free to add your favorite toppings to make them your own!
- Quick to Make: Ready in under 30 minutes, including chilling time.
Your Shopping Guide
- Dark Chocolate: 3.5 oz of dark chocolate (100g) or a generous ½ cup of dark or sugar-free chocolate chips. I recommend using 90% Lindt for an intense chocolate flavor.
- Coconut Oil: 1 teaspoon to help the chocolate melt smoothly and add a touch of richness.
- Blueberries: ¾ cup of fresh blueberries (120g) or frozen blueberries if fresh are unavailable.
Must-Have Equipment
- Microwave-Safe Bowl: For melting the chocolate effortlessly.
- Fork or Toothpick: To dip the blueberries into the chocolate.
- Parchment Paper: For easy cleanup and to prevent sticking.
- Small Baking Sheet: To place the chocolate-covered blueberries while they cool.
Chocolate Covered Blueberries: From Prep to Plate
Step 1: Prepare Your Ingredients
Start by gathering all your ingredients. If you’re using frozen blueberries, make sure to let them thaw and drain excess moisture.
Step 2: Melt the Chocolate
In a microwave-safe bowl, combine the dark chocolate and coconut oil. Microwave in 30-second intervals, stirring in between, until the chocolate is completely melted and smooth. Be careful not to overheat.
Step 3: Dip the Blueberries
Using a fork or toothpick, dip each blueberry into the melted chocolate, ensuring it’s fully coated. Let the excess chocolate drip off before placing the blueberry on the parchment paper.
Step 4: Chill
Once all the blueberries are dipped, place the baking sheet in the fridge for about 15-20 minutes or until the chocolate is firm.
Step 5: Serve and Enjoy!
After chilling, your Chocolate Covered Blueberries are ready to be enjoyed. Serve them as a snack or dessert, and watch them disappear in no time!
In-Season Swaps
- Fresh Strawberries: Swap blueberries for fresh strawberries for a classic chocolate-dipped treat.
- Frozen Raspberries: Use frozen raspberries for a tart twist.
- Other Berries: Try blackberries or cherries for a different flavor profile.
- Nut or Seed Toppings: Add crushed nuts or seeds on top before the chocolate sets for added texture.
What Not to Do
- Don’t overcrowd the baking sheet; leave space between each blueberry to prevent them from sticking together.
- Avoid using water in the melting process; it can cause the chocolate to seize up.
- Don’t skip the chilling step; it’s essential for the chocolate to firm up properly.
- Do not use flavored chocolate melts; they may alter the taste of your Chocolate Covered Blueberries.
Store, Freeze & Reheat
To store your Chocolate Covered Blueberries, keep them in an airtight container in the refrigerator. They will stay fresh for up to a week. If you want to enjoy them later, you can freeze them! Just layer them between parchment paper in a freezer-safe container. They can last up to three months in the freezer. When you’re ready to enjoy, simply take them out and let them thaw at room temperature.
Top Questions & Answers
Can I use milk chocolate instead of dark chocolate?
Yes, feel free to use milk chocolate if you prefer a sweeter taste, but the health benefits of dark chocolate will be reduced.
Can I make these vegan?
Yes! Just ensure you use vegan chocolate chips and coconut oil, which are both plant-based.
How can I make these sugar-free?
You can use sugar-free chocolate chips to create a version that fits your dietary needs without sacrificing flavor.
Can I use dried blueberries instead of fresh?
While you can use dried blueberries, the texture will be different, and they won’t provide the same refreshing burst as fresh or frozen blueberries.
Time to Try It
Now that you have the complete guide to making Chocolate Covered Blueberries, it’s time to gather your ingredients and get started. This treat is not only a feast for the eyes but also for the taste buds.
Get ready to enjoy a delightful balance of sweet and tart, wrapped in a velvety chocolate coating. Whether for yourself or shared with friends, these Chocolate Covered Blueberries are sure to impress. So roll up your sleeves, and let’s whip up this quick and easy snack. Happy indulging!
Chocolate Covered Blueberries
Ingredients
For the Chocolate Covered Blueberries:
- 3.5 oz Dark Chocolate or ½ cup chocolate chips
- 1 teaspoon Coconut Oil
- ¾ cup Fresh Blueberries (or frozen if unavailable)
Instructions
Directions
- Step 1: Prepare Your Ingredients - Gather all ingredients. If using frozen blueberries, thaw and drain.
- Step 2: Melt the Chocolate - Combine dark chocolate and coconut oil in a microwave-safe bowl. Microwave in 30-second intervals, stirring until melted and smooth.
- Step 3: Dip the Blueberries - Use a fork or toothpick to dip each blueberry into the melted chocolate, letting excess drip off before placing on parchment paper.
- Step 4: Chill - Place the baking sheet in the fridge for about 15-20 minutes or until chocolate is firm.
- Step 5: Serve and Enjoy! - After chilling, serve as a snack or dessert.
Equipment
- Microwave-Safe Bowl
- Fork or Toothpick
- Parchment Paper
- Small Baking Sheet
Notes
- Store in an airtight container in the refrigerator for up to a week.
- Freeze for up to three months, layering between parchment paper.
- For a twist, try using other berries like strawberries or raspberries.


