
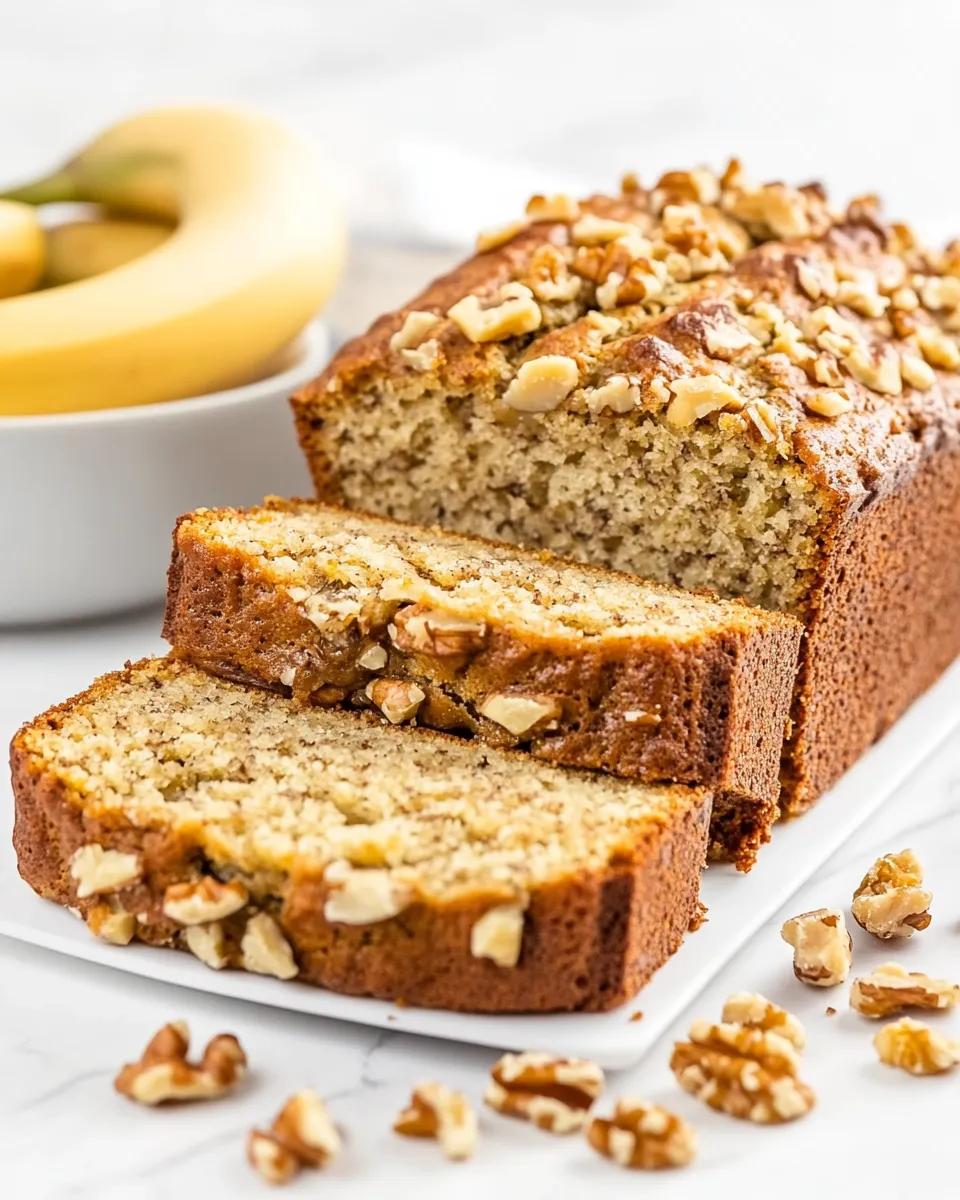
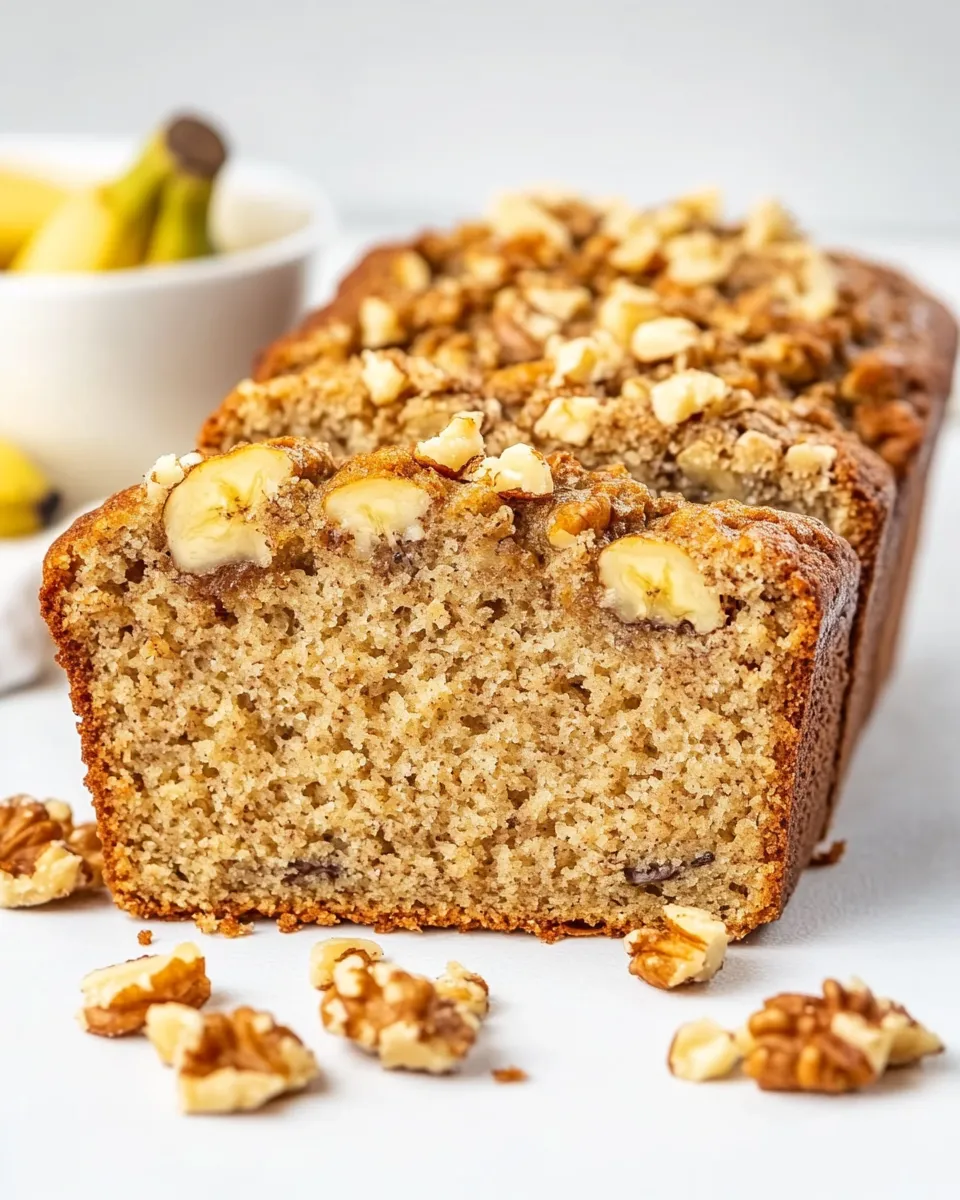
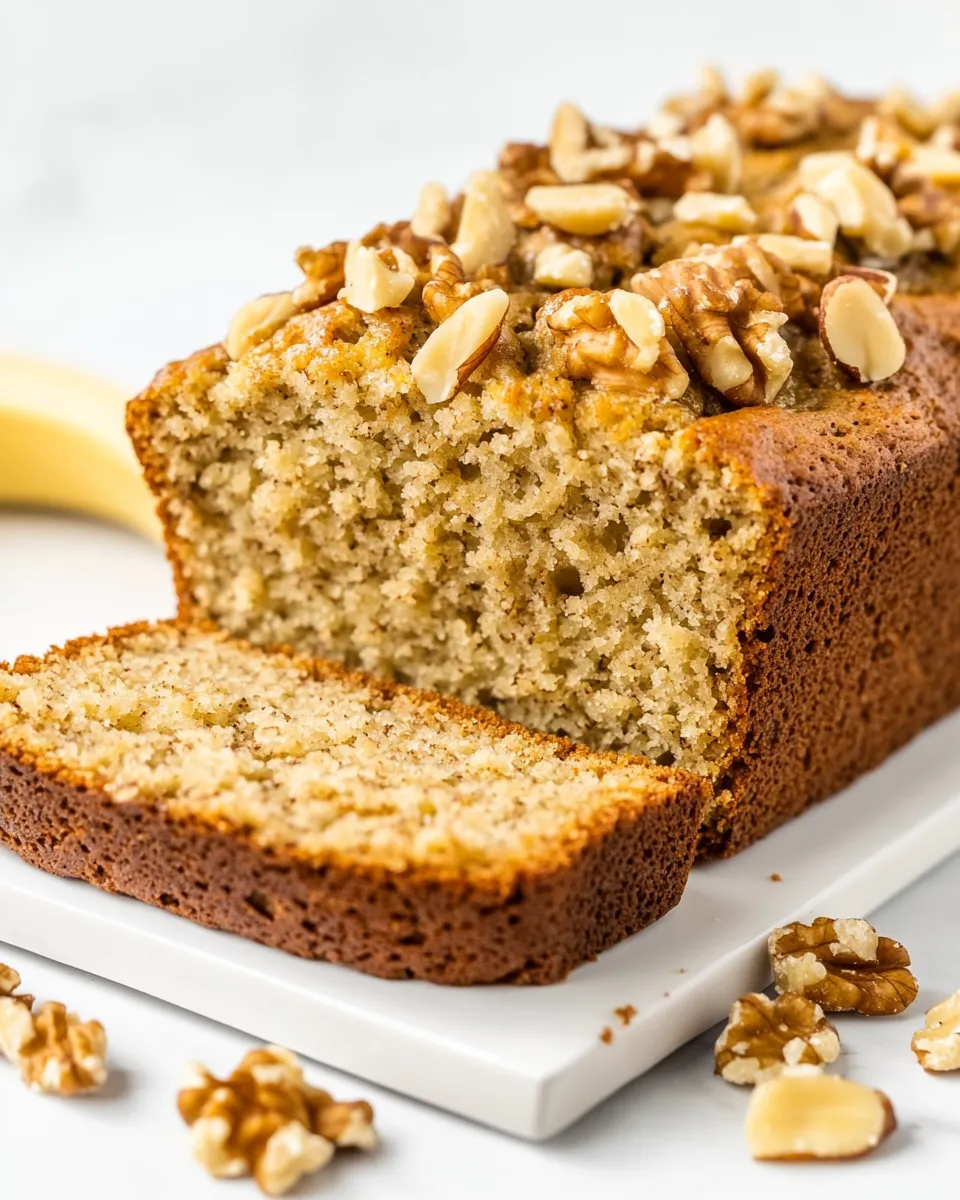
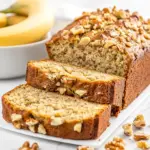
There’s something utterly comforting about a warm slice of banana nut bread. It’s a classic treat that combines the sweetness of ripe bananas with the crunch of walnuts, creating a delightful texture and flavor profile. This recipe for The BEST Banana Nut Bread is not only easy to make, but it also fills your kitchen with intoxicating aromas that will have everyone asking for more. Let’s dive into what makes this banana nut bread stand out among the rest.
Why The BEST Banana Nut Bread is Worth Your Time
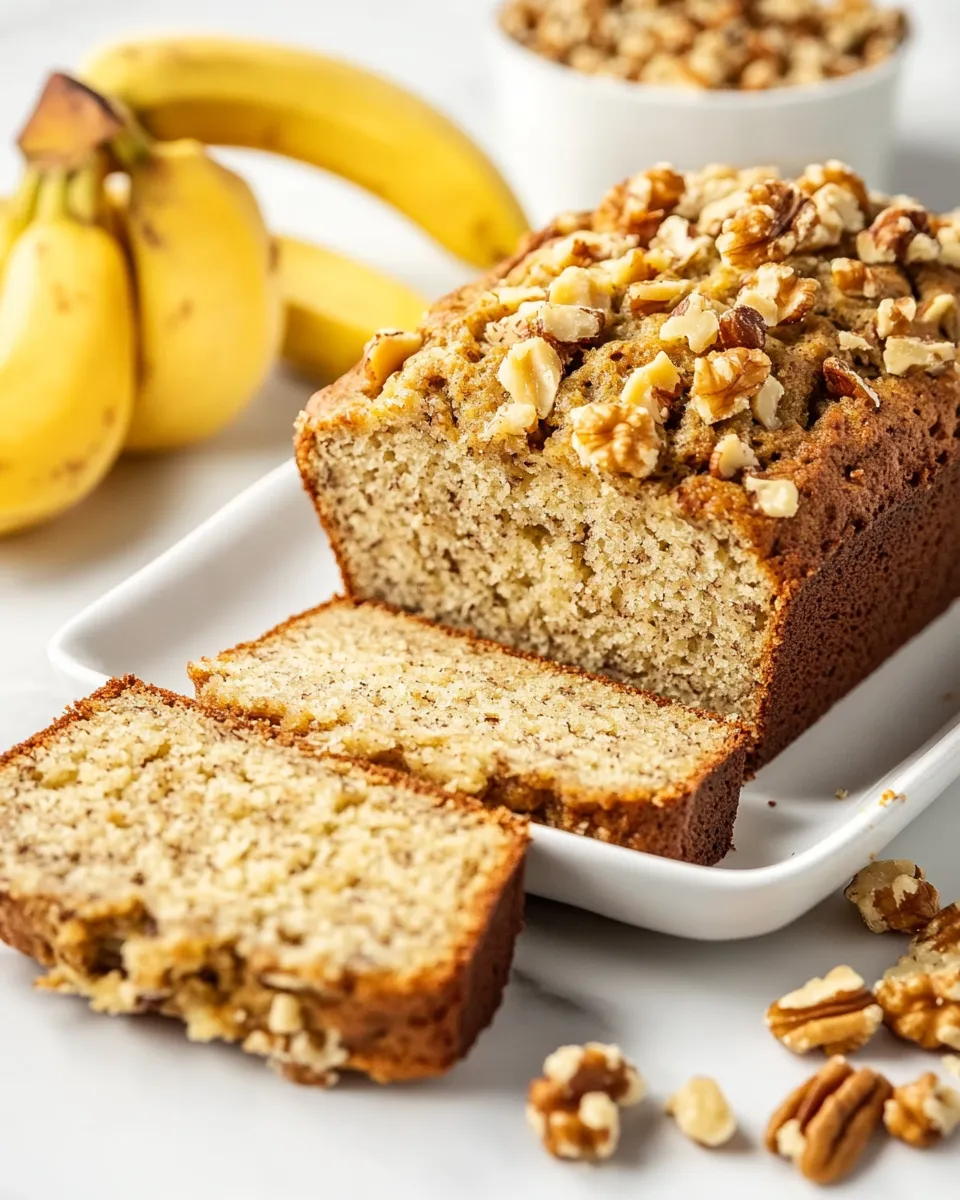
Banana nut bread is more than just a simple quick bread; it’s a nostalgic treat that can evoke memories of cozy mornings and family gatherings. The BEST Banana Nut Bread is moist, flavorful, and packed with wholesome ingredients. It’s perfect for breakfast, a snack, or even dessert. Plus, it’s a great way to use up those overripe bananas sitting on your counter. Trust me, once you try this recipe, you’ll want to make it again and again!
What’s in the Bowl
To make The BEST Banana Nut Bread, gather the following ingredients:
- 1/4 cup salted butter, softened – Adds richness and flavor.
- 1/4 cup canola oil – Keeps the bread moist and tender.
- 1 cup granulated sugar – Sweetens the bread perfectly.
- 2 whole very ripe bananas, mashed – The star ingredient that brings natural sweetness.
- 2 large eggs, at room temperature – Provides structure and moisture.
- 1 teaspoon pure vanilla extract – Enhances the flavor.
- 1 1/2 cups all-purpose flour – The base of the bread.
- 1 teaspoon baking powder – Helps the bread rise.
- 1/2 teaspoon salt – Balances the sweetness.
- 1/4 cup buttermilk – Adds tanginess and moisture.
- 3/4 cup walnuts, chopped – Adds crunch and a nutty flavor.
Must-Have Equipment
Before you start baking, make sure you have the following equipment:
- Mixing bowls – For combining ingredients.
- Measuring cups and spoons – Accurate measurements are key to success.
- Rubber spatula – For mixing and scraping down the sides of bowls.
- 9×5 inch loaf pan – The perfect size for baking your bread.
- Oven – To bake your delicious creation.
- Cooling rack – To cool the bread evenly after baking.
Method: The BEST Banana Nut Bread
Now that you have everything ready, let’s get started with the step-by-step process of making The BEST Banana Nut Bread.
Step 1: Preheat the Oven
Begin by preheating your oven to 350°F (175°C). This step is crucial as it ensures that your bread bakes evenly.
Step 2: Prepare the Loaf Pan
Grease your 9×5 inch loaf pan with a little butter or cooking spray. This will help prevent the bread from sticking.
Step 3: Mix the Wet Ingredients
In a large mixing bowl, cream together the softened butter, canola oil, and granulated sugar until light and fluffy. This should take about 2-3 minutes. Next, add in the mashed bananas, eggs, and vanilla extract. Mix until well combined.
Step 4: Combine the Dry Ingredients
In another bowl, whisk together the all-purpose flour, baking powder, and salt. This ensures that the leavening agent is evenly distributed throughout the flour.
Step 5: Combine Wet and Dry Ingredients
Slowly add the dry ingredients to the wet mixture, alternating with the buttermilk. Begin and end with the dry ingredients. Mix until just combined; be careful not to overmix! Finally, fold in the chopped walnuts.
Step 6: Pour into the Loaf Pan
Pour the batter into the prepared loaf pan, smoothing the top with a spatula if needed.
Step 7: Bake
Bake in the preheated oven for about 60-70 minutes, or until a toothpick inserted into the center comes out clean. If the top browns too quickly, cover it loosely with aluminum foil.
Step 8: Cool and Enjoy
Once baked, remove the loaf from the oven and let it sit in the pan for about 10 minutes. Then, transfer to a cooling rack to cool completely. Slice and enjoy your delicious banana nut bread warm or at room temperature!
Spring–Summer–Fall–Winter Ideas
This banana nut bread is versatile and can be enjoyed year-round. Here are some ideas for variations:
- Add chocolate chips for a sweet twist.
- Incorporate dried fruits like cranberries or apricots for extra flavor.
- Experiment with different nuts, such as pecans or hazelnuts.
- Top with a cream cheese glaze for a decadent dessert.
Pitfalls & How to Prevent Them
Making banana nut bread is straightforward, but there are a few common pitfalls to watch out for:
- Overmixing: This can lead to a dense bread. Mix just until combined.
- Using unripe bananas: Unripe bananas won’t provide the sweetness needed. Always use very ripe bananas.
- Not measuring ingredients correctly: Baking is a science, so use proper measuring tools for accuracy.
- Skipping the cooling step: Letting the bread cool allows it to set properly, making it easier to slice.
Keep It Fresh: Storage Guide
To enjoy The BEST Banana Nut Bread at its finest, consider the following storage tips:
Once cooled, wrap the banana nut bread in plastic wrap or aluminum foil. It can be stored at room temperature for up to 3 days. For longer storage, place it in an airtight container and refrigerate for up to a week. You can also freeze slices for up to 3 months. Just make sure to wrap them well!
Quick Questions
Can I use frozen bananas for this recipe?
Yes! Just thaw the bananas and drain any excess liquid before mashing.
Can I substitute the walnuts with another nut?
Absolutely! Feel free to use pecans or even omit the nuts entirely if you prefer.
What if I don’t have buttermilk?
You can make a quick substitute by adding 1 teaspoon of vinegar or lemon juice to 1/4 cup of milk. Let it sit for 5 minutes before using.
Can I add spices like cinnamon or nutmeg?
Yes, a teaspoon of cinnamon or a pinch of nutmeg would be a delightful addition!
Looking for more delicious recipes? Check out these links for inspiration:
Final Thoughts
The BEST Banana Nut Bread is a timeless recipe that brings warmth and joy to any occasion. With its perfect balance of sweetness and nuttiness, this banana nut bread is sure to become a staple in your baking repertoire. So gather your ingredients, preheat your oven, and enjoy every bite of this delightful treat! Happy baking!
The BEST Banana Nut Bread
Ingredients
- 1/4 cup salted butter softened
- 1/4 cup canola oil
- 1 cup granulated sugar
- 2 whole very ripe bananas mashed
- 2 large eggs at room temperature
- 1 teaspoon pure vanilla extract
- 1 1/2 cups all-purpose flour
- 1 teaspoon baking powder
- 1/2 teaspoon salt
- 1/4 cup buttermilk
- 3/4 cup walnuts chopped
Instructions
- Preheat your oven to 350°F (175°C).
- Grease your 9x5 inch loaf pan with a little butter or cooking spray.
- Cream together the softened butter, canola oil, and granulated sugar until light and fluffy. Add in the mashed bananas, eggs, and vanilla extract. Mix until well combined.
- In another bowl, whisk together the all-purpose flour, baking powder, and salt.
- Slowly add the dry ingredients to the wet mixture, alternating with the buttermilk. Mix until just combined; fold in the chopped walnuts.
- Pour the batter into the prepared loaf pan, smoothing the top with a spatula if needed.
- Bake in the preheated oven for about 60-70 minutes, or until a toothpick inserted into the center comes out clean.
- Remove the loaf from the oven and let it sit in the pan for about 10 minutes. Transfer to a cooling rack to cool completely.
Equipment
- Mixing Bowls
- Measuring cups and spoons
- Rubber Spatula
- 9x5-inch loaf pan
- Oven
- Cooling rack
Notes
- Wrap the banana nut bread in plastic wrap for storage.
- For longer storage, refrigerate in an airtight container for up to a week.
- Freeze slices for up to 3 months, wrapping them well.


