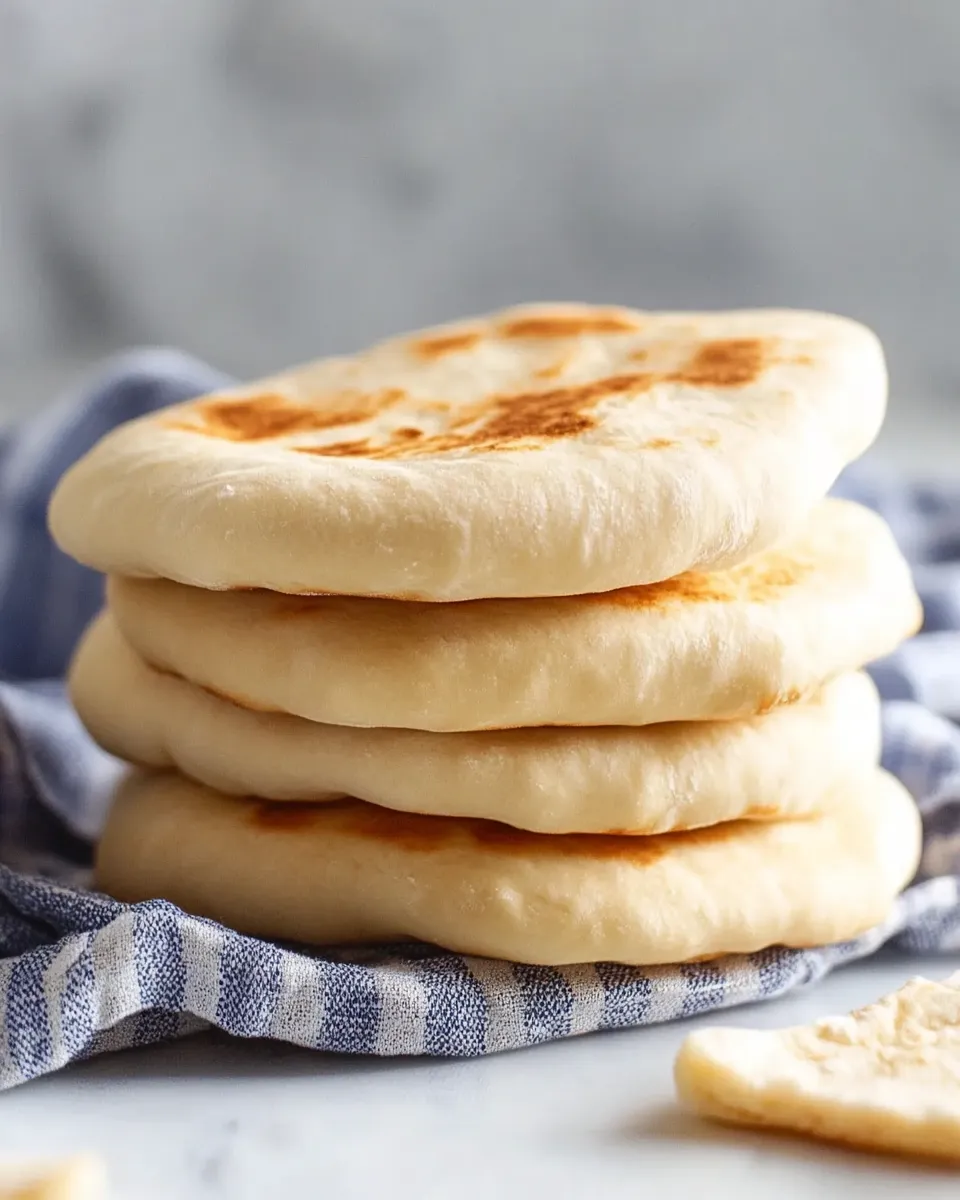
If you’ve ever bitten into a warm, fluffy pita bread straight from the oven, you know it’s a world apart from store-bought versions. The delightful texture and subtle flavor of Homemade Pita Bread can elevate countless dishes—from dipping into creamy hummus to wrapping around savory grilled meats. Making pita bread at home is surprisingly easy, and the results are stunningly delicious. Let’s dive into the magic of baking your own pita!
Why Cooks Rave About It

Homemade pita bread is a culinary adventure that offers a unique connection to the ingredients and the process. Here are some reasons why cooks can’t get enough of it:
- Freshness: There’s nothing quite like the aroma of freshly baked bread filling your kitchen.
- Customization: You can adjust the ingredients to suit your taste preferences, adding herbs or spices for an extra kick.
- Simple Ingredients: Most of the ingredients are pantry staples, making it accessible for everyone.
- Fun to Make: The process of kneading dough and watching it puff up in the oven is incredibly satisfying.
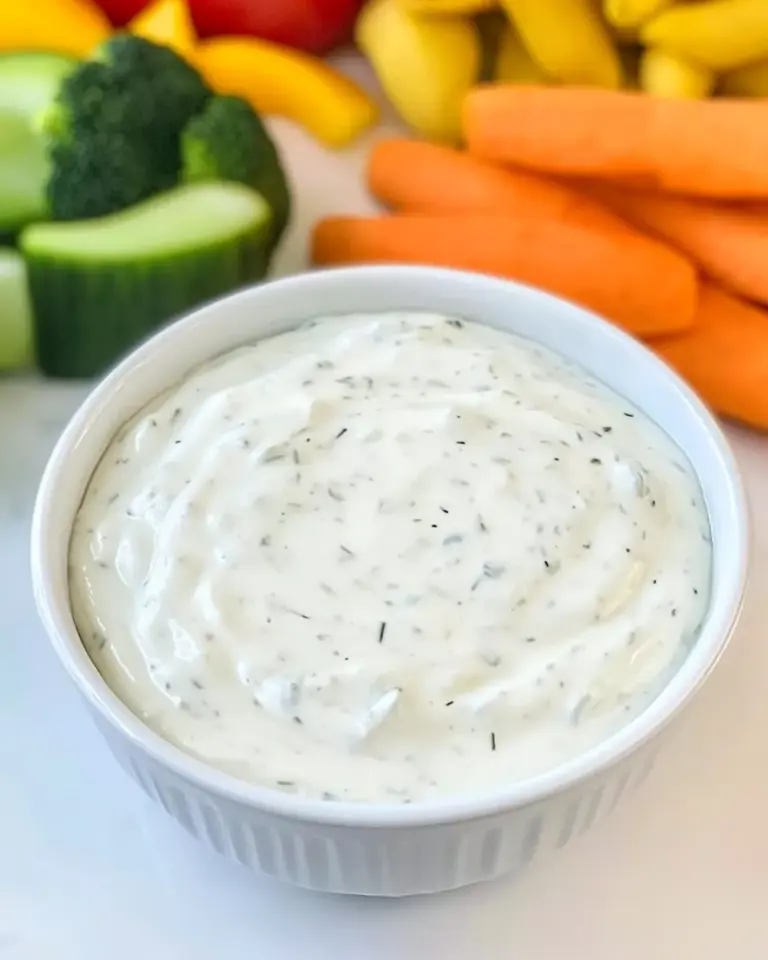
- Versatility: Pita bread can be used for sandwiches, as a side for dips, or even as a base for mini pizzas.
What Goes Into Homemade Pita Bread
To create the perfect Homemade Pita Bread, you’ll need the following ingredients:
- 1 cup warm water: This activates the yeast, creating that lovely rise.
- 1 package active dry yeast: Essential for leavening the dough.
- 2 teaspoons sugar: This helps to feed the yeast and enhance browning.
- 3 cups bread flour (469 grams): The backbone of the bread, providing structure.
- 1 teaspoon sea salt: Enhances flavor and controls yeast activity.
- 3 tablespoons extra-virgin olive oil: Adds richness and moisture.
- ½ cup whole-milk Greek yogurt: Contributes to a tender texture and a slight tang.
Tools & Equipment Needed
Before you start, gather the following tools for a smooth baking experience:
- Mixing bowl: For combining ingredients.
- Dough scraper: Helps in kneading and shaping the dough.
- Rolling pin: For flattening the dough into rounds.
- Baking sheet or pizza stone: A surface to bake the pita bread on.
- Kitchen towel: To cover the dough while it rises.
- Oven: The essential appliance that will bake your pita to perfection.
Step-by-Step: Homemade Pita Bread

Let’s get to the fun part—baking your own pita bread! Follow these steps to achieve soft, fluffy results.
Step 1: Activate the Yeast
In a small bowl, combine the warm water, active dry yeast, and sugar. Stir gently and let it sit for about 5-10 minutes until frothy.
Step 2: Mix the Dough
In a large mixing bowl, whisk together the bread flour and sea salt. Make a well in the center and add the yeast mixture, olive oil, and Greek yogurt. Stir until a shaggy dough forms.
Step 3: Knead the Dough
Transfer the dough to a floured surface and knead for about 8-10 minutes until smooth and elastic. If the dough is too sticky, sprinkle in a little more flour as needed.
Step 4: Let It Rise
Shape the dough into a ball and place it in a greased bowl, turning it to coat. Cover with a kitchen towel and let it rise in a warm area for 1-2 hours, or until doubled in size.
Step 5: Preheat the Oven
About 30 minutes before baking, preheat your oven to 475°F (245°C). If you have a pizza stone, place it in the oven to heat up.
Step 6: Shape the Pitas
Once the dough has risen, punch it down and divide it into 8 equal pieces. Roll each piece into a ball, then flatten it into a circle about ¼ inch thick using a rolling pin.
Step 7: Bake the Pitas
Place the rounds on the hot baking sheet or pizza stone and bake for 5-7 minutes, or until they puff up and turn light golden brown. Keep an eye on them, as they can go from perfect to overdone quickly.
Step 8: Cool and Enjoy
Remove the pitas from the oven and transfer them to a clean kitchen towel to keep warm. Allow them to cool slightly before serving.
Customize for Your Needs

The beauty of Homemade Pita Bread lies in its versatility. Here are some customization ideas:
- Add spices: Incorporate za’atar or garlic powder into the dough for an aromatic twist.
- Herb-infused: Mix in fresh herbs like rosemary or thyme for added flavor.
- Whole wheat option: Substitute half of the bread flour with whole wheat flour for a nuttier taste.
- Stuffed pita: Before baking, fill the dough with your favorite ingredients, like cheese or vegetables.
Pitfalls & How to Prevent Them
Even the best bakers encounter issues. Here’s how to avoid common pitfalls when making Homemade Pita Bread:
- Pitas not puffing: Ensure your oven is preheated and the baking surface is hot enough.
- Dry bread: Avoid overbaking; check for doneness early.
- Sticky dough: Use just enough flour when kneading; too much can make the bread tough.
- Yeast not activating: Make sure the water is warm (not hot) and check the yeast’s expiration date.
Meal Prep & Storage Notes
Once you’ve made your delicious Homemade Pita Bread, here are some tips for storing and meal prepping:
Store any leftover pita bread in an airtight container at room temperature for up to 2 days. For longer storage, freeze them in a single layer, then transfer to a zip-top bag for up to 3 months. Reheat in a warm oven or microwave when ready to enjoy.
Troubleshooting Q&A
Why is my pita bread dense and heavy?
This can happen if the dough wasn’t kneaded enough or if it didn’t rise properly. Ensure you knead until smooth and allow for adequate rising time.
How do I know if my yeast is still good?
To test your yeast, mix it with warm water and sugar; if it bubbles up within 5-10 minutes, it’s active and ready to use.
Can I make pita bread without yogurt?
Yes! You can replace the yogurt with an equal amount of additional warm water or milk to maintain the dough’s moisture.
What if my pitas are too thick?
Make sure to roll the dough out evenly to about ¼ inch thick. If they are too thick, they may not puff up correctly while baking.
After enjoying your , consider these delightful desserts to complete your meal:
Final Thoughts
Making Homemade Pita Bread is not just a cooking task; it’s a rewarding experience that fills your kitchen with warmth and aroma. With just a few simple ingredients and some time, you can create something truly special. Whether you’re hosting a gathering or enjoying a quiet meal at home, freshly baked pita is sure to impress. So roll up your sleeves, gather your ingredients, and let the baking adventures begin! Your taste buds will thank you.
Homemade Pita Bread
Ingredients
- 1 cup warm water
- 1 package active dry yeast
- 2 teaspoons sugar
- 3 cups bread flour (469 grams)
- 1 teaspoon sea salt
- 3 tablespoons extra-virgin olive oil
- ½ cup whole-milk Greek yogurt
Instructions
- Step 1: Activate the Yeast - In a small bowl, combine the warm water, active dry yeast, and sugar. Stir gently and let it sit for about 5-10 minutes until frothy.
- Step 2: Mix the Dough - In a large mixing bowl, whisk together the bread flour and sea salt. Make a well in the center and add the yeast mixture, olive oil, and Greek yogurt. Stir until a shaggy dough forms.
- Step 3: Knead the Dough - Transfer the dough to a floured surface and knead for about 8-10 minutes until smooth and elastic. If the dough is too sticky, sprinkle in a little more flour as needed.
- Step 4: Let It Rise - Shape the dough into a ball and place it in a greased bowl, turning it to coat. Cover with a kitchen towel and let it rise in a warm area for 1-2 hours, or until doubled in size.
- Step 5: Preheat the Oven - About 30 minutes before baking, preheat your oven to 475°F (245°C). If you have a pizza stone, place it in the oven to heat up.
- Step 6: Shape the Pitas - Once the dough has risen, punch it down and divide it into 8 equal pieces. Roll each piece into a ball, then flatten it into a circle about ¼ inch thick using a rolling pin.
- Step 7: Bake the Pitas - Place the rounds on the hot baking sheet or pizza stone and bake for 5-7 minutes, or until they puff up and turn light golden brown. Keep an eye on them, as they can go from perfect to overdone quickly.
- Step 8: Cool and Enjoy - Remove the pitas from the oven and transfer them to a clean kitchen towel to keep warm. Allow them to cool slightly before serving.
Equipment
- Mixing Bowl
- Dough scraper
- Rolling Pin
- Baking sheet or pizza stone
- Kitchen Towel
- Oven
Notes
- Store leftover pita bread in an airtight container at room temperature for up to 2 days.
- For longer storage, freeze in a single layer, then transfer to a zip-top bag for up to 3 months.
- Reheat in a warm oven or microwave when ready to enjoy.