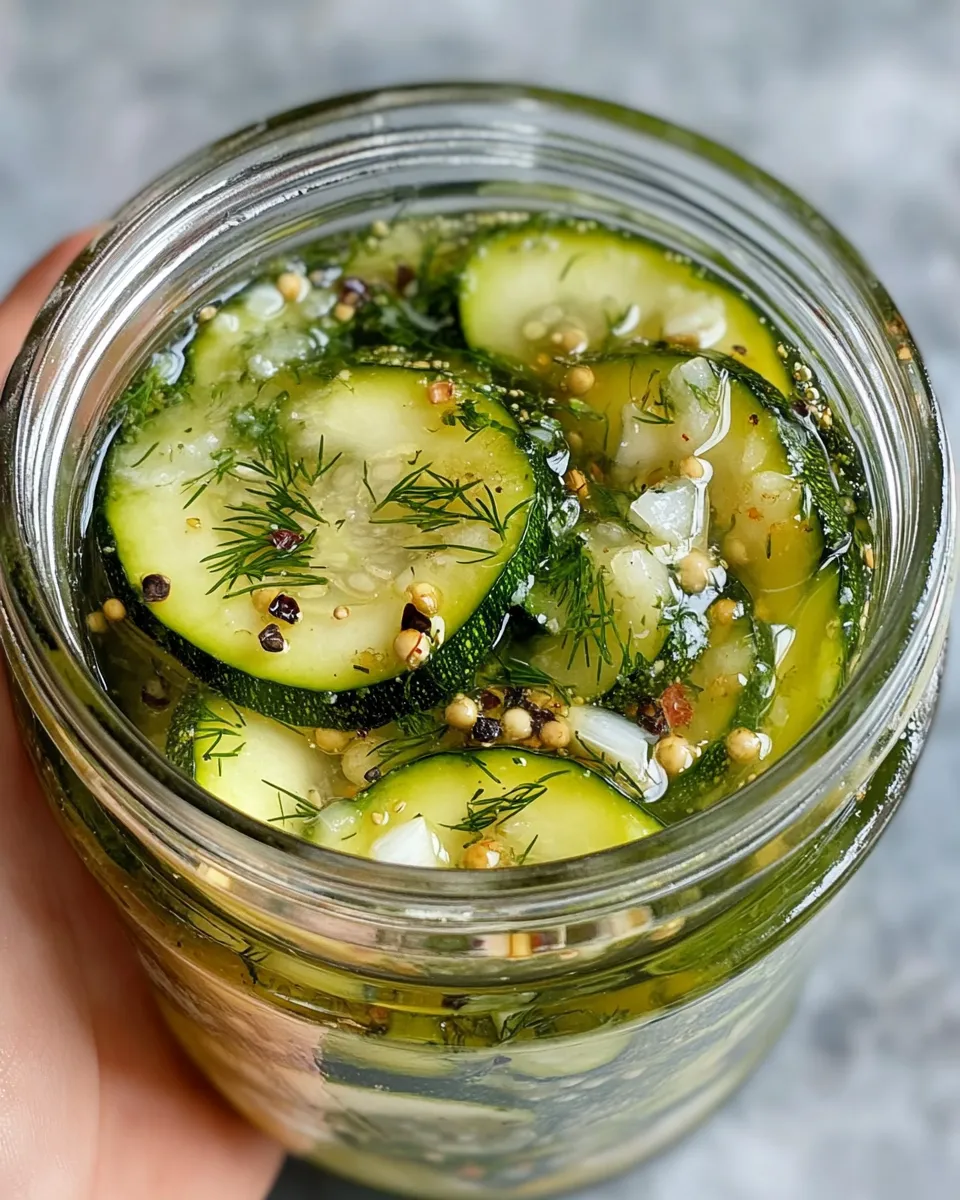
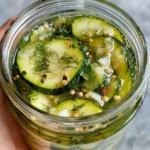
If you’re looking for a vibrant, crunchy snack that bursts with flavor, these Dill-Garlic Pickled Zucchini Chips are exactly what you need. Using fresh zucchini sliced into delicate rounds, this recipe combines the tang of vinegar with the aromatic punch of garlic and dill, creating a tangy, savory treat that’s perfect for snacking, topping salads, or adding a zesty bite to sandwiches. These chips are easy to make, require minimal ingredients, and offer a refreshing alternative to traditional pickles. Whether you’re a seasoned pickling pro or a curious beginner, this recipe is a delightful way to enjoy zucchini in a whole new way.
Why This Recipe Is a Must-Try
Pickling is a fantastic method to extend the life of fresh produce, and zucchini is one of the most versatile vegetables to pickle. What makes these Dill-Garlic Pickled Zucchini Chips stand out is their perfect balance of garlicky aroma, dill’s herbaceous notes, and just the right amount of heat from red pepper flakes if you choose to add them. The thinly sliced zucchini rounds pickle quickly, soaking up flavors in just a few hours, making this a quick and satisfying project.
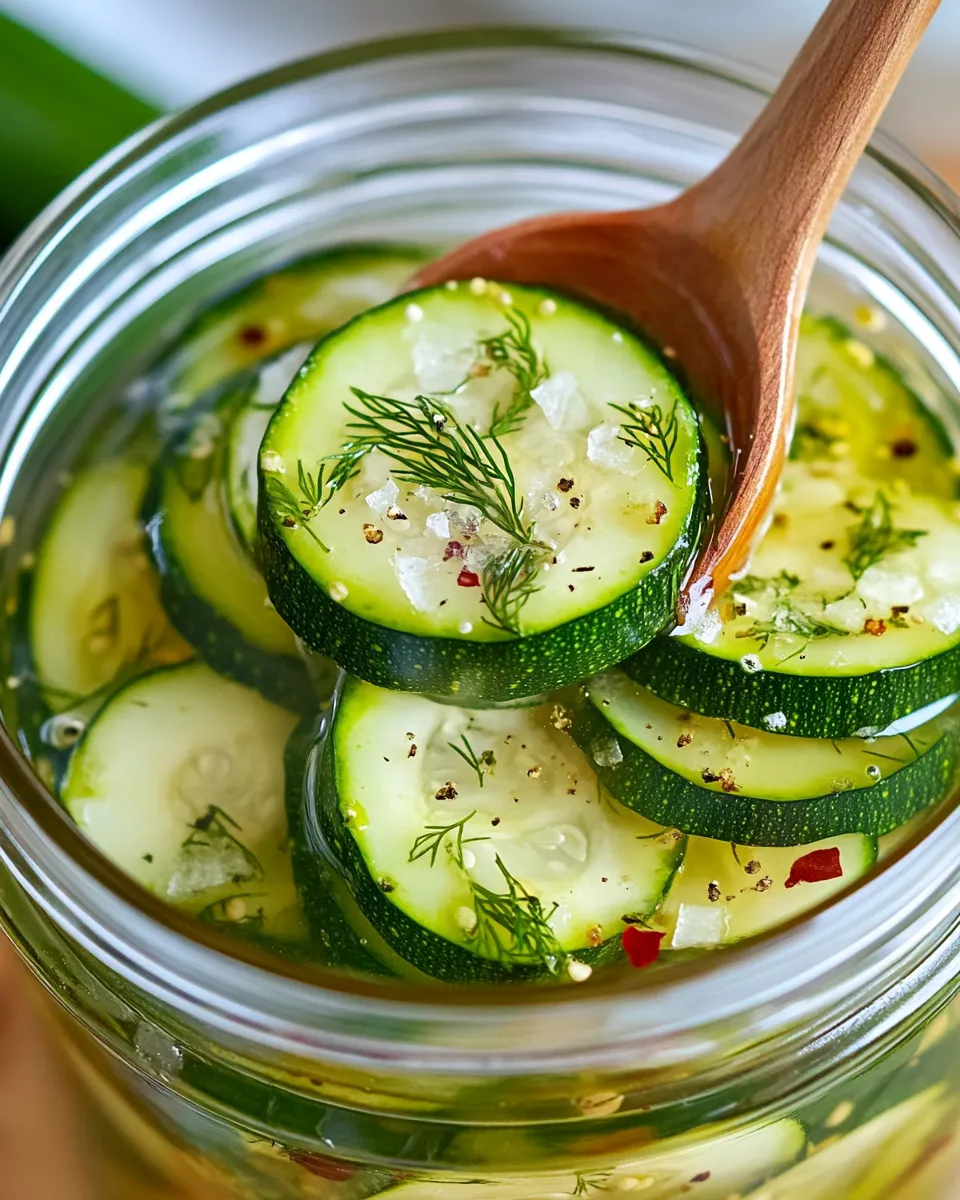
These chips are incredibly crunchy, with a satisfying snap that rivals any store-bought pickle. They’re ideal for serving alongside dips, as a crunchy topping on your favorite dishes, or simply straight from the jar as a healthy snack. Plus, they add a bright, fresh flavor that complements a wide range of meals. For a fresh summer meal, try pairing them with a colorful and light Carrot Zucchini Salad to complement their tangy crunch.
Ingredients
- 2 medium zucchini, sliced into thin rounds
- 1 cup distilled white vinegar
- 1 cup water
- 2 tablespoons salt
- 1 tablespoon sugar
- 4 cloves garlic, sliced
- 2 teaspoons dill seeds
- 1 teaspoon black peppercorns
- 1/2 teaspoon red pepper flakes (optional)
How To Make Dill-Garlic Pickled Zucchini Chips
Step 1: Prepare the Zucchini
Start by washing your zucchini thoroughly under cold water. Using a sharp knife or a mandoline slicer, cut the zucchini into thin, even rounds, about 1/8 inch thick. Thin slices ensure the zucchini soaks up the pickling brine quickly and results in a crisp texture. Set the sliced zucchini aside while you prepare the pickling liquid.
Step 2: Make the Brine
In a medium saucepan, combine the distilled white vinegar, water, salt, and sugar. Heat the mixture over medium heat, stirring occasionally, until the salt and sugar dissolve completely. Once dissolved, remove the brine from heat and allow it to cool slightly.
Step 3: Assemble the Jars
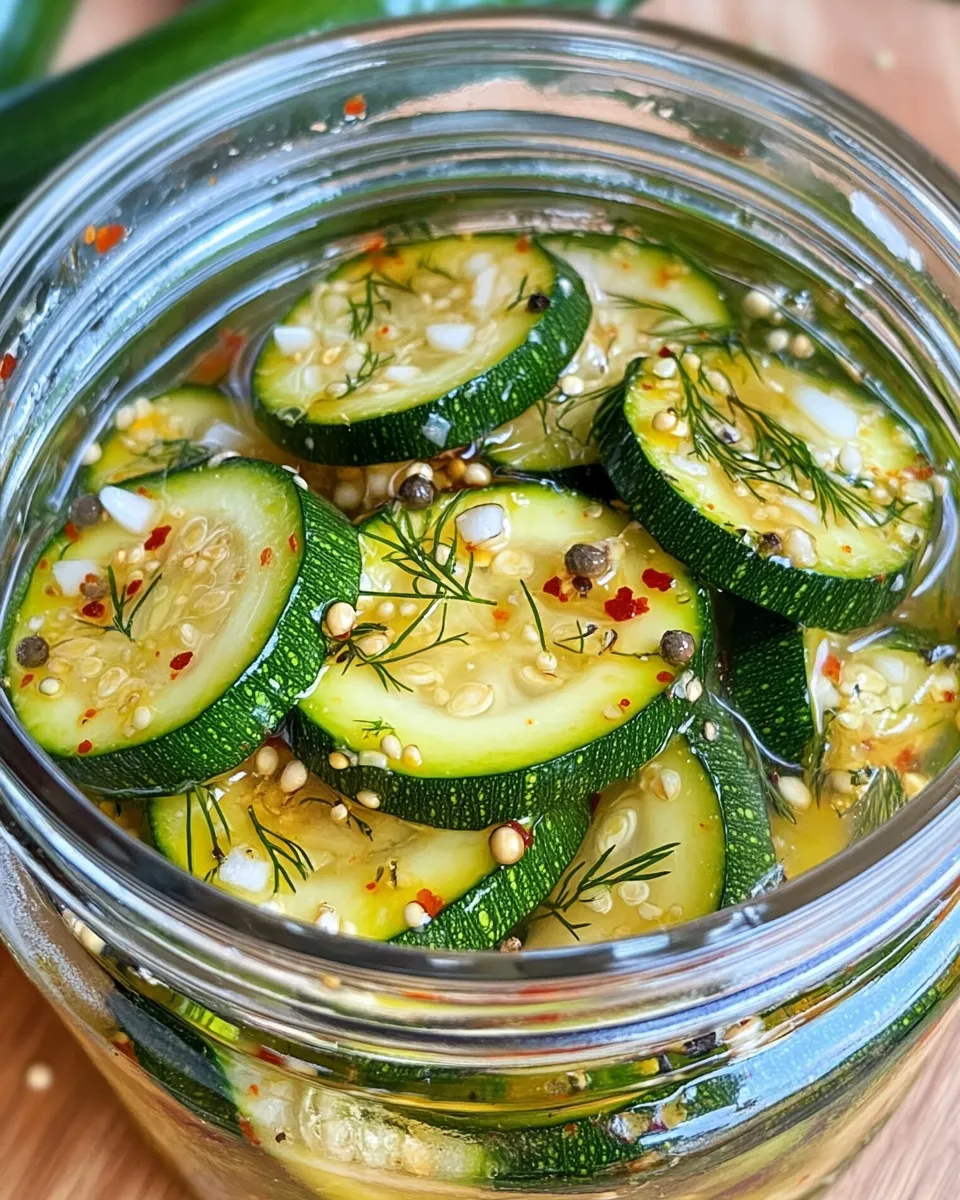
In clean glass jars, layer the sliced zucchini rounds. Add the sliced garlic cloves, dill seeds, black peppercorns, and red pepper flakes if using. Distribute these aromatics evenly between the jars to ensure every bite gets a burst of flavor.
Step 4: Pour the Brine
Carefully pour the warm brine over the zucchini slices in the jars, making sure the zucchini is fully submerged. Leave a little space at the top of the jar to allow for expansion. Seal the jars tightly with lids.
Step 5: Let Them Pickle
Allow the jars to cool to room temperature, then place them in the refrigerator. For the best flavor and crunch, let the zucchini pickle for at least 24 hours before enjoying. The chips will keep well in the fridge for up to 2 weeks.
Common Mistakes to Avoid
- Not slicing the zucchini thin enough – thick slices won’t pickle evenly and may become soggy.
- Using unclean jars – always sterilize your jars to prevent spoilage and ensure a longer shelf life.
- Skipping the salt or sugar – both are essential to balance the flavors and preserve the zucchini properly.
- Not fully submerging the zucchini in the brine – exposed zucchini can turn brown or spoil more quickly.
- Using the wrong vinegar – distilled white vinegar provides a clean, sharp acidity; avoid flavored or malt vinegars for this recipe.
Variations and Customizations

- Add fresh herbs: Toss in sprigs of fresh dill or thyme for a more herbaceous flavor.
- Spice it up: Include whole mustard seeds or coriander seeds for an extra layer of complexity.
- Swap the garlic: Try roasted garlic slices for a milder, sweeter garlic flavor.
- Use apple cider vinegar: For a slightly sweeter, fruitier tang, substitute apple cider vinegar while keeping the acidity level similar.
- Make it sweeter: Increase sugar slightly for a sweet-and-sour profile that pairs well with grilled meats and sandwiches.
How to Store Leftovers
Once your Dill-Garlic Pickled Zucchini Chips are ready, keep them refrigerated in an airtight jar. The vinegar brine acts as a natural preservative, but for the best texture and flavor, enjoy them within two weeks. Always use a clean utensil when removing chips from the jar to avoid contamination. If the brine becomes cloudy or the zucchini develops off smells, it’s best to discard the batch.
FAQ
Can I use other types of squash instead of zucchini?
Absolutely! Yellow squash or even cucumber can be used in place of zucchini. Just make sure to slice them thinly for quick and even pickling.
How long do Dill-Garlic Pickled Zucchini Chips last?
Stored properly in the refrigerator, these pickled zucchini chips will stay fresh for up to 2 weeks. The flavor will intensify over time, but the crispness is best within the first week.
Can I make this recipe without sugar?
Yes, you can omit the sugar if you prefer a more tart pickle. However, the sugar helps balance the acidity and enhances the overall flavor, so consider reducing it rather than skipping it entirely.
Do I need to sterilize the jars before pickling?
While not strictly necessary for quick refrigerator pickles, sterilizing your jars can help prevent spoilage and extend shelf life. To sterilize, wash jars with hot soapy water, rinse well, and boil them in water for 10 minutes before use.
Conclusion
Dill-Garlic Pickled Zucchini Chips are a fresh, flavorful way to enjoy the bounty of summer produce. Their bright, tangy taste and satisfying crunch make them a versatile addition to any kitchen, whether as a snack, a condiment, or a colorful garnish. This simple recipe requires just a handful of pantry staples and minimal prep time, making it accessible for any home cook. Once you try these chips, you’ll find yourself reaching for them again and again—perfect for elevating everything from sandwiches to cheese boards. For another easy, fresh way to use summer squash, consider trying the Summer Squash Feta Picnic Frittata to enjoy the season’s best flavors. Happy pickling!
Share on Pinterest
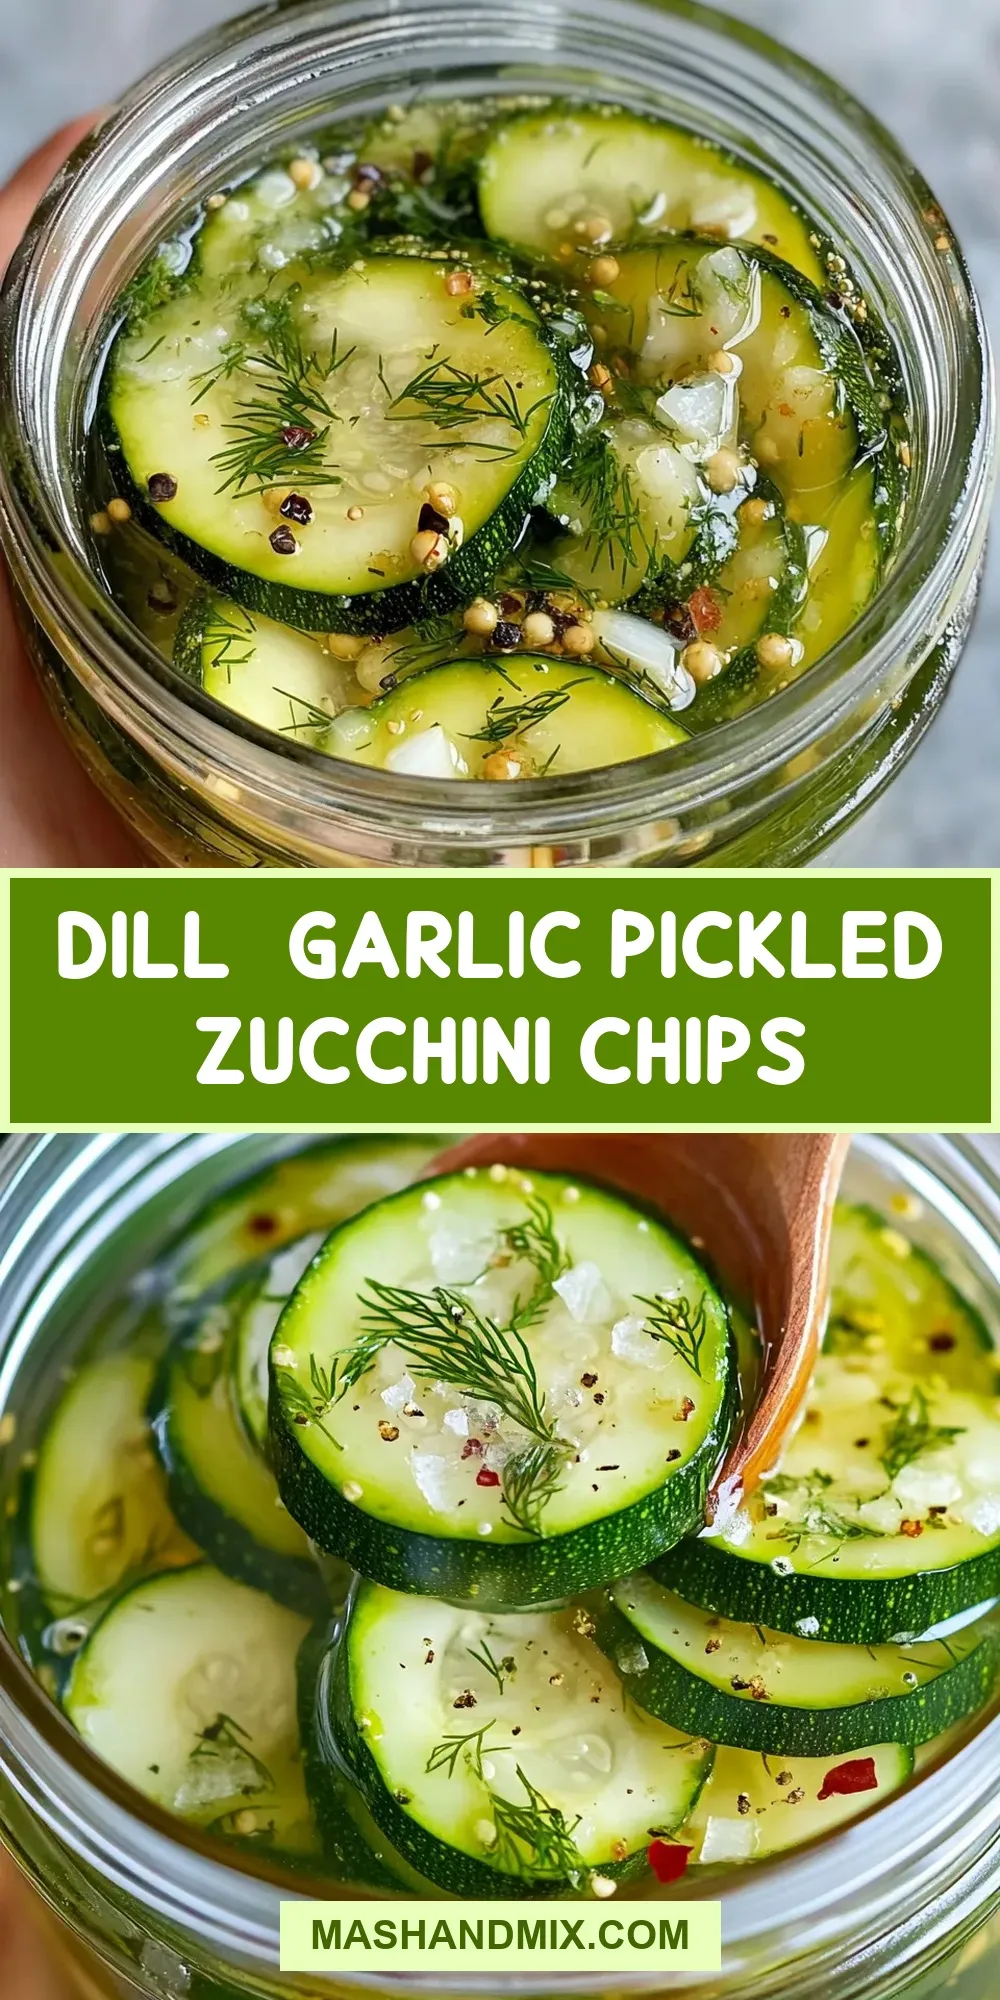
Dill-Garlic Pickled Zucchini Chips
Ingredients
- 2 medium zucchini sliced into thin rounds
- 1 cup distilled white vinegar
- 1 cup water
- 2 tablespoons salt
- 1 tablespoon sugar
- 4 cloves garlic sliced
- 2 teaspoons dill seeds
- 1 teaspoon black peppercorns
- 0.5 teaspoon red pepper flakes optional
Instructions
Step 1: Prepare the Zucchini
- Start by washing your zucchini thoroughly under cold water. Using a sharp knife or a mandoline slicer, cut the zucchini into thin, even rounds, about 1/8 inch thick. Thin slices ensure the zucchini soaks up the pickling brine quickly and results in a crisp texture. Set the sliced zucchini aside while you prepare the pickling liquid.
Step 2: Make the Brine
- In a medium saucepan, combine the distilled white vinegar, water, salt, and sugar. Heat the mixture over medium heat, stirring occasionally, until the salt and sugar dissolve completely. Once dissolved, remove the brine from heat and allow it to cool slightly.
Step 3: Assemble the Jars
- In clean glass jars, layer the sliced zucchini rounds. Add the sliced garlic cloves, dill seeds, black peppercorns, and red pepper flakes if using. Distribute these aromatics evenly between the jars to ensure every bite gets a burst of flavor.
Step 4: Pour the Brine
- Carefully pour the warm brine over the zucchini slices in the jars, making sure the zucchini is fully submerged. Leave a little space at the top of the jar to allow for expansion. Seal the jars tightly with lids.
Step 5: Let Them Pickle
- Allow the jars to cool to room temperature, then place them in the refrigerator. For the best flavor and crunch, let the zucchini pickle for at least 24 hours before enjoying. The chips will keep well in the fridge for up to 2 weeks.
Equipment
- Sharp Knife or Mandoline Slicer
- Medium Saucepan
- Glass Jars
Notes
- Slice zucchini very thinly to ensure crisp, evenly pickled chips.
- Sterilize jars before use to extend shelf life and prevent spoilage.
- Use clean utensils when removing chips to maintain freshness and avoid contamination.
- Try adding fresh herbs or different spices for unique flavor variations.
- Store pickled zucchini chips in the refrigerator and enjoy within two weeks for best texture and flavor.