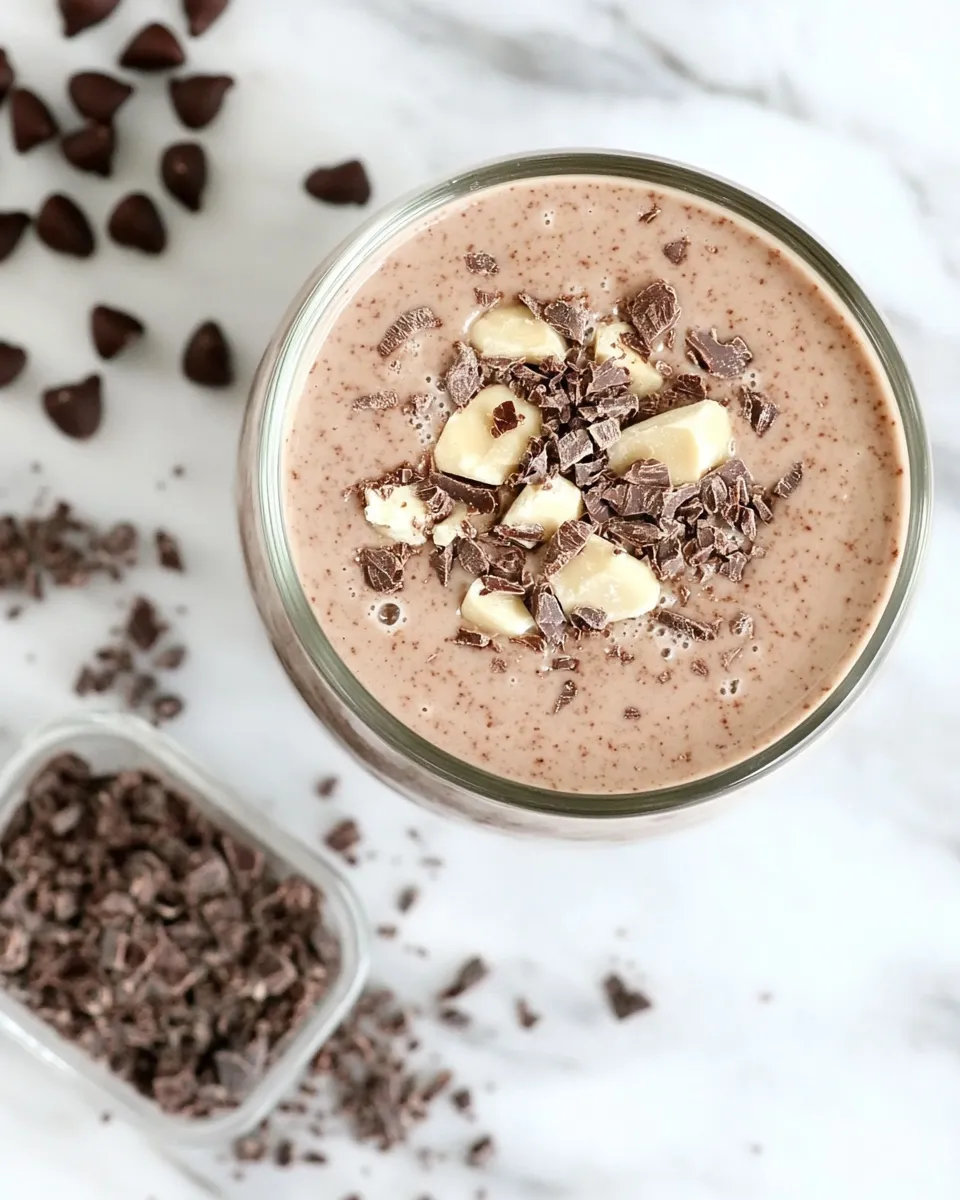
There’s something incredibly satisfying about making your own milk at home, especially when it’s as delicious and indulgent as Homemade Chocolate Hazelnut Milk. Not only does it taste better than store-bought varieties, but you also get to control the ingredients, ensuring that every sip is pure bliss. This delightful blend of hazelnuts and chocolate is perfect for sipping straight from the glass, adding to smoothies, or using in your favorite recipes.
The Upside of Homemade Chocolate Hazelnut Milk
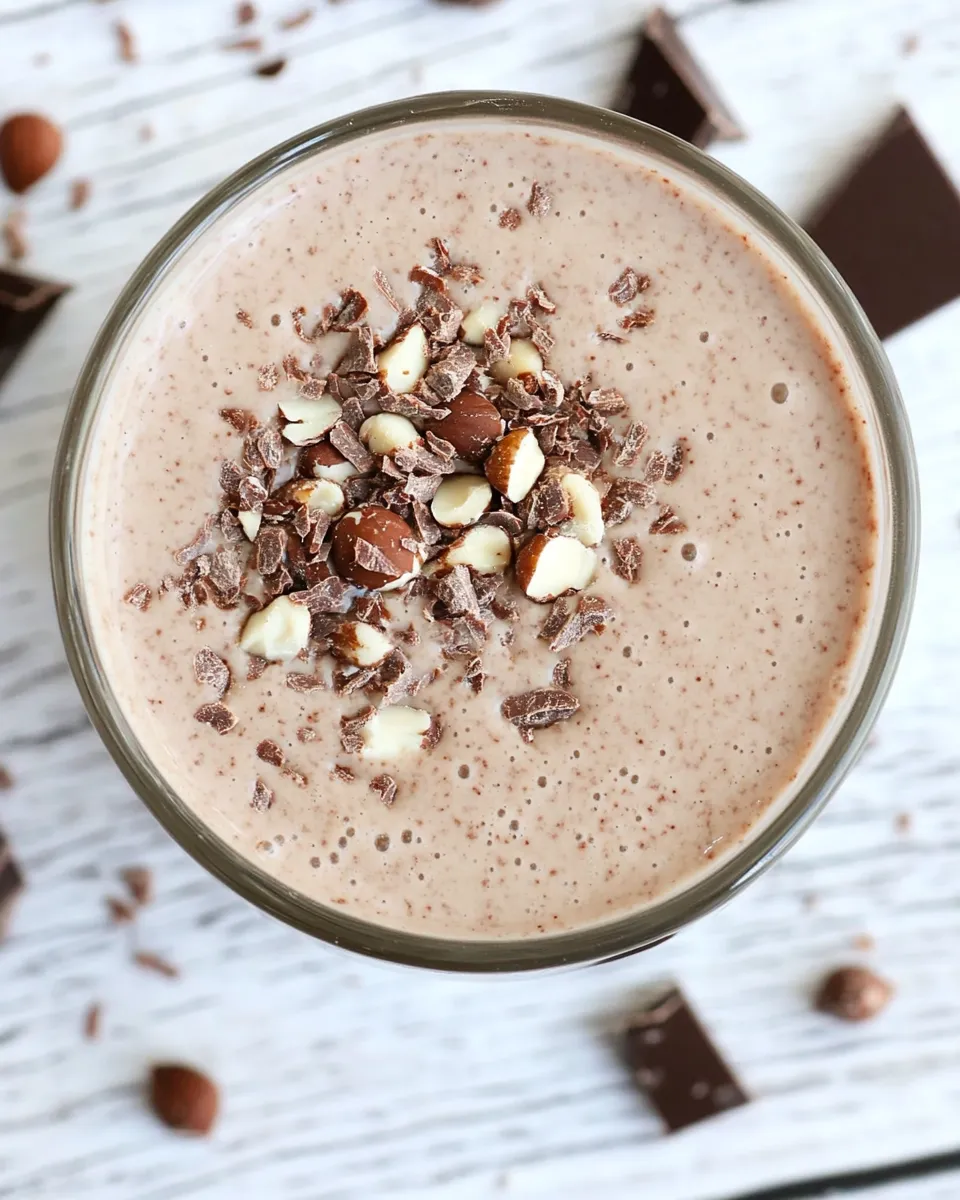
Homemade chocolate hazelnut milk is a game-changer in the kitchen. It offers a rich, nutty flavor that store-bought options simply cannot match. By making your own, you can:
- Control the sweetness: Adjust the maple syrup to your taste preference.
- Use high-quality ingredients: Choose organic hazelnuts and premium chocolate for the best flavor.
- Customize your flavor: Add spices, vanilla, or other flavors to make it uniquely yours.
- Reduce packaging waste: Say goodbye to cartons and bottles, making a more sustainable choice.
What Goes Into Homemade Chocolate Hazelnut Milk
Creating your own Homemade Chocolate Hazelnut Milk requires just a handful of simple yet wholesome ingredients. Here’s what you’ll need:
- 3 cups water: The base of your milk.
- 1-1/2 cups hazelnuts: These provide a creamy texture and nutty flavor.
- 1/2 cup semisweet chocolate, chopped: For that rich chocolatey goodness.
- 1/3 cup maple syrup: A natural sweetener that pairs perfectly with hazelnuts and chocolate.
- 1 tablespoon unsweetened cocoa powder: Enhances the chocolate flavor and adds depth.
Hardware & Gadgets
Before you get started, make sure you have the right tools for the job. Here’s a quick list:
- High-speed blender: Essential for achieving a smooth and creamy consistency.
- Nut milk bag or fine mesh strainer: Useful for straining the milk to remove hazelnut pulp.
- Measuring cups and spoons: Accurate measurements are key to perfecting your recipe.
- Storage container: A glass jar or bottle works well for storing your finished milk.
Directions: Homemade Chocolate Hazelnut Milk
Ready to whip up your own Homemade Chocolate Hazelnut Milk? Follow these simple steps:
Step 1: Soak the Hazelnuts
Start by soaking the hazelnuts in water for at least 4 hours, or overnight. This softens them, making them easier to blend and enhancing their flavor.
Step 2: Drain and Rinse
After soaking, drain the hazelnuts and rinse them under cool water to remove any residue.
Step 3: Blend the Hazelnuts
In your high-speed blender, combine the soaked hazelnuts and 3 cups of fresh water. Blend on high until the mixture is smooth and creamy, about 1-2 minutes.
Step 4: Strain the Mixture
Using a nut milk bag or a fine mesh strainer, strain the blended mixture into a bowl or pitcher, discarding the pulp (or saving it for another recipe).
Step 5: Add Chocolate and Sweetener
Return the strained hazelnut milk to the blender. Add the chopped semisweet chocolate, maple syrup, and cocoa powder. Blend again until fully combined and the chocolate has melted into the milk.
Step 6: Taste and Adjust
Taste the milk and adjust the sweetness if needed by adding more maple syrup or cocoa powder.
Step 7: Store and Enjoy
Pour the Homemade Chocolate Hazelnut Milk into your storage container and refrigerate. It’s best enjoyed within 4-5 days. Shake well before serving, as natural separation may occur.
Healthier Substitutions
If you’re looking to make some healthier tweaks to your recipe, consider these substitutions:
- Agave syrup: A lower-glycemic sweetener that works well in place of maple syrup.
- Raw cacao powder: For a richer chocolate flavor with added antioxidants.
- Almonds or cashews: Substitute hazelnuts with almonds or cashews for a different nutty flavor profile.
- Vanilla extract: Add a teaspoon for a touch of warmth and flavor enhancement.
Cook’s Commentary
Making Homemade Chocolate Hazelnut Milk is not just a recipe; it’s an experience. The aroma of the blended hazelnuts and chocolate wafting through your kitchen is simply irresistible. Plus, the satisfaction of creating something so delicious from scratch is unparalleled. Feel free to get creative! Try adding a pinch of sea salt to elevate the flavors or a dash of cinnamon for a warm twist.
Keep It Fresh: Storage Guide
To ensure your Homemade Chocolate Hazelnut Milk stays fresh and delicious:
- Refrigerate: Store in an airtight container in the fridge.
- Shake before use: Natural separation will occur, so give it a good shake before pouring.
- Use within 4-5 days: For the best taste and freshness, consume within the week.
Reader Questions
Can I use roasted hazelnuts instead of raw?
Yes, roasted hazelnuts will add a deeper flavor to your milk. Just be mindful that they may impart a slightly different taste and texture.
What can I do with the leftover hazelnut pulp?
The leftover hazelnut pulp can be used in baking, added to smoothies, or mixed into oatmeal for added texture and flavor.
Can I freeze homemade chocolate hazelnut milk?
Yes, you can freeze it! Pour into ice cube trays or airtight containers, but keep in mind that freezing may change the texture slightly.
Is this recipe vegan?
Yes, Homemade Chocolate Hazelnut Milk is completely vegan, as it contains no animal products.
If you enjoyed this recipe, you might want to explore more delicious ideas:
The Last Word
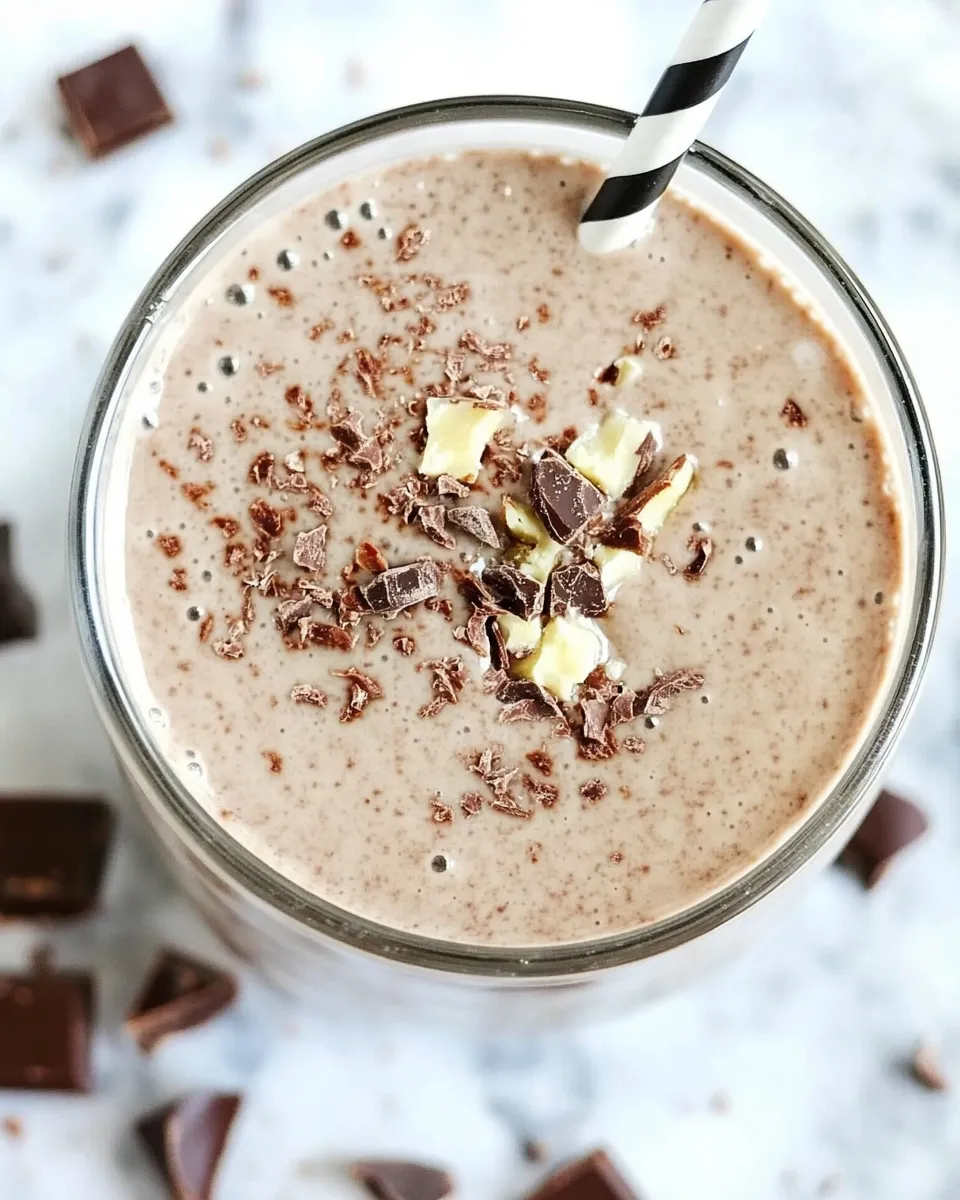
Making Homemade Chocolate Hazelnut Milk is a delightful way to indulge in a creamy, rich beverage that satisfies your chocolate cravings. The process is simple, and the results are oh-so-rewarding. With just a few ingredients and a little bit of time, you can enjoy a glass of this luscious milk that’s perfect for any occasion. Whether you sip it on its own or use it in your favorite recipes, this homemade version will undoubtedly become a staple in your kitchen. Happy blending!

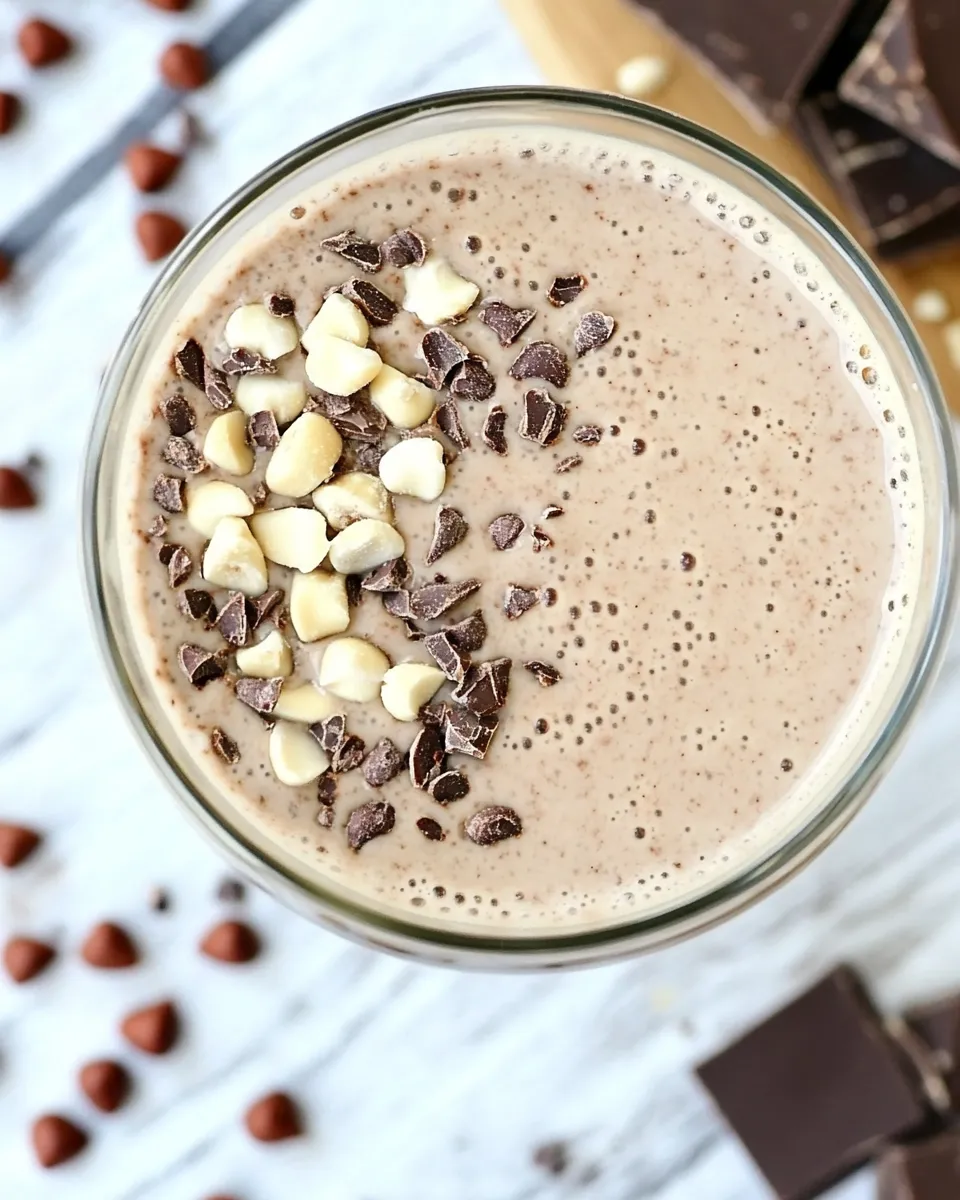
Homemade Chocolate Hazelnut Milk
Ingredients
Ingredients:
- 3 cups water The base of your milk.
- 1.5 cups hazelnuts Provides a creamy texture and nutty flavor.
- 0.5 cup semisweet chocolate chopped, for rich chocolatey goodness.
- 0.33 cup maple syrup A natural sweetener.
- 1 tablespoon unsweetened cocoa powder Enhances the chocolate flavor.
Instructions
Directions:
- Step 1: Soak the Hazelnuts - Start by soaking the hazelnuts in water for at least 4 hours, or overnight.
- Step 2: Drain and Rinse - After soaking, drain and rinse the hazelnuts under cool water.
- Step 3: Blend the Hazelnuts - Combine the soaked hazelnuts and 3 cups of fresh water in a blender, and blend until smooth, about 1-2 minutes.
- Step 4: Strain the Mixture - Strain the blended mixture using a nut milk bag or fine mesh strainer, discarding the pulp.
- Step 5: Add Chocolate and Sweetener - Return the strained hazelnut milk to the blender, add chopped chocolate, maple syrup, and cocoa powder, and blend again until combined.
- Step 6: Taste and Adjust - Taste the milk and adjust sweetness as needed.
- Step 7: Store and Enjoy - Pour into a storage container and refrigerate. Best enjoyed within 4-5 days.
Equipment
- High-Speed Blender
- Nut milk bag or fine mesh strainer
- Measuring cups and spoons
- Storage container
Notes
- Store in an airtight container in the fridge.
- Shake before use as natural separation may occur.
- Consume within 4-5 days for best freshness.