
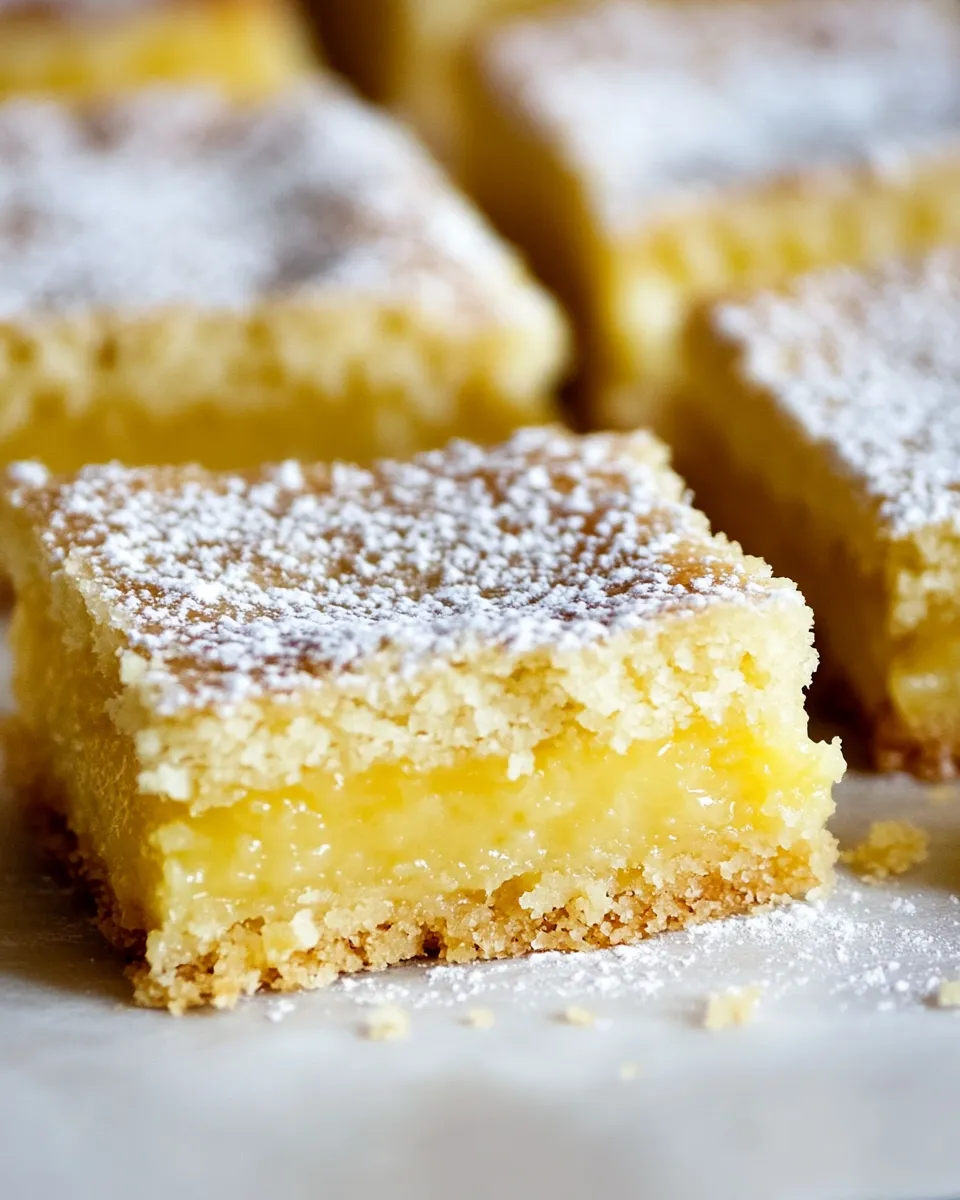
When life hands you lemons, make Sunny Lemon Squares! These delightful treats are the perfect balance of sweet and tangy, providing a refreshing burst of flavor that brightens even the rainiest of days. With a buttery crust and a luscious lemon filling, these squares are perfect for sharing at gatherings or simply enjoying at home with a cup of tea. Let’s dive into the details of crafting these scrumptious bars, ensuring you impress everyone with your baking skills!
Why Sunny Lemon Squares is Worth Your Time
Sunny Lemon Squares are not just any dessert; they are an experience that transports you to sunlit days and carefree afternoons. The vibrant lemon flavor is both uplifting and nostalgic, making these squares a favorite for both kids and adults alike. The combination of the crisp, buttery crust and the smooth, zesty filling is irresistible. Plus, they are relatively easy to make, so you don’t need to be a baking expert to succeed. These lemon squares are perfect for potlucks, brunches, or simply as a sweet treat to brighten your day.
Gather These Ingredients
To create these heavenly Sunny Lemon Squares, you’ll need the following ingredients:
- 1 cup melted coconut oil
- 1/2 cup granulated sugar
- 1/2 teaspoon vanilla extract
- 1/2 teaspoon salt
- 2 cups all-purpose flour
- 2 cups granulated sugar
- 1/3 cup + 1 tablespoon all-purpose flour
- 2 teaspoons lemon zest
- 1/4 teaspoon salt
- 6 large eggs, at room temperature
- 1/2 teaspoon vanilla extract
- 1 cup fresh squeezed lemon juice
- 1/2 cup confectioners’ sugar, for dusting
Setup & Equipment
Before you start baking, make sure you have the following equipment ready:
- 9×13-inch baking pan: This is essential for creating the perfect size for your lemon squares.
- Mixing bowls: You’ll need a large bowl for the crust and another for the filling.
- Whisk: A whisk helps to blend your ingredients smoothly.
- Measuring cups and spoons: Accurate measurements are crucial for baking success.
- Sifter: Optional, but helps to ensure your dry ingredients are lump-free.
Cook Sunny Lemon Squares Like This
Step 1: Preheat the Oven
Start by preheating your oven to 350°F (175°C). This ensures that your Sunny Lemon Squares bake evenly.
Step 2: Prepare the Crust
In a large mixing bowl, combine 1 cup of melted coconut oil, 1/2 cup of granulated sugar, 1/2 teaspoon of vanilla extract, and 1/2 teaspoon of salt. Mix well until fully combined. Gradually add in 2 cups of all-purpose flour, stirring until the mixture resembles a crumbly dough.
Step 3: Press the Crust into the Pan
Lightly grease your 9×13-inch baking pan. Press the crust mixture evenly into the bottom of the pan, ensuring it covers the entire surface. Bake in the preheated oven for about 15-20 minutes, or until the edges are lightly golden.
Step 4: Make the Filling
While the crust is baking, prepare the filling. In a separate mixing bowl, whisk together 2 cups of granulated sugar, 1/3 cup + 1 tablespoon of all-purpose flour, 2 teaspoons of lemon zest, and 1/4 teaspoon of salt.
Step 5: Add the Eggs and Lemon Juice
Add 6 large eggs (at room temperature) and 1/2 teaspoon of vanilla extract to the dry mixture. Gradually pour in 1 cup of fresh squeezed lemon juice. Whisk until the filling is smooth and well combined.
Step 6: Combine the Layers
Once the crust is ready, remove it from the oven and pour the lemon filling over the warm crust. Spread it evenly with a spatula.
Step 7: Bake Again
Return the pan to the oven and bake for an additional 20-25 minutes, or until the filling is set and slightly puffed. You can check for doneness by gently shaking the pan; the filling should not jiggle.
Step 8: Cool and Dust
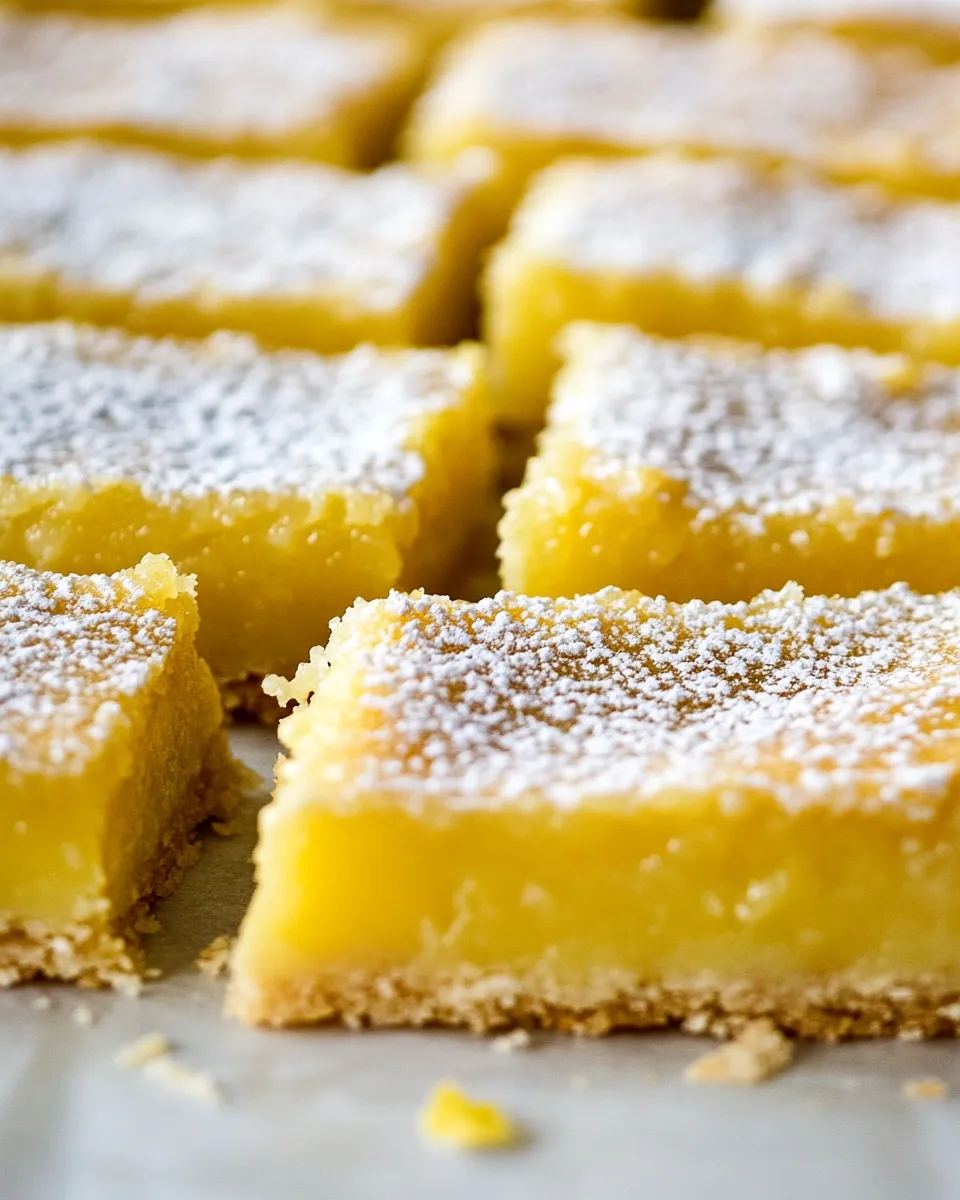
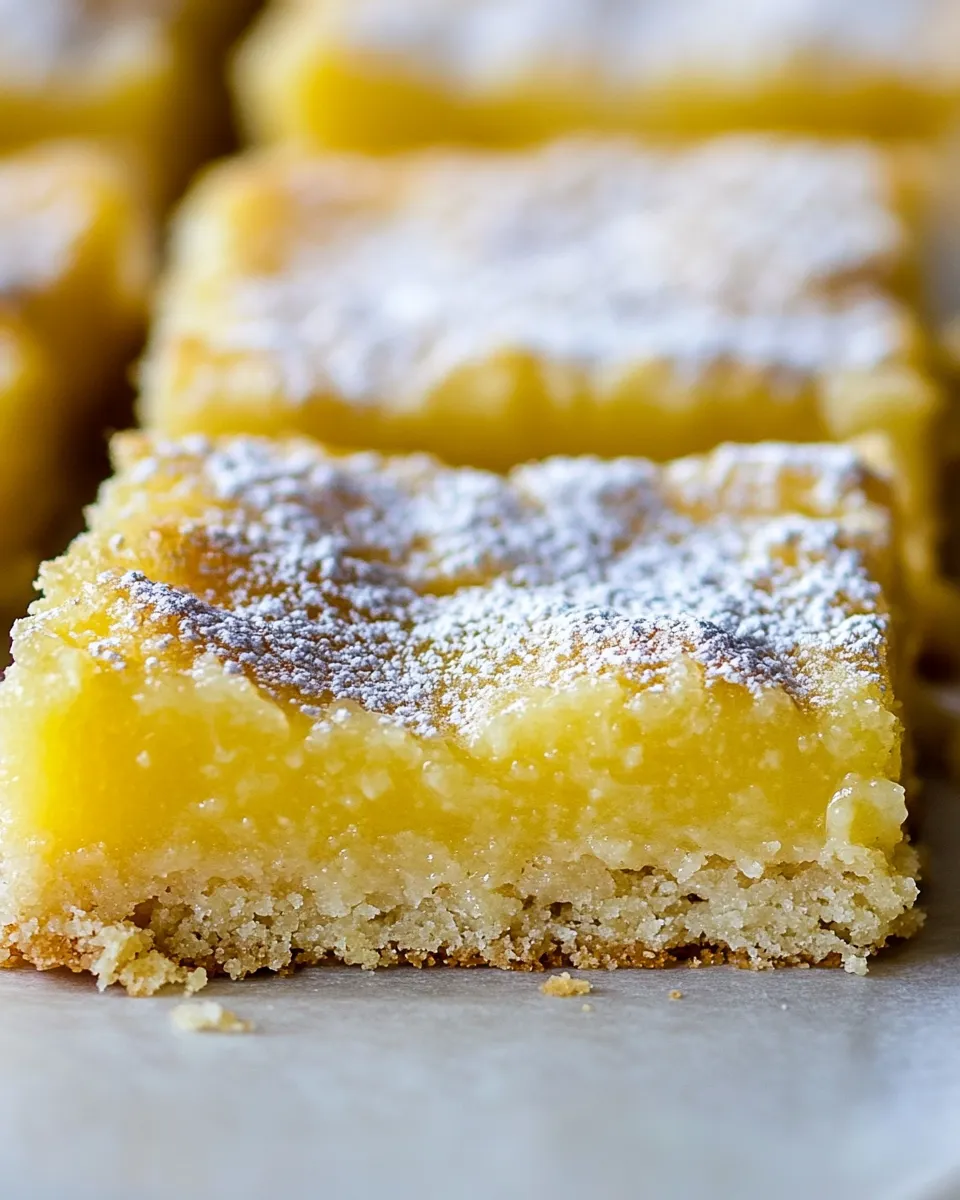
Once baked, remove the pan from the oven and allow it to cool completely at room temperature. Once cool, dust the top with 1/2 cup of confectioners’ sugar for a delightful finish.
Dairy-Free/Gluten-Free Swaps
If you’re looking for alternatives to accommodate dietary restrictions, consider these swaps:
- Gluten-Free: Substitute the all-purpose flour with a gluten-free flour blend that can be used for baking.
- Dairy-Free: The recipe is already dairy-free as it uses coconut oil instead of butter.
- Egg Substitute: For a vegan option, you can use a flaxseed egg (1 tablespoon of ground flaxseed mixed with 2.5 tablespoons of water per egg) for each egg needed.
Author’s Commentary
Sunny Lemon Squares are one of those recipes that never fail to impress. Each bite is a perfect harmony of sweet and tart, making them a standout dessert for any occasion. I love how they can be made in advance and stored in the fridge, making them a convenient treat to have on hand. The joy of seeing friends and family enjoy these squares is unmatched!
Refrigerate, Freeze, Reheat
To store your Sunny Lemon Squares, simply keep them in an airtight container in the refrigerator for up to one week. If you want to keep them longer, you can freeze the squares. Just cut them into pieces, place them in a single layer in a freezer-safe container, and freeze for up to three months. To serve, thaw them in the refrigerator overnight and dust with confectioners’ sugar just before serving for that fresh look!
FAQ
Can I use bottled lemon juice instead of fresh lemon juice?
While you can use bottled lemon juice in a pinch, fresh squeezed lemon juice provides a brighter and more authentic flavor that enhances the overall taste of your Sunny Lemon Squares.
How do I know when the lemon squares are done baking?
The lemon squares are done when the filling is set and slightly puffed. A gentle shake of the pan should show minimal jiggle. Additionally, the edges may start to slightly pull away from the sides of the pan.
Can I add more lemon zest for a stronger flavor?
Absolutely! If you love a more intense lemon flavor, feel free to increase the lemon zest in the filling. Just be cautious not to overpower the sweetness.
What’s the best way to cut the lemon squares cleanly?
For clean cuts, use a sharp knife and wipe it with a damp cloth between cuts. This prevents the filling from sticking to the knife and gives you those perfect squares!
The Takeaway
Sunny Lemon Squares are a delightful treat that brightens up any occasion with their vibrant flavor and appealing appearance. The combination of a buttery crust and a zesty lemon filling is simply irresistible. With easy-to-follow steps and simple ingredients, you can create these delicious squares in no time. Whether you’re baking for a special event or just indulging yourself, these Sunny Lemon Squares will surely bring a smile to your face. So, gather your ingredients, roll up your sleeves, and get ready to enjoy one of the tastiest desserts around!

Sunny Lemon Squares
Ingredients
For the Crust:
- 1 cup melted coconut oil
- 1/2 cup granulated sugar
- 1/2 teaspoon vanilla extract
- 1/2 teaspoon salt
- 2 cups all-purpose flour
For the Filling:
- 2 cups granulated sugar
- 1/3 cup all-purpose flour
- 1 tablespoon all-purpose flour
- 2 teaspoons lemon zest
- 1/4 teaspoon salt
- 6 large eggs at room temperature
- 1/2 teaspoon vanilla extract
- 1 cup fresh squeezed lemon juice
- 1/2 cup confectioners' sugar for dusting
Instructions
Instructions:
- Step 1: Preheat your oven to 350°F (175°C).
- Step 2: In a large mixing bowl, combine melted coconut oil, granulated sugar, vanilla extract, and salt. Mix well and gradually add in all-purpose flour until crumbly.
- Step 3: Press the crust mixture into the bottom of a greased 9x13-inch baking pan. Bake for 15-20 minutes until edges are lightly golden.
- Step 4: In a separate bowl, whisk together granulated sugar, all-purpose flour, lemon zest, and salt for the filling.
- Step 5: Add eggs and vanilla extract to the dry mixture, then pour in lemon juice. Whisk until smooth.
- Step 6: Pour the lemon filling over the warm crust and spread evenly.
- Step 7: Bake for an additional 20-25 minutes until the filling is set. Shake the pan gently; there should be minimal jiggle.
- Step 8: Cool completely at room temperature and dust with confectioners' sugar before serving.
Equipment
- 9x13-inch Baking Pan
- Mixing Bowls
- Whisk
- Measuring cups and spoons
- Sifter
Notes
- Store in an airtight container in the refrigerator for up to one week.
- For freezing, cut into pieces and freeze in a single layer for up to three months.
- Thaw in the refrigerator overnight before serving.


