If you’re looking for a fun and festive treat that will delight both kids and adults alike, look no further than these adorable Spider and Owl Krispie Treats! With the perfect blend of sweet and crunchy, these treats are not only easy to make but also a delightful addition to any gathering. With Halloween just around the corner or for any whimsical occasion, these treats will surely steal the show.
Imagine crispy Cocoa Pebbles mixed with gooey marshmallows and buttery goodness, all shaped into charming little creatures. This treat is perfect for school parties, family gatherings, or just a fun afternoon project with the kids. Let’s dive into why this recipe is a keeper, what you’ll need, and how to create these delightful snacks!
Why This Recipe is a Keeper
Spider and Owl Krispie Treats are not just a tasty dessert; they are a delightful way to get creative in the kitchen. The combination of Cocoa Pebbles and marshmallows creates a sweet, crunchy texture that everyone loves. Plus, decorating these treats is where the real fun begins! You can customize them to match any theme or occasion, making them a versatile treat for the entire year. Whether it’s Halloween or just a cozy autumn evening, these treats will add a touch of whimsy to your dessert table.
What You’ll Gather
- 6 cups Cocoa Pebbles
- 1 (10.5 oz) bag of mini marshmallows
- 1/4 cup butter
- Garnishes: pretzel sticks, mini marshmallows, orange taffy, or Tootsie Rolls
Equipment at a Glance
- Large mixing bowl – for combining the ingredients
- Large saucepan – to melt the butter and marshmallows
- Wooden spoon or spatula – for stirring
- 9×13-inch baking dish – to shape and set the treats
- Parchment paper – for easy removal
Spider and Owl Krispie Treats — Do This Next
Step 1: Prepare Your Baking Dish
Start by lining a 9×13-inch baking dish with parchment paper. This will help you easily lift out the treats once they have set.
Step 2: Melt Butter and Marshmallows
In a large saucepan, melt the butter over medium heat. Once melted, add in the mini marshmallows and stir continuously until completely melted and smooth.
Step 3: Combine with Cocoa Pebbles
Remove the saucepan from heat and quickly add the Cocoa Pebbles to the melted marshmallow mixture. Stir until all the cereal is fully coated.
Step 4: Press into the Baking Dish
Using a greased spatula or your hands (dampened slightly to prevent sticking), press the mixture evenly into the prepared baking dish. Make sure to pack it down firmly for a good shape.
Step 5: Let It Set
Allow the mixture to cool and set for about 30 minutes. Once set, you can cut it into squares or any shape you like. For the spiders and owls, you might want to cut them into larger rectangles to accommodate the decorations.
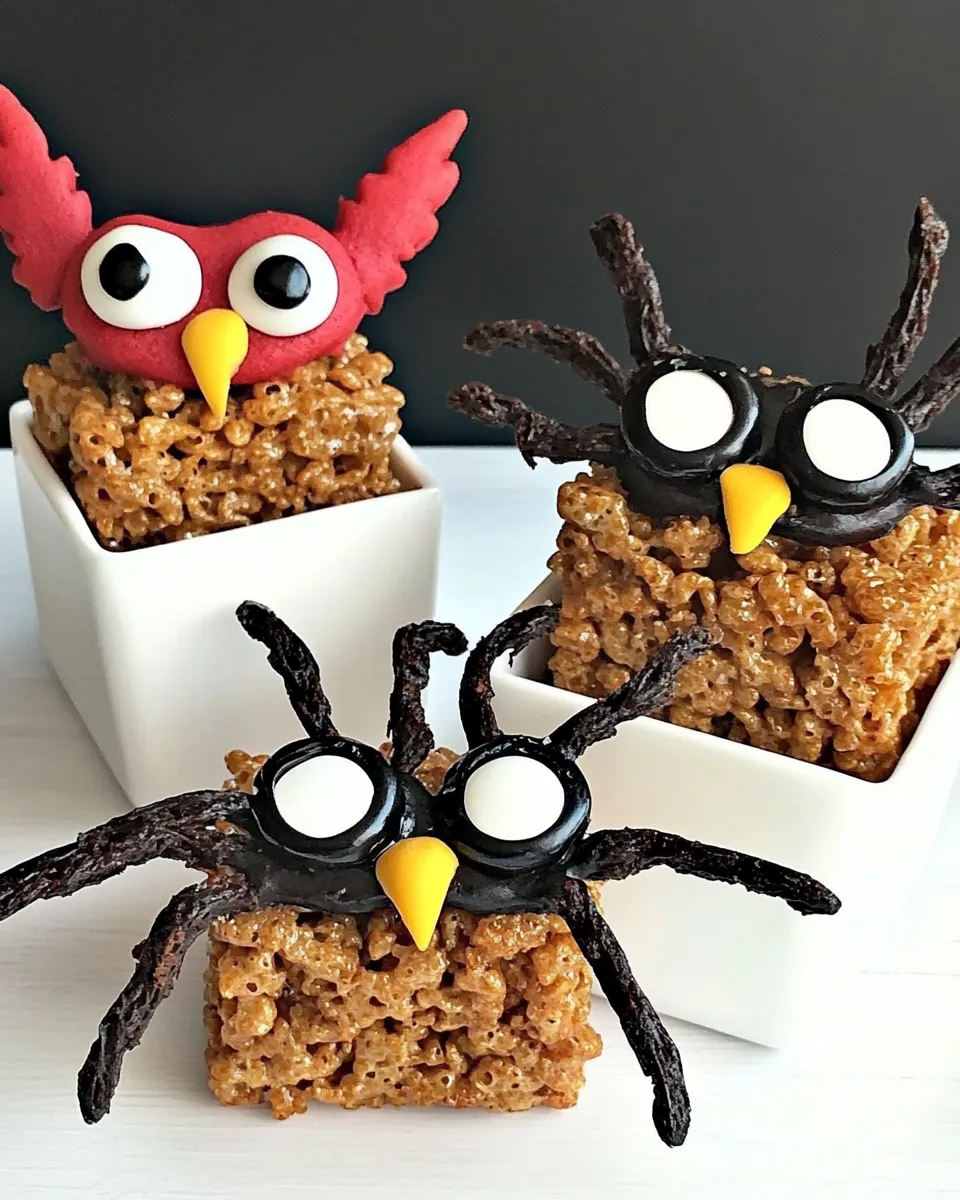
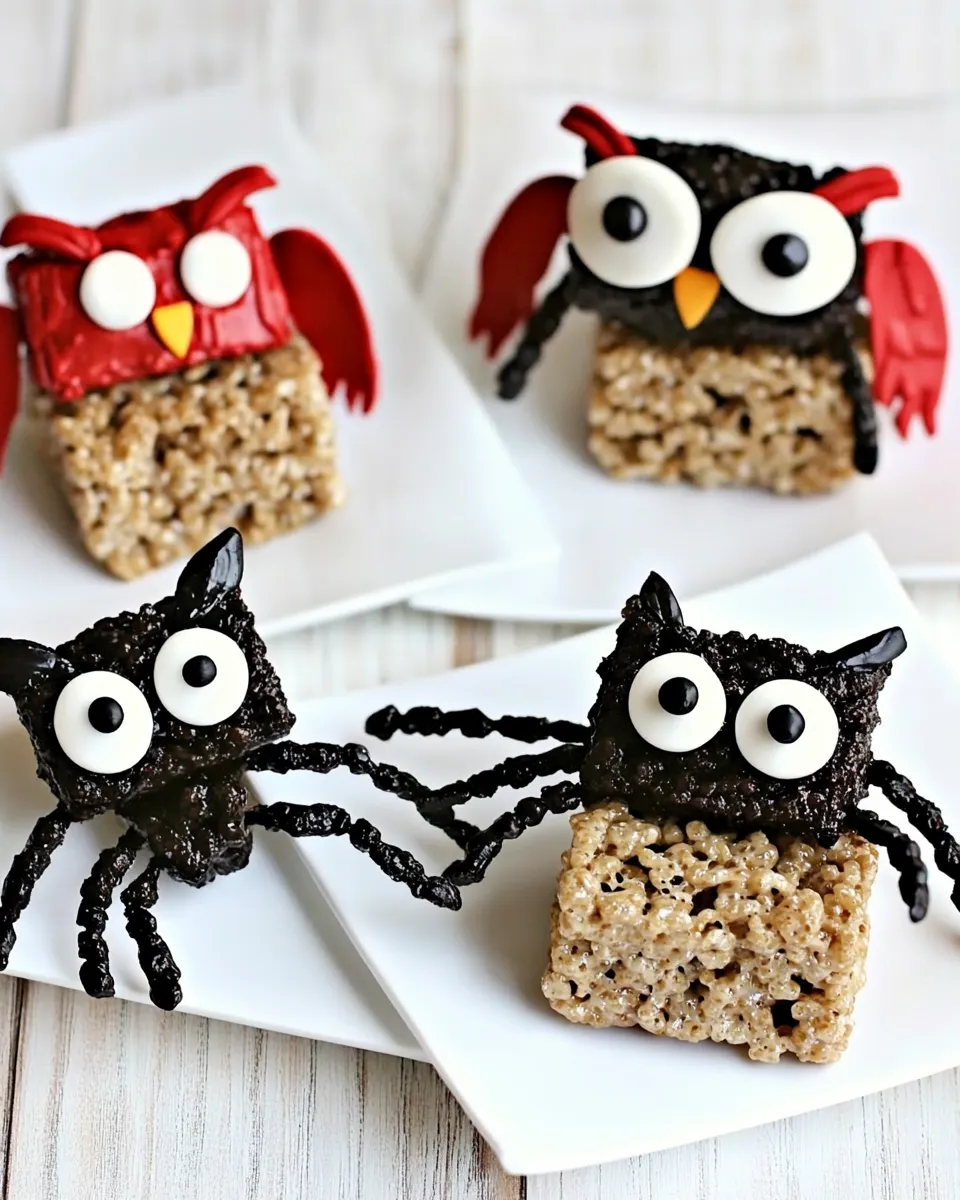
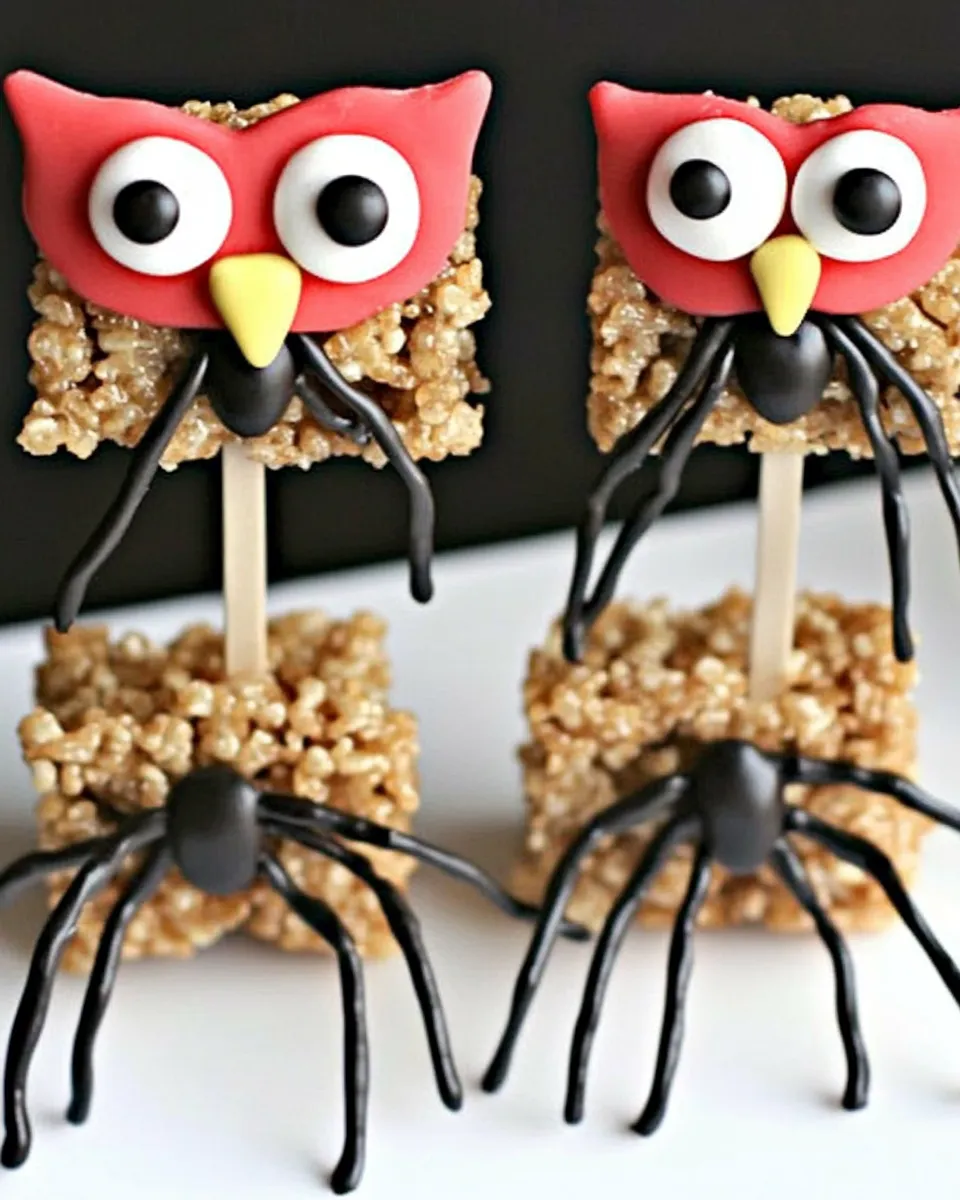
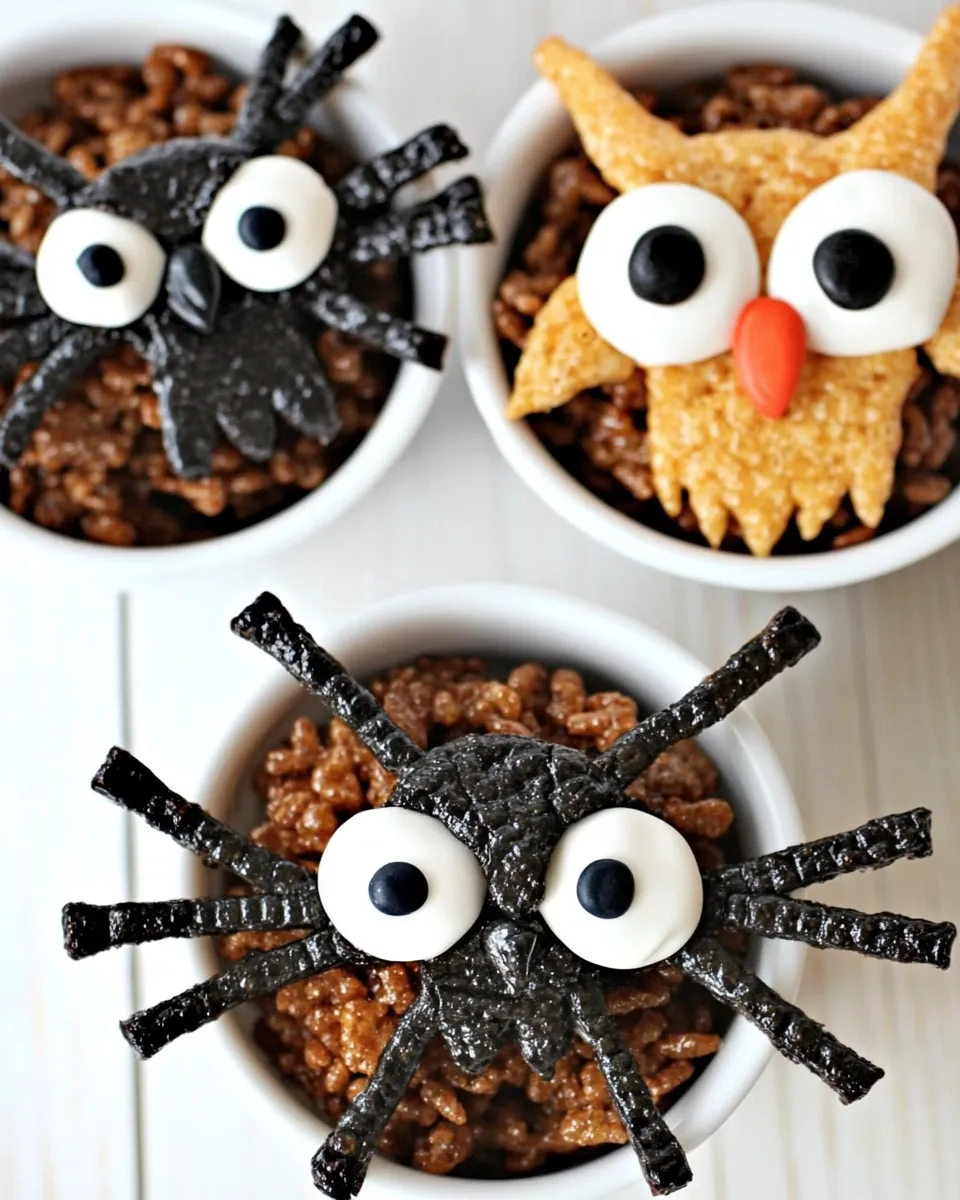
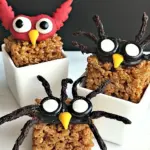
Step 6: Decorate Your Treats
Now comes the fun part! To make the spiders, use pretzel sticks for legs and mini marshmallows for the body. You can stick the pretzel legs into the sides of the treat to create a spider shape. For the owls, use orange taffy or Tootsie Rolls for beaks and additional mini marshmallows for eyes. Get creative and let your imagination run wild!
Spring to Winter: Ideas
- For a spring theme, decorate with pastel-colored candies and add flower shapes using cookie cutters.
- In winter, turn these into snowman treats by using white chocolate and mini chocolate chips for eyes and buttons.
- For summer, use fruit-flavored candies and bright colors to create a tropical vibe.
- During Thanksgiving, shape them into turkeys or pumpkins using colorful candies and frosting.
Missteps & Fixes
- If the mixture is too sticky, try lightly greasing your hands or spatula while pressing it into the dish.
- If the treats don’t hold their shape, you may need to press them down more firmly.
- If you want a crispier texture, add more Cocoa Pebbles to the mixture.
- For excess marshmallow goo, try warming your hands with a little water to help shape them without sticking.
How to Store & Reheat
Store your Spider and Owl Krispie Treats in an airtight container at room temperature for up to 3 days. For longer storage, you can refrigerate them, but note that this may alter the texture slightly. If you need to reheat them, place them in the microwave for a few seconds until just warm, but be careful not to melt the marshmallow too much.
Spider and Owl Krispie Treats FAQs
Can I use other cereals instead of Cocoa Pebbles?
Absolutely! While Cocoa Pebbles add a delicious chocolatey flavor, you can use any favorite cereal you like for a different taste.
How can I make these treats more festive for Halloween?
Incorporate edible glitter, colored chocolate melts, or themed sprinkles to enhance the Halloween spirit!
Can I make these treats in advance?
Yes, you can prepare them a day or two ahead of time. Just make sure to store them in an airtight container to keep them fresh.
What if I don’t have pretzel sticks for legs?
If pretzel sticks aren’t available, you can use other candy sticks or even licorice strings as an alternative for the spider legs.
Bring It to the Table
Once your Spider and Owl Krispie Treats are decorated and ready, it’s time to showcase them! Place them on a festive platter, perhaps adorned with some autumn leaves or Halloween decorations, and let everyone enjoy the whimsical creations. These treats are not just delicious; they are a conversation starter, bringing smiles and laughter to the table.
Incorporating creativity and fun into cooking can make even the simplest recipes remarkable. Your Spider and Owl Krispie Treats will be the highlight of any event, leaving everyone wanting more. So gather your ingredients, roll up your sleeves, and get ready for a delightful kitchen adventure! Enjoy these treats as the perfect blend of nostalgia and creativity, making them a memorable addition to your sweet repertoire.
Spider and Owl Krispie Treats
Ingredients
- 6 cups Cocoa Pebbles
- 1 bag mini marshmallows (10.5 oz)
- 1/4 cup butter
- Garnishes pretzel sticks, mini marshmallows, orange taffy, or Tootsie Rolls
Instructions
- Start by lining a 9x13-inch baking dish with parchment paper. This will help you easily lift out the treats once they have set.
- In a large saucepan, melt the butter over medium heat. Once melted, add in the mini marshmallows and stir continuously until completely melted and smooth.
- Remove the saucepan from heat and quickly add the Cocoa Pebbles to the melted marshmallow mixture. Stir until all the cereal is fully coated.
- Using a greased spatula or your hands (dampened slightly to prevent sticking), press the mixture evenly into the prepared baking dish. Make sure to pack it down firmly for a good shape.
- Allow the mixture to cool and set for about 30 minutes. Once set, you can cut it into squares or any shape you like. For the spiders and owls, you might want to cut them into larger rectangles to accommodate the decorations.
- Now comes the fun part! To make the spiders, use pretzel sticks for legs and mini marshmallows for the body. You can stick the pretzel legs into the sides of the treat to create a spider shape. For the owls, use orange taffy or Tootsie Rolls for beaks and additional mini marshmallows for eyes. Get creative and let your imagination run wild!
Equipment
- Large Mixing Bowl
- Large Saucepan
- Wooden Spoon or Spatula
- 9x13 inch Baking Dish
- Parchment Paper
Notes
- Store treats in an airtight container at room temperature for up to 3 days.
- For longer storage, refrigerate them, but note that this may alter the texture.
- If the mixture is too sticky, lightly grease your hands or spatula.
- For a crispier texture, add more Cocoa Pebbles.
- Decorate with seasonal candies for different occasions.