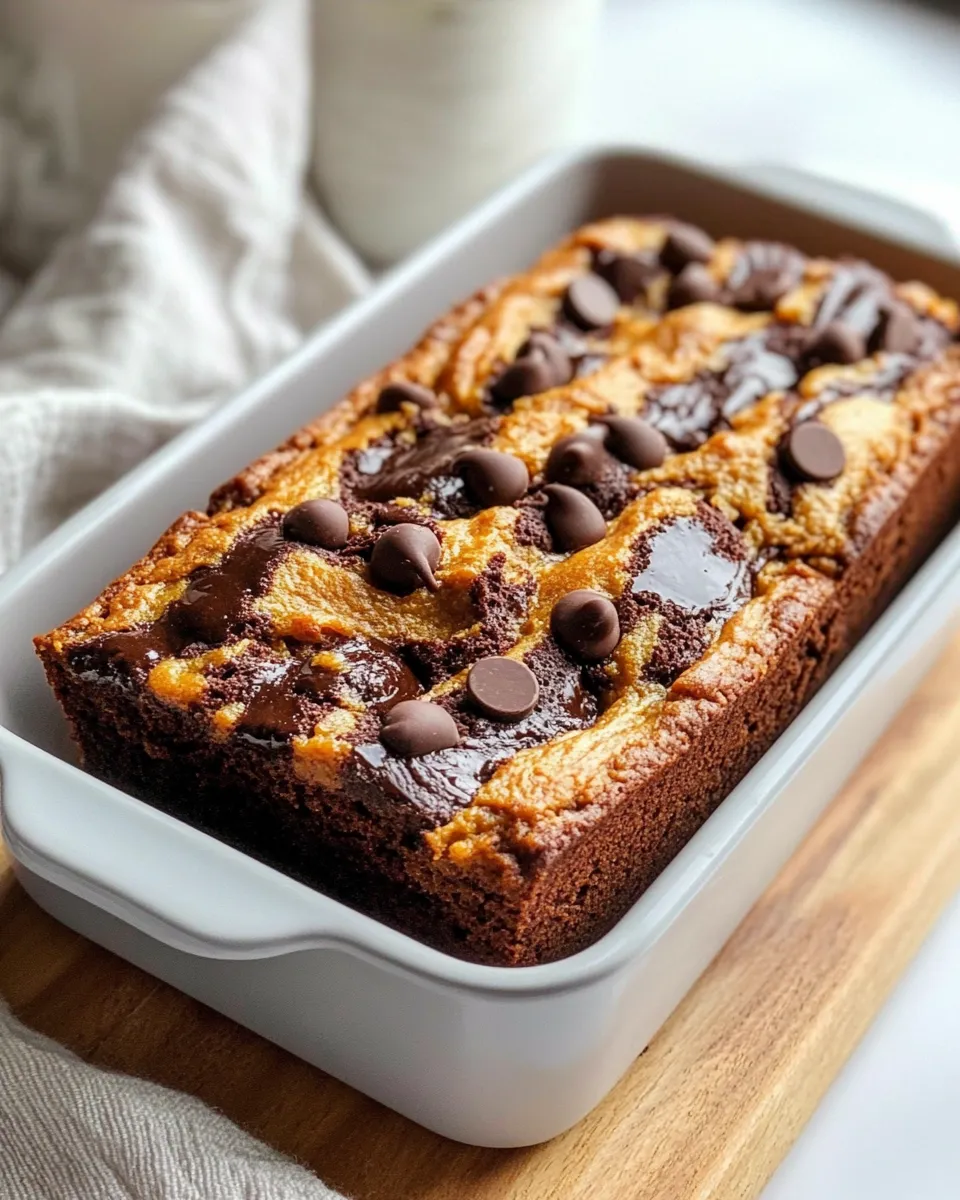
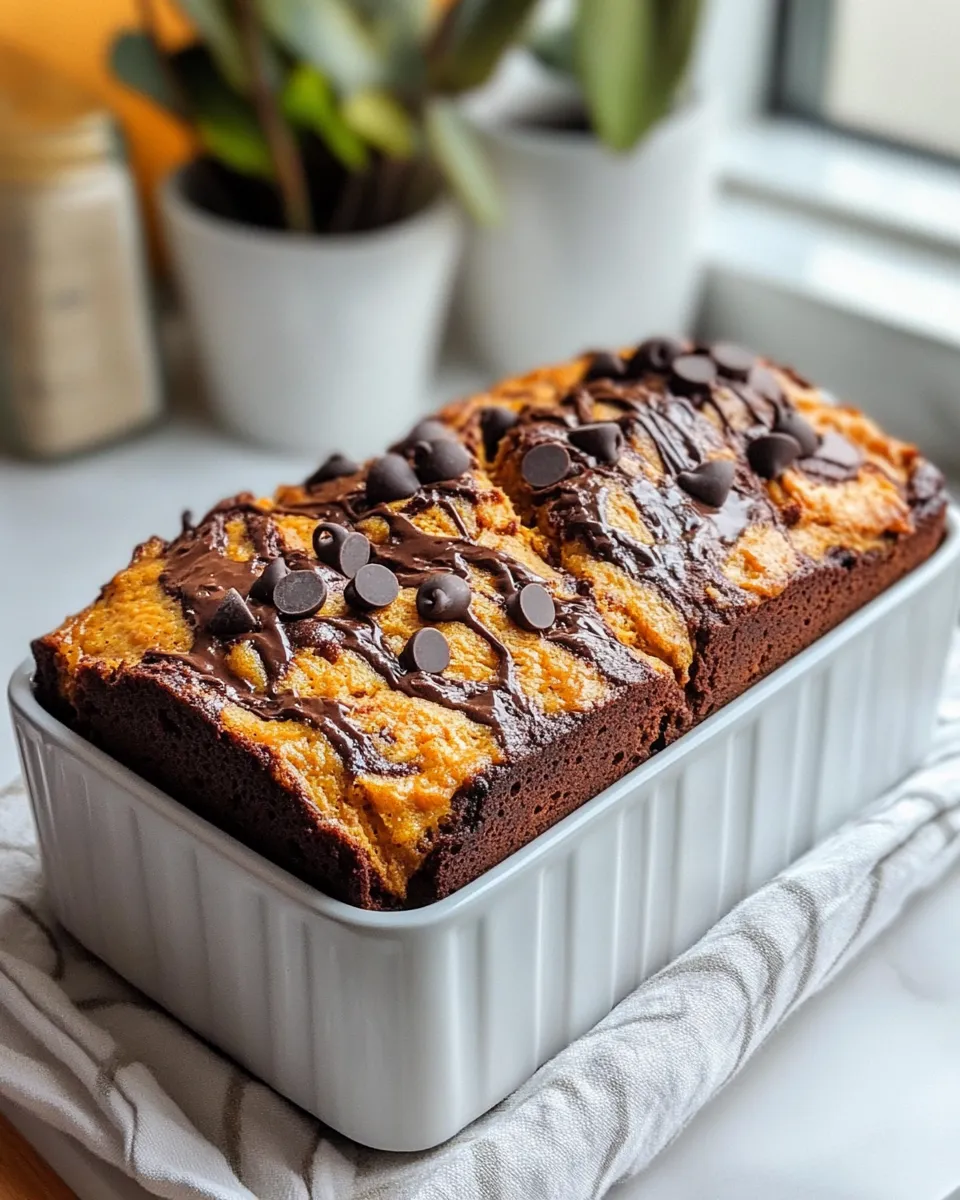
Fall is the perfect time to cozy up with a slice of something warm, comforting, and just a little bit indulgent. Enter the Pumpkin Chocolate Marble Loaf, a delightful blend of spiced pumpkin and rich chocolate swirls that comes together in one beautiful, marbled loaf. This recipe combines the earthy sweetness of pumpkin with the deep, luscious taste of cocoa, creating a treat that’s both visually stunning and unbelievably tasty. Whether you’re serving it for breakfast, a snack, or dessert, this loaf is sure to become a seasonal favorite in your kitchen.
Why It Deserves a Spot
This Pumpkin Chocolate Marble Loaf isn’t just a feast for the eyes; it’s a flavor sensation that perfectly balances pumpkin’s natural sweetness with the bittersweet allure of chocolate. The marbled effect gives each slice a gorgeous swirl that highlights both flavors in every bite. What’s more, it’s incredibly moist thanks to the pumpkin puree and oil, and it stays fresh for days, making it ideal for meal prep or gifting. It’s a versatile loaf that pairs wonderfully with a hot cup of coffee or tea, making it a wonderful addition to your fall baking lineup. Plus, it’s simple enough for bakers of all levels — no complicated techniques required!
What You’ll Need
- 1 cup pumpkin puree (pure pumpkin, not pumpkin pie filling)
- 1/2 cup granulated sugar
- 1/2 cup brown sugar (light or dark based on preference)
- 1/2 cup vegetable oil
- 3 large eggs
- 1 teaspoon vanilla extract
- 1 1/2 cups all-purpose flour
- 1 teaspoon baking powder
- 1 teaspoon baking soda
- 1/2 teaspoon salt
- 1 teaspoon ground cinnamon
- 1/2 teaspoon ground nutmeg
- 1/2 cup unsweetened cocoa powder
- 1/2 cup semi-sweet chocolate chips
Hardware & Gadgets
- Loaf pan (9×5 inch recommended) – for that perfect shape
- Mixing bowls – one for wet ingredients, one for dry
- Hand mixer or stand mixer – to quickly combine ingredients
- Spatula – for folding and swirling the batter
- Measuring cups and spoons – accuracy matters
- Toothpick or skewer – to check for doneness and create marble effect
Pumpkin Chocolate Marble Loaf: From Prep to Plate
Step 1: Preheat and Prepare
Start by preheating your oven to 350°F (175°C). Grease your loaf pan thoroughly with oil or non-stick spray, then lightly dust it with flour to prevent sticking. This simple step ensures your Pumpkin Chocolate Marble Loaf will pop right out when it’s done.
Step 2: Combine the Wet Ingredients
In a large mixing bowl, whisk together the pumpkin puree, granulated sugar, brown sugar, vegetable oil, eggs, and vanilla extract until the mixture is smooth and well combined. This will give your loaf a rich, moist base full of pumpkin flavor.
Step 3: Mix the Dry Ingredients
In a separate bowl, sift together the all-purpose flour, baking powder, baking soda, salt, cinnamon, and nutmeg. The spices are crucial here, providing that warm autumn aroma and taste that make this loaf irresistible.
Step 4: Blend Wet and Dry
Gradually add the dry ingredients to the wet ingredients, mixing gently until just combined. Be careful not to overmix — a few lumps are okay! Overmixing can lead to a dense loaf, and we want ours light and tender.
Step 5: Prepare the Chocolate Batter
Remove about one-third of the batter into a separate bowl. Stir in the unsweetened cocoa powder and half of the chocolate chips until evenly mixed. This chocolate portion will create the decadent swirl that defines the loaf.
Step 6: Marble the Batter
Pour half of the plain pumpkin batter into the prepared loaf pan. Spoon half of the chocolate batter over it. Repeat with the remaining plain and chocolate batter. Use a butter knife or skewer to gently swirl the two batters together, creating a beautiful marble effect. Don’t overdo it — you want distinct swirls!
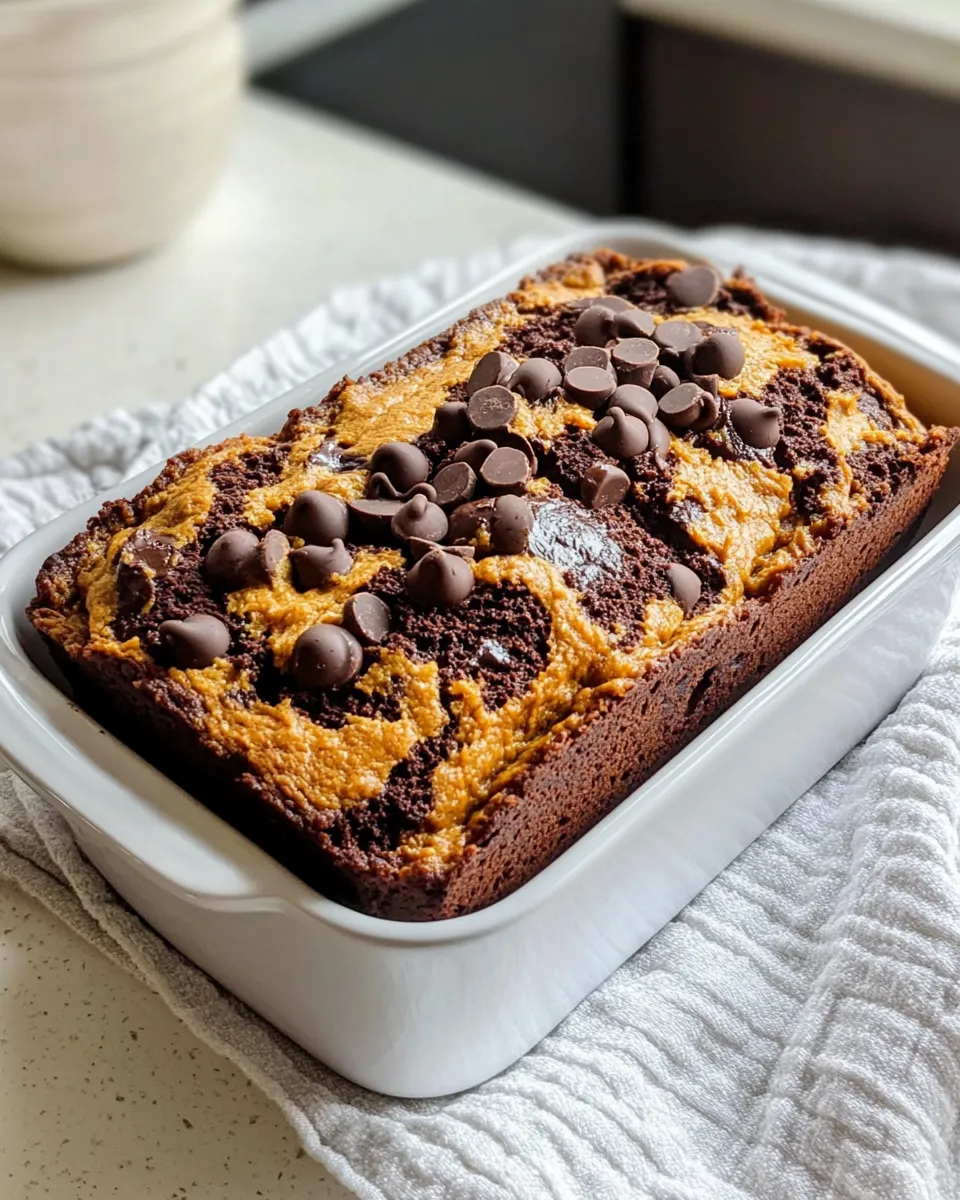
Step 7: Add Final Touch
Sprinkle the remaining semi-sweet chocolate chips over the top of the loaf for extra bursts of chocolate in each slice.
Step 8: Bake
Bake in the preheated oven for 55-65 minutes or until a toothpick inserted into the center comes out clean or with just a few moist crumbs. If the loaf starts browning too quickly, tent it loosely with foil halfway through baking.
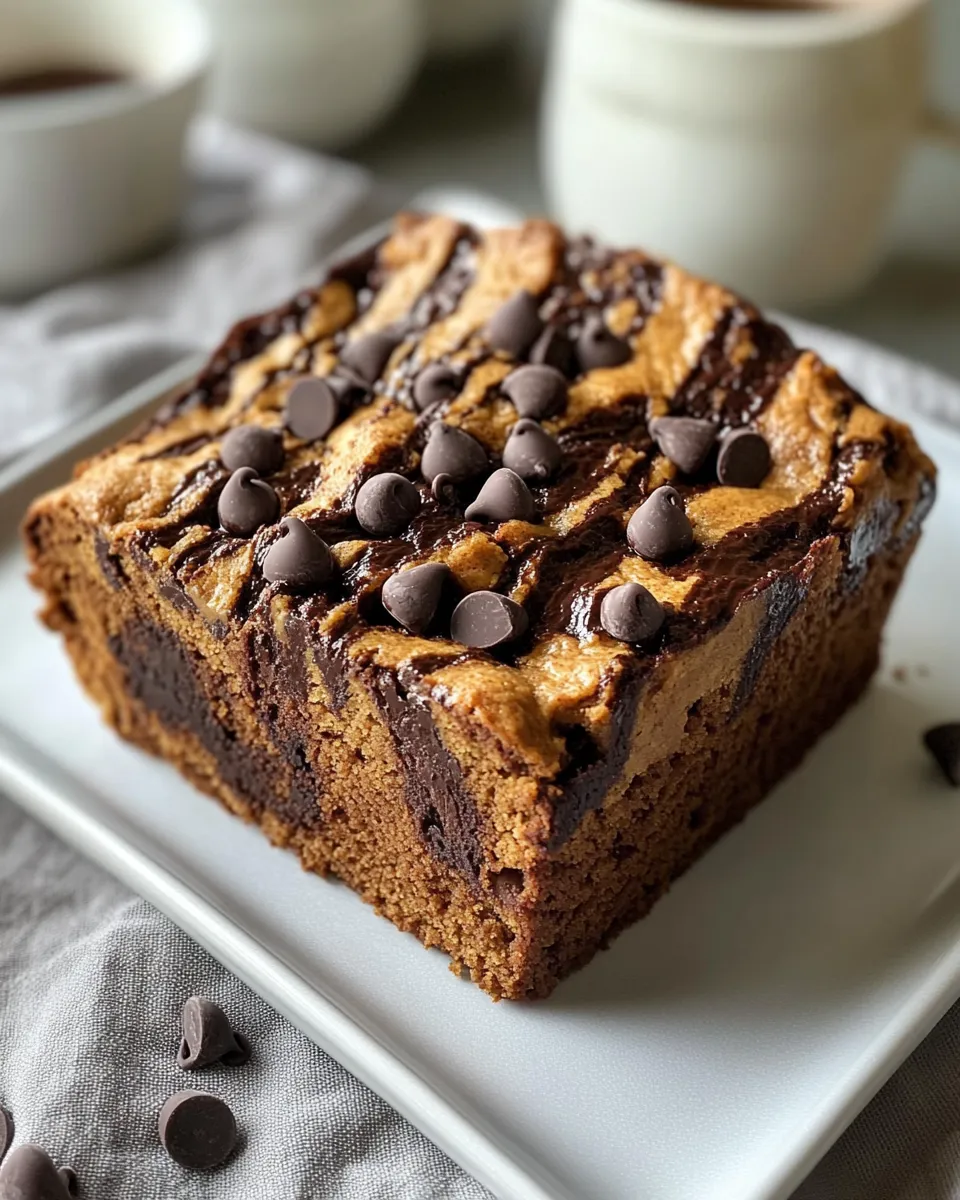
Step 9: Cool and Serve
Allow the loaf to cool in the pan for about 15 minutes before transferring it to a wire rack to cool completely. This helps it set up so your slices look neat and hold together beautifully. Serve plain, or with a pat of butter or cream cheese for extra indulgence.
Substitutions by Diet
- Oil: Use melted coconut oil or light olive oil for a different flavor profile.
- Flour: Substitute with whole wheat flour or a gluten-free blend for dietary needs.
- Sugar: Swap granulated and brown sugars for coconut sugar or maple syrup (reduce liquid slightly).
- Chocolate Chips: Use dairy-free or vegan chocolate chips if preferred.
- Eggs: Replace eggs with flax eggs (1 tablespoon flaxseed meal + 3 tablespoons water per egg) for egg-free baking.
Behind-the-Scenes Notes
- The quality of your pumpkin puree matters — fresh or canned pure pumpkin (not pumpkin pie mix) works best.
- Swirling the batter just enough to create a marbled effect is key; too much mixing will blend the flavors instead of layering them.
- Using both granulated and brown sugar adds depth — the brown sugar’s molasses enhances the pumpkin’s natural sweetness.
- Chocolate chips on top melt slightly during baking, adding a lovely texture contrast and extra chocolate flavor.
- This loaf freezes beautifully. Wrap tightly and thaw at room temperature for a quick treat anytime.
Save It for Later
Once your Pumpkin Chocolate Marble Loaf has cooled completely, slice it and store the pieces in an airtight container at room temperature for up to 3 days. For longer storage, wrap tightly and freeze for up to 3 months. To enjoy, simply thaw overnight or warm slices gently in a toaster oven or microwave.
Your Top Questions
Can I use canned pumpkin pie filling instead of pumpkin puree?
It’s best to use plain pumpkin puree rather than pumpkin pie filling, which contains added sugars and spices that can alter the balance of this recipe. Puree gives you control over the sweetness and spice level in your loaf.
How do I know when the loaf is fully baked?
Insert a toothpick or skewer into the center of the loaf. If it comes out clean or with just a few moist crumbs, the loaf is done. If there’s wet batter, give it more time and check again in 5-10 minute intervals.
Can I make mini loaves or muffins with this batter?
Absolutely! Adjust baking time accordingly—mini loaves or muffins will bake faster, typically around 20-30 minutes. Keep an eye on them to avoid overbaking.
How can I make the loaf more chocolatey?
If you’re a chocolate lover, increase the cocoa powder slightly or add more chocolate chips inside and on top. You might also drizzle melted chocolate over cooled slices for an extra decadent touch.
See You at the Table
There’s something truly special about a slice of homemade bread or loaf that brings everyone together. This Pumpkin Chocolate Marble Loaf is perfect for sharing with family and friends during cozy afternoons or festive gatherings. It’s a delicious way to celebrate the season’s bounty and to make everyday moments feel a little more magical. So grab your loaf pan, get mixing, and enjoy every marbled bite!
Share on Pinterest
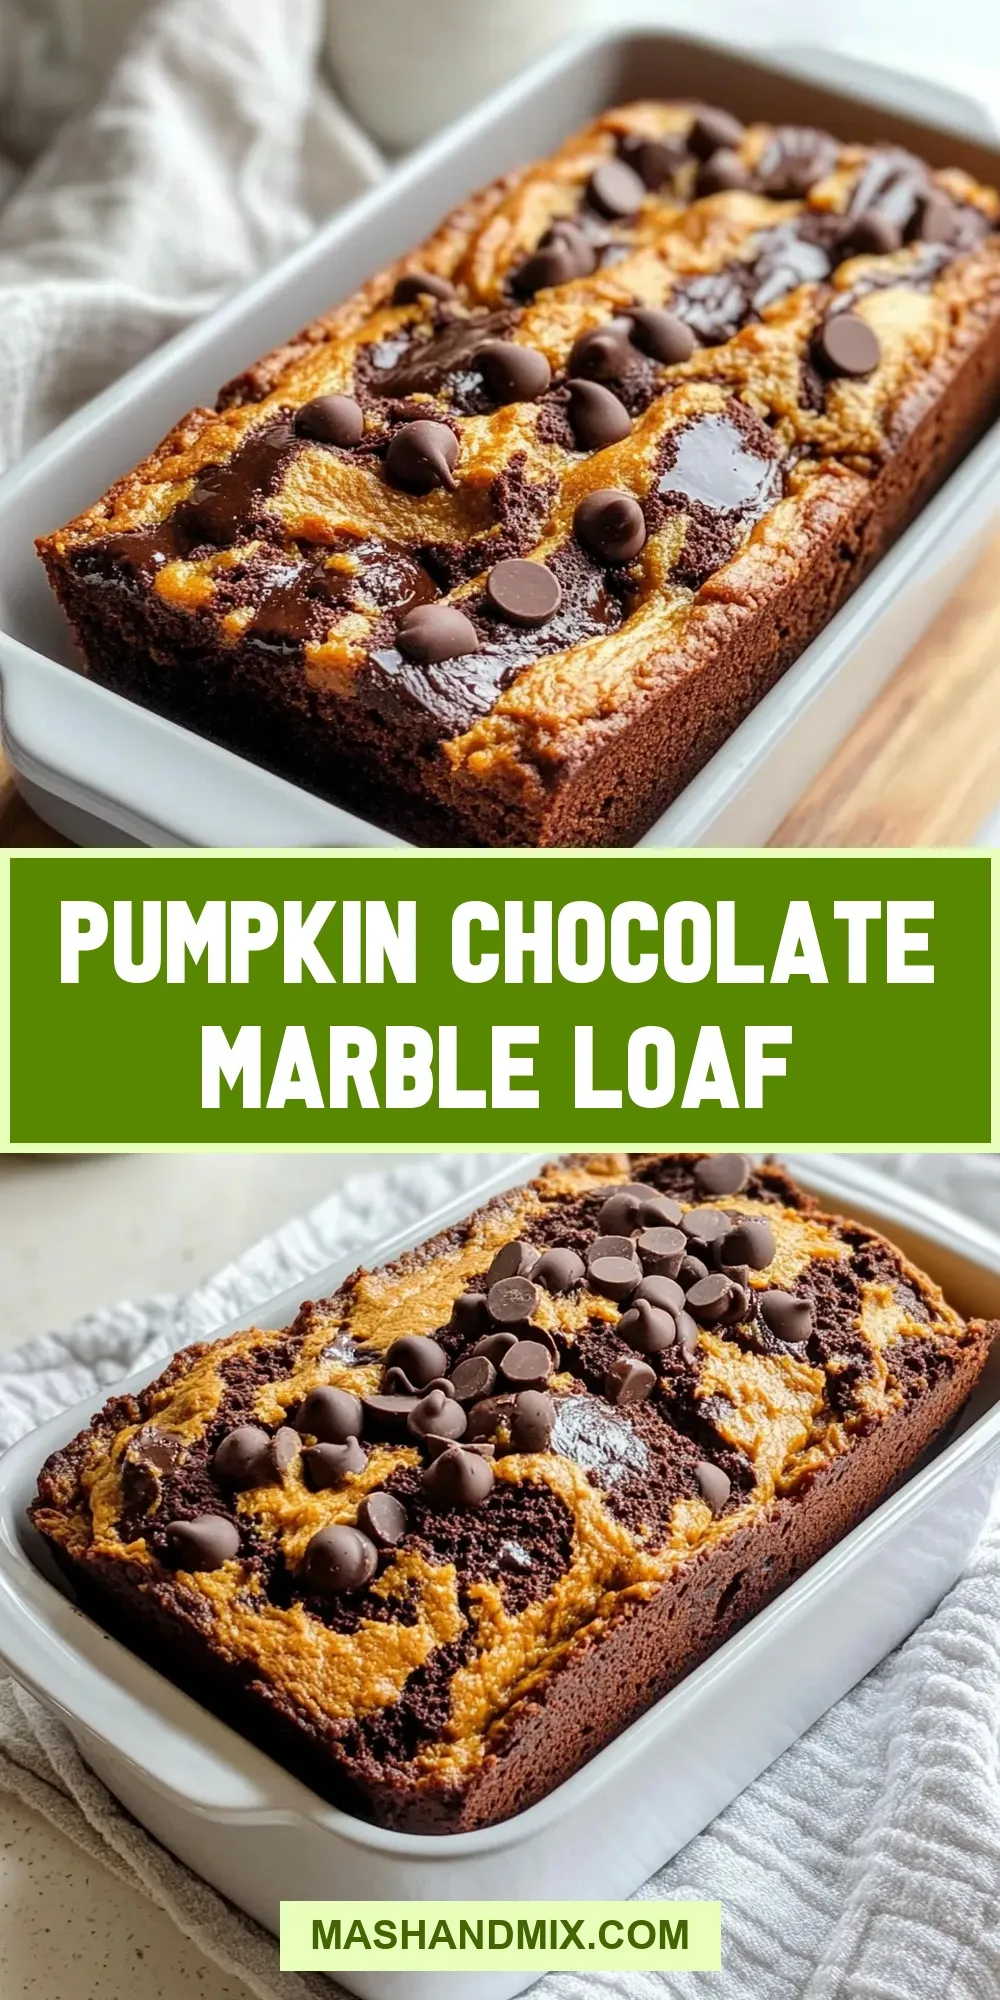

Pumpkin Chocolate Marble Loaf
Ingredients
- 1 cup pumpkin puree pure pumpkin, not pumpkin pie filling
- 1/2 cup granulated sugar
- 1/2 cup brown sugar light or dark based on preference
- 1/2 cup vegetable oil
- 3 large eggs
- 1 teaspoon vanilla extract
- 1 1/2 cups all-purpose flour
- 1 teaspoon baking powder
- 1 teaspoon baking soda
- 1/2 teaspoon salt
- 1 teaspoon ground cinnamon
- 1/2 teaspoon ground nutmeg
- 1/2 cup unsweetened cocoa powder
- 1/2 cup semi-sweet chocolate chips
Instructions
Pumpkin Chocolate Marble Loaf: From Prep to Plate
- Start by preheating your oven to 350°F (175°C). Grease your loaf pan thoroughly with oil or non-stick spray, then lightly dust it with flour to prevent sticking.
- In a large mixing bowl, whisk together the pumpkin puree, granulated sugar, brown sugar, vegetable oil, eggs, and vanilla extract until the mixture is smooth and well combined.
- In a separate bowl, sift together the all-purpose flour, baking powder, baking soda, salt, cinnamon, and nutmeg.
- Gradually add the dry ingredients to the wet ingredients, mixing gently until just combined. Be careful not to overmix — a few lumps are okay!
- Remove about one-third of the batter into a separate bowl. Stir in the unsweetened cocoa powder and half of the chocolate chips until evenly mixed.
- Pour half of the plain pumpkin batter into the prepared loaf pan. Spoon half of the chocolate batter over it. Repeat with the remaining plain and chocolate batter. Use a butter knife or skewer to gently swirl the two batters together, creating a beautiful marble effect.
- Sprinkle the remaining semi-sweet chocolate chips over the top of the loaf for extra bursts of chocolate in each slice.
- Bake in the preheated oven for 55-65 minutes or until a toothpick inserted into the center comes out clean or with just a few moist crumbs. If the loaf starts browning too quickly, tent it loosely with foil halfway through baking.
- Allow the loaf to cool in the pan for about 15 minutes before transferring it to a wire rack to cool completely. Serve plain, or with a pat of butter or cream cheese for extra indulgence.
Equipment
- Loaf pan (9x5 inch recommended)
- Mixing Bowls
- Hand mixer or stand mixer
- Spatula
- Measuring cups and spoons
- Toothpick or skewer
Notes
- Use fresh or canned pumpkin puree (not pumpkin pie filling) for the best flavor and texture.
- Swirl the batter gently to maintain distinct pumpkin and chocolate layers.
- The loaf freezes well; wrap tightly and thaw before serving.