If you’re looking for a dinner recipe that is not only delicious but also incredibly easy to prepare, you’ve stumbled upon the right dish. One Pot Thai Chicken combines the aromatic flavors of Thai cuisine with the comfort of home cooking. This meal is perfect for busy weeknights or when you want to impress guests with minimal effort. The beauty of this recipe lies in its simplicity—cooked all in one pot, it allows the flavors to meld beautifully while keeping cleanup to a minimum. One bite of this tender, flavorful chicken will transport your taste buds straight to the streets of Thailand, making it a must on your meal rotation!
Why This Recipe Is a Must-Try
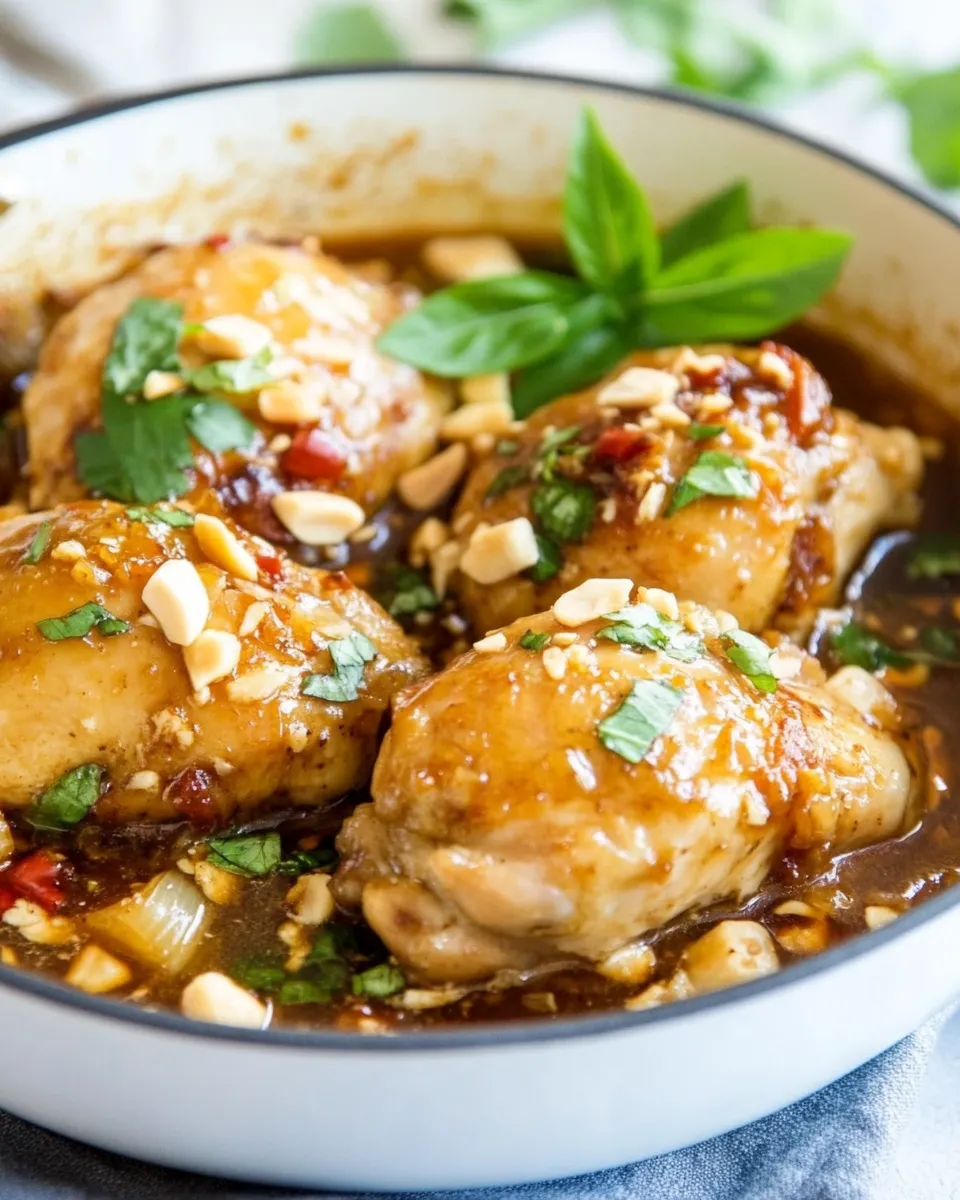
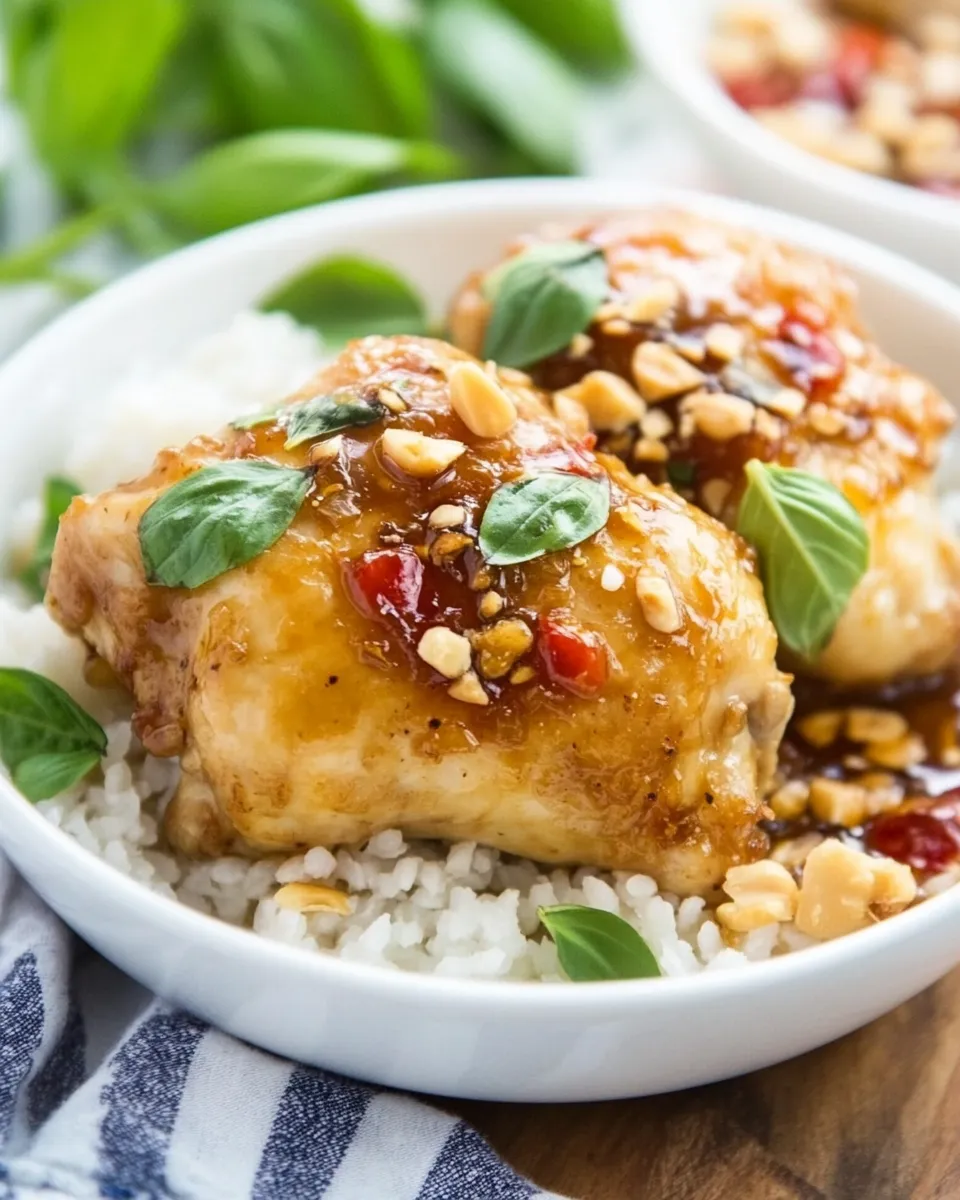
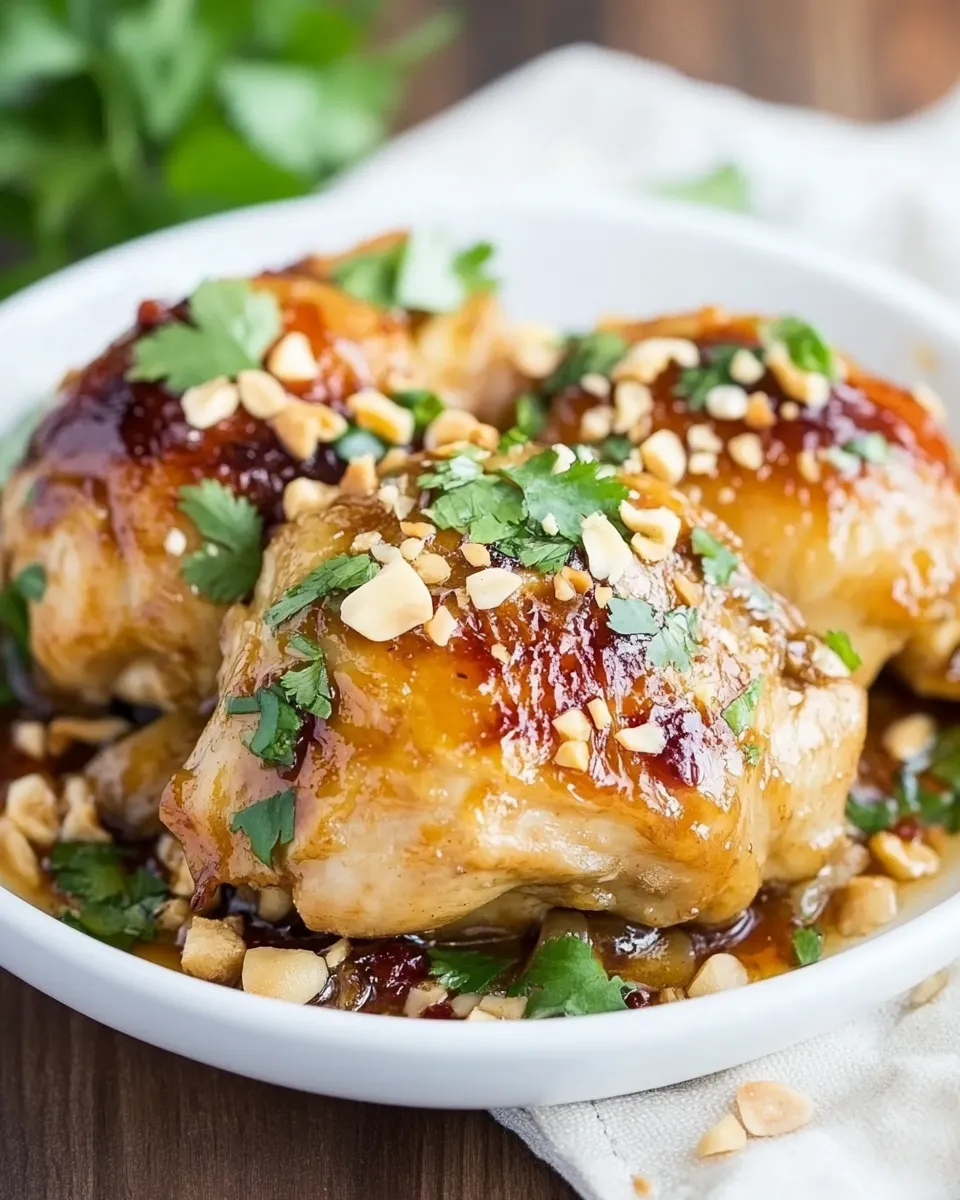
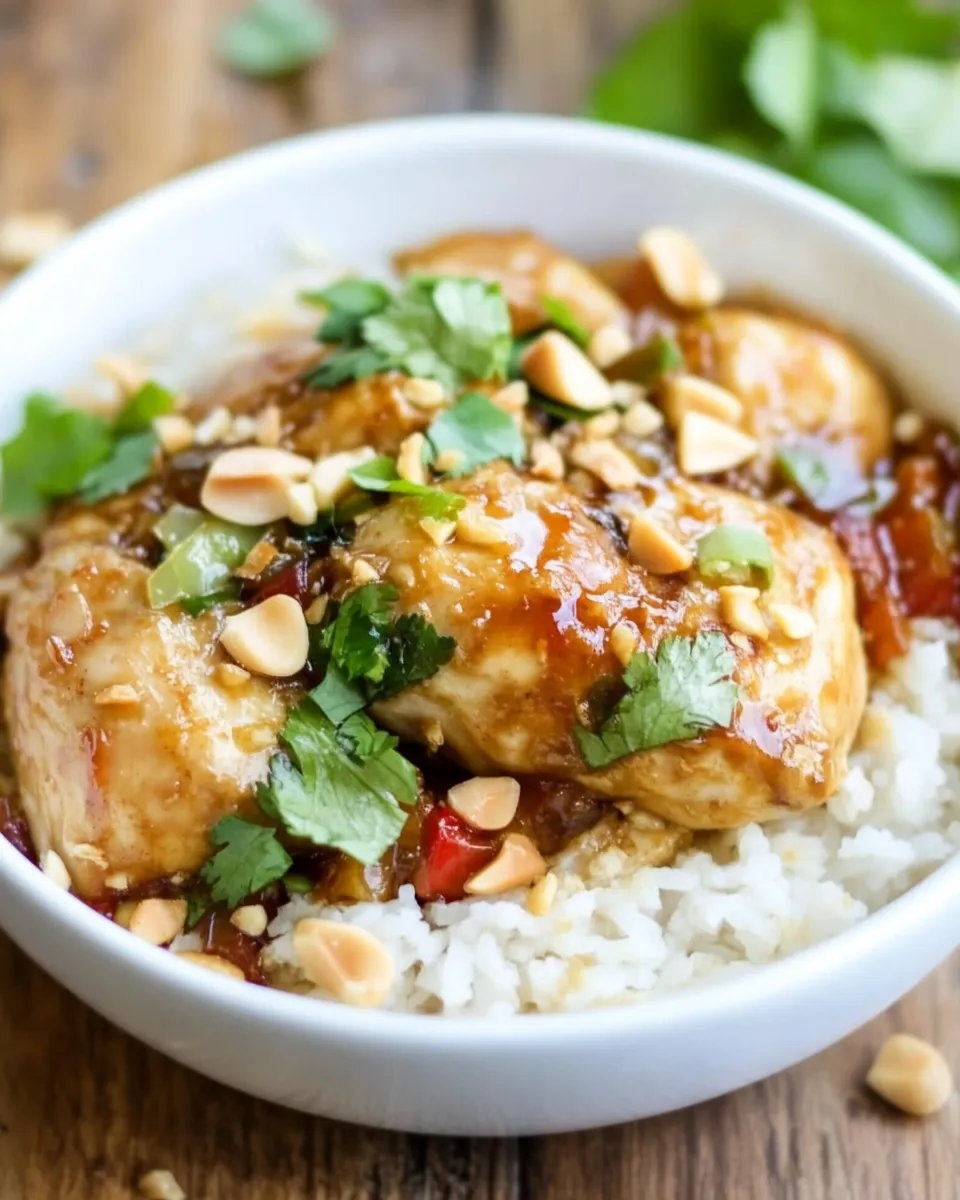
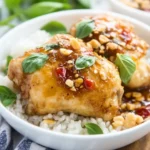
The allure of One Pot Thai Chicken lies in its rich flavors and effortless preparation. It features succulent chicken thighs seared to perfection, bathed in a luscious coconut milk sauce infused with fragrant spices and herbs. Each ingredient plays a vital role, from the creamy coconut milk that binds the dish together to the fresh vegetables that add color and crunch. It’s a balanced meal that offers protein, veggies, and healthy fats—all in one pot! Plus, the aroma that fills your kitchen will have everyone gathering around the table in anticipation.
Ingredients
- 8 bone-in, skin-on chicken thighs
- 2 tablespoons butter
- 1 can (13.5 oz) coconut milk
- 1 tablespoon red curry paste
- 1 tablespoon soy sauce
- 2 tablespoons brown sugar
- 1 tablespoon fish sauce (or substitute with more soy sauce for a vegetarian option)
- 2 cups mixed vegetables (such as bell peppers, snap peas, and carrots)
- 1 tablespoon grated ginger
- 4 cloves garlic, minced
- Fresh cilantro, for garnish
- Juice of 1 lime
How To Make One Pot Thai Chicken
Step 1: Prepare the Chicken
Start by patting the chicken thighs dry with paper towels. This will help achieve a crispy skin. Season both sides of the chicken thighs with salt and pepper to taste.
Step 2: Sear the Chicken
In a large pot or Dutch oven, melt 2 tablespoons of butter over medium-high heat. Once the butter is melted and bubbling, carefully place the chicken thighs, skin side down, into the pot. Sear for about 5-6 minutes until the skin is golden brown and crispy. Flip the chicken and cook for an additional 5 minutes. Remove the chicken from the pot and set it aside on a plate.
Step 3: Sauté Aromatics
In the same pot, add minced garlic and grated ginger. Sauté for about 1-2 minutes until fragrant, making sure not to burn them. The residual fat from the chicken will help infuse flavor into the aromatics.
Step 4: Create the Sauce
Pour in the can of coconut milk, followed by the red curry paste, soy sauce, brown sugar, and fish sauce (or additional soy sauce). Stir well to combine and dissolve the curry paste into the coconut milk, ensuring a smooth sauce.
Step 5: Add Chicken and Veggies
Return the seared chicken thighs to the pot, skin side up. Place the mixed vegetables around and on top of the chicken. Bring the mixture to a gentle simmer.
Step 6: Simmer
Cover the pot and let it simmer on low heat for about 30 minutes, or until the chicken is cooked through and reaches an internal temperature of 165°F (75°C). The flavors will deepen and the vegetables will soften beautifully during this time.
Step 7: Finish and Serve
Once the chicken is cooked, remove the lid and squeeze in the juice of one lime. This brightens up the flavors perfectly. Garnish with fresh cilantro before serving. Enjoy your One Pot Thai Chicken with steamed jasmine rice or quinoa to soak up that delicious sauce!
Expert Tips
- For extra flavor, marinate the chicken thighs in the sauce a few hours ahead of cooking.
- You can substitute chicken breasts if you prefer a leaner option, but chicken thighs are recommended for their flavor and tenderness.
- Feel free to experiment with additions like mushrooms or zucchini for more veggie goodness.
- If you love spice, add chopped fresh chili or a dash of red pepper flakes for a bit of heat!
Variations and Customizations
- Swap the mixed vegetables for your favorites, such as broccoli or bok choy.
- To make it dairy-free, ensure you are using a plant-based butter alternative if needed.
- Replace the fish sauce with a vegan alternative or simply add more soy sauce if you want to keep it vegetarian.
- Add fresh basil or mint leaves for an extra layer of freshness just before serving.
How to Store Leftovers
Leftovers of One Pot Thai Chicken can be stored in an airtight container in the refrigerator for up to 3 days. To reheat, simply warm it on the stovetop over low heat, adding a splash of water or coconut milk to loosen the sauce if necessary. This dish also freezes well. Transfer cooled leftovers into freezer-safe containers, and they can last up to 3 months. Thaw in the refrigerator overnight before reheating.
FAQ
Can I use boneless chicken thighs instead of bone-in?
Yes! You can substitute boneless, skinless chicken thighs, but be aware that the cooking time will be shorter. Start checking for doneness around 20 minutes of simmering.
Can I make this dish in advance?
Absolutely! You can make One Pot Thai Chicken a day in advance and store it in the refrigerator. The flavors will intensify, making it even tastier the next day.
Is this dish kid-friendly?
Yes, this dish is generally mild in flavor, but you can adjust the spiciness to suit your family’s taste. Simply reduce or omit the red curry paste for a more kid-friendly version.
What can I serve with One Pot Thai Chicken?
This dish pairs beautifully with steamed jasmine rice, coconut rice, or even quinoa. You can also serve it alongside a simple cucumber salad for a refreshing contrast.
Conclusion
One Pot Thai Chicken is the epitome of comfort food meets exotic flavors. With manageable cooking steps and wholesome ingredients, it promises a delightful dining experience for you and your family. Whether you’re entertaining or merely enjoying a cozy night in, this dish brings a vibrant touch of Thai cuisine to your table with minimal fuss. So go ahead, gather your ingredients, and get ready to savor every delicious bite of this soul-satisfying meal!
One Pot Thai Chicken
Ingredients
Protein
- 8 pieces bone-in, skin-on chicken thighs
Fats
- 2 tablespoons butter
Sauces
- 1 can (13.5 oz) coconut milk
- 1 tablespoon red curry paste
- 1 tablespoon soy sauce
- 2 tablespoons brown sugar
- 1 tablespoon fish sauce or substitute with more soy sauce for a vegetarian option
Vegetables
- 2 cups mixed vegetables (such as bell peppers, snap peas, and carrots)
- 1 tablespoon grated ginger
- 4 cloves garlic, minced
Garnish
- 1 piece lime, juiced
- to taste fresh cilantro for garnish
Instructions
- Step 1: Prepare the Chicken - Pat the chicken thighs dry with paper towels and season with salt and pepper.
- Step 2: Sear the Chicken - In a large pot, melt butter over medium-high heat. Sear chicken thighs skin side down for 5-6 minutes until golden brown. Flip and cook for another 5 minutes. Remove and set aside.
- Step 3: Sauté Aromatics - In the same pot, add minced garlic and grated ginger. Sauté for 1-2 minutes until fragrant.
- Step 4: Create the Sauce - Pour in coconut milk, red curry paste, soy sauce, brown sugar, and fish sauce. Stir to combine.
- Step 5: Add Chicken and Veggies - Return chicken to the pot, skin side up, and add mixed vegetables. Bring to a gentle simmer.
- Step 6: Simmer - Cover and simmer on low heat for about 30 minutes until chicken is cooked through.
- Step 7: Finish and Serve - Remove lid, squeeze lime juice, and garnish with cilantro. Serve with rice or quinoa.
Equipment
- Large Pot or Dutch Oven