
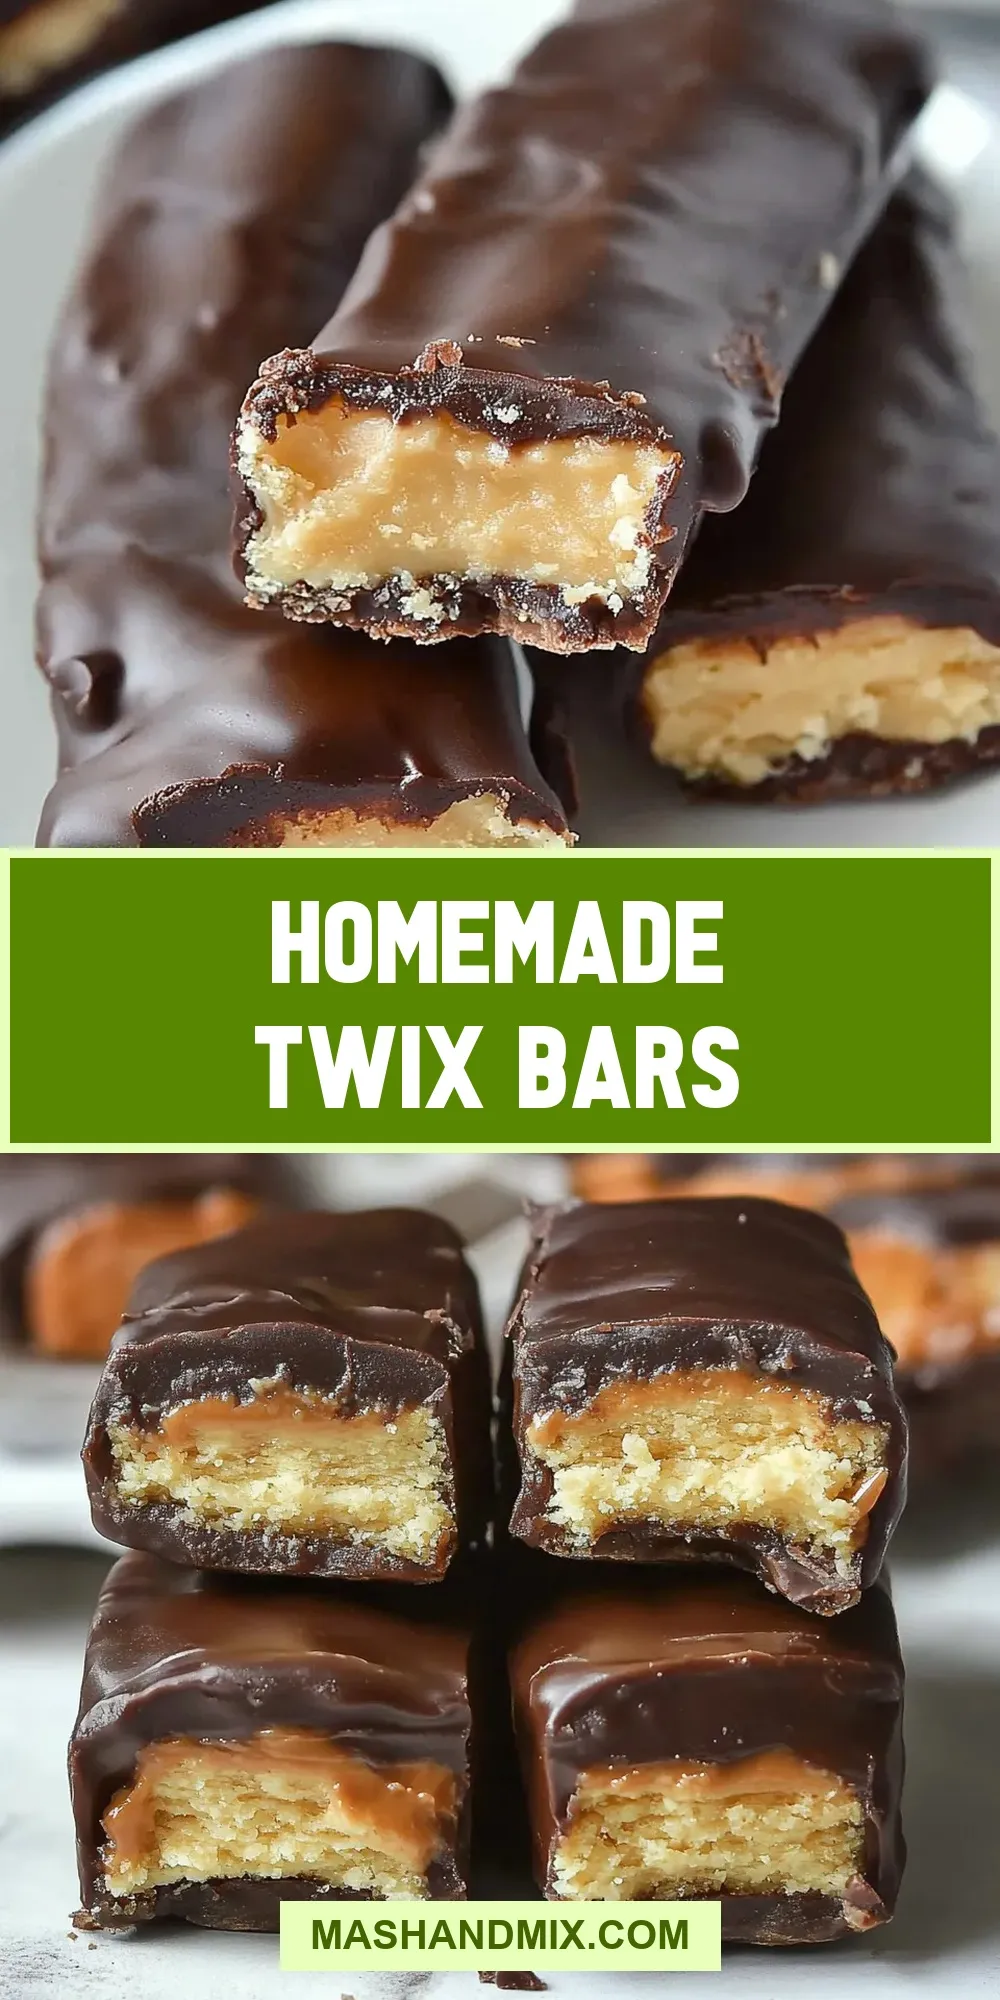
If you’ve ever craved the sweet, buttery, and chocolatey goodness of a Twix bar, you’re not alone. These delightful treats are a perfect blend of shortbread, caramel, and chocolate, making them irresistible to many. Making Homemade Twix Bars at home is not only satisfying but allows you to enjoy a fresher and more customized version of this classic candy bar. You’ll be surprised how easy it is to recreate this iconic treat in your kitchen, and every bite will remind you why you loved them in the first place.
Why Homemade Twix Bars is Worth Your Time
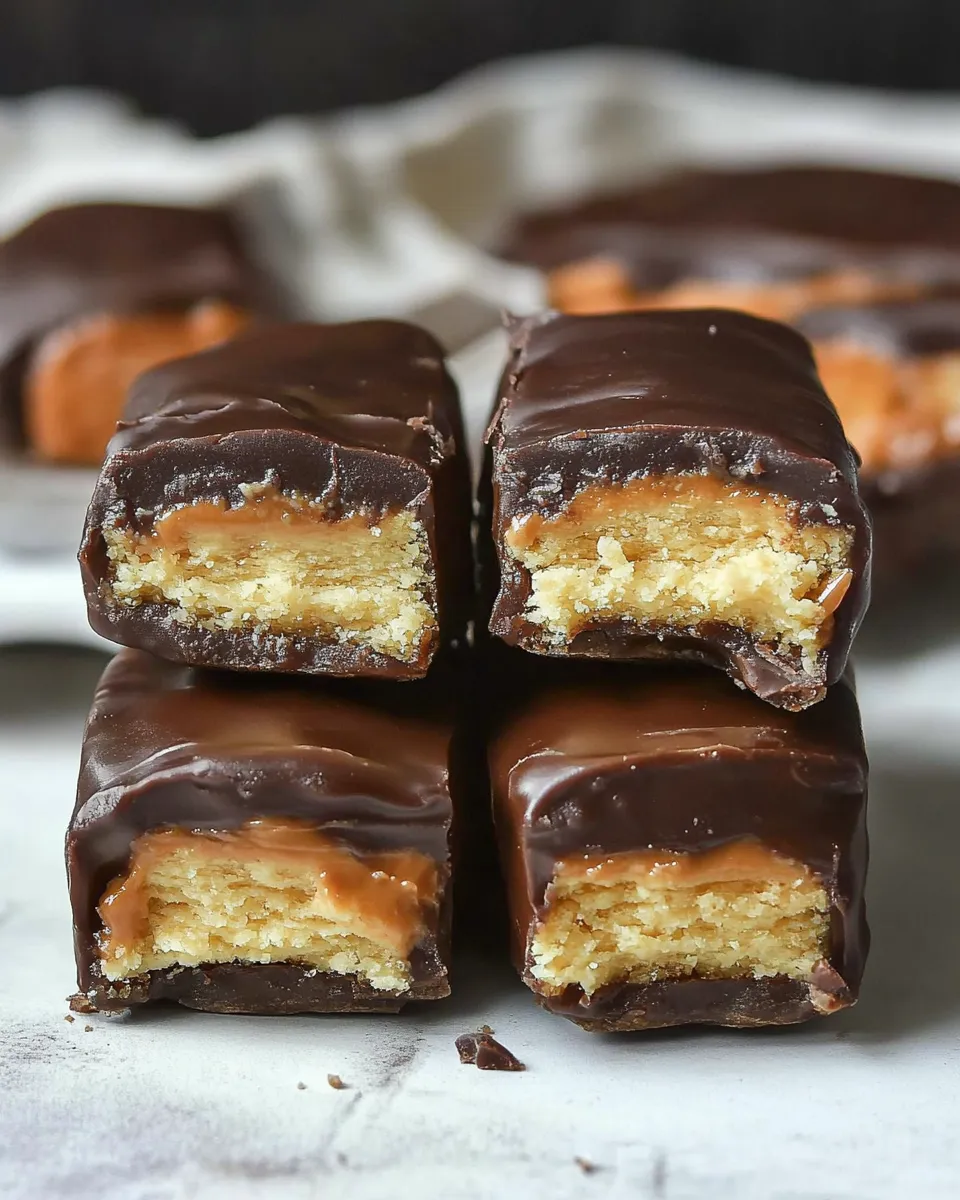
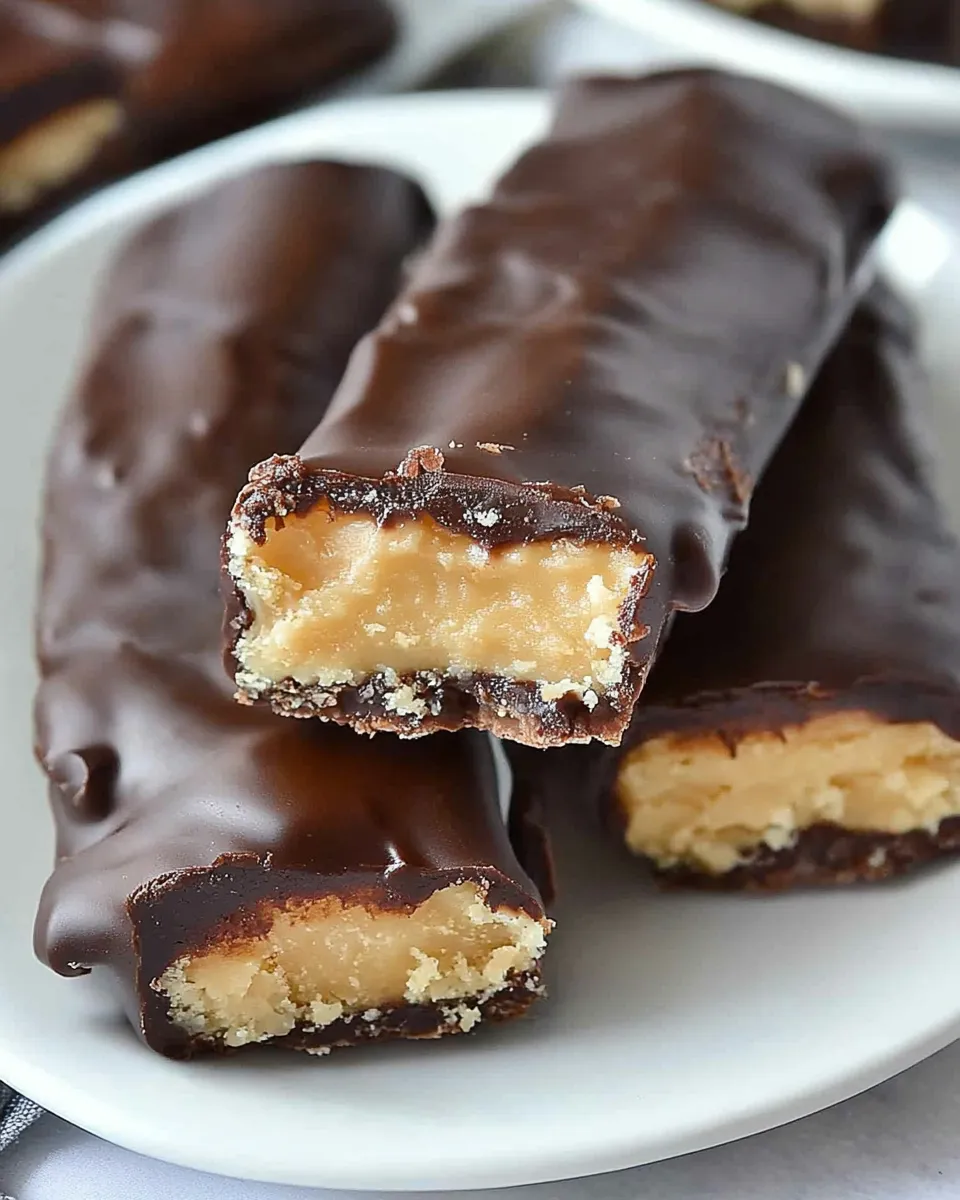
There’s something truly special about making candy at home. First, you get to control all the ingredients, ensuring everything is fresh and tailored to your taste. Second, the process can be a fun activity, whether you’re cooking solo, with friends, or with family. The satisfaction of cutting into a homemade treat and seeing those layers of shortbread, gooey caramel, and rich chocolate is unmatched. Plus, when you share these Homemade Twix Bars with others, you’ll be showered with compliments and smiles!
Shopping List
- 1/2 pound unsalted butter
- 1/2 cup powdered sugar
- 1/4 teaspoon salt
- 2 cups all-purpose flour
- 1 teaspoon vanilla extract
- 1 1/2 cups caramel baking chips
- 2 cups chocolate chips
- 1/4 cup coconut oil
Must-Have Equipment
- 9×13-inch baking dish – perfect for the size of these bars.
- Mixing bowls – for combining the ingredients easily.
- Double boiler or microwave-safe bowl – for melting chocolate and caramel.
- Parchment paper – to line your baking dish and ensure easy removal.
- Spatula or whisk – for mixing and spreading ingredients.
Homemade Twix Bars in Steps
Step 1: Make the Shortbread Crust
Start by preheating your oven to 350°F (175°C). In a mixing bowl, cream together the unsalted butter, powdered sugar, and salt until it’s light and fluffy. This will take about 3-4 minutes. Gradually add the all-purpose flour and mix until the dough comes together. Finally, stir in the vanilla extract.
Step 2: Bake the Crust
Spread the dough evenly into the bottom of a lined 9×13-inch baking dish. Bake in the preheated oven for 20-25 minutes, or until the edges start to turn a light golden brown. Once baked, let it cool completely in the pan.
Step 3: Prepare the Caramel Layer
In a double boiler or microwave-safe bowl, melt the caramel baking chips until smooth. If you’re using a microwave, heat them in increments of 30 seconds, stirring in between to prevent burning. Once melted, pour the caramel over the cooled shortbread layer and spread it evenly using a spatula. Allow the caramel to set for about 30 minutes.
Step 4: Melt the Chocolate
In the same method as the caramel, melt the chocolate chips along with the coconut oil. The coconut oil will help the chocolate set perfectly and give it a nice sheen. Stir until smooth.
Step 5: Assemble the Bars
Once the caramel has set, pour the melted chocolate over the caramel layer, spreading it evenly. Smooth out the top with a spatula. Place the baking dish in the refrigerator for 1-2 hours, or until the chocolate is completely set.
Step 6: Cut and Serve
After the chocolate has hardened, lift the bars out of the pan using the parchment paper. Cut them into desired sizes, and enjoy your Homemade Twix Bars!
Healthier Substitutions
- Use whole wheat flour instead of all-purpose flour for added fiber.
- Replace unsalted butter with coconut oil for a dairy-free option.
- Opt for dark chocolate chips instead of regular chocolate chips for a richer flavor and less sugar.
- Sugar substitutes like coconut sugar can replace powdered sugar for a lower glycemic index.
Pro Tips & Notes
- Make sure your butter is softened to room temperature for the best mixing results.
- Allow each layer to cool completely before adding the next to prevent melting.
- Try adding a pinch of sea salt on top of the chocolate layer for a salted caramel twist!
- For a fun twist, incorporate nuts or pretzels into the caramel layer for added texture.
Meal Prep & Storage Notes
Your Homemade Twix Bars can be stored in an airtight container at room temperature for up to a week. For longer storage, keep them in the refrigerator for up to two weeks. You can also freeze them for up to three months. Just make sure to wrap them tightly in plastic wrap and then in foil to prevent freezer burn.
Handy Q&A
Can I use store-bought caramel instead of baking chips?
Yes, you can use store-bought caramel sauce. Just make sure to heat it gently to make it pourable, and you may need to adjust the setting time.
Can I make these bars gluten-free?
Absolutely! Substitute the all-purpose flour with a gluten-free flour blend, and they will still turn out delicious.
How do I cut the bars neatly?
To cut clean lines, use a sharp knife and warm it under hot water before cutting. Wipe the knife clean between cuts for the best results.
What can I do if my chocolate isn’t setting properly?
If your chocolate isn’t setting, it could be due to excess moisture or not enough coconut oil. Try placing the bars in the refrigerator for a bit longer until the chocolate hardens.
Bring It Home
Making Homemade Twix Bars is a delightful way to indulge your sweet tooth while also enjoying the satisfaction of homemade treats. Whether you’re prepping for a party, a holiday, or just a cozy night in, these bars will surely impress. Enjoy the process, savor every layer, and don’t forget to share with friends and family (if you can resist the temptation of eating them all yourself!). Happy baking!
Share on Pinterest
Homemade Twix Bars
Ingredients
- 1/2 pound unsalted butter
- 1/2 cup powdered sugar
- 1/4 teaspoon salt
- 2 cups all-purpose flour
- 1 teaspoon vanilla extract
- 1 1/2 cups caramel baking chips
- 2 cups chocolate chips
- 1/4 cup coconut oil
Instructions
- Preheat your oven to 350°F (175°C). In a mixing bowl, cream together the unsalted butter, powdered sugar, and salt until light and fluffy. This will take about 3-4 minutes. Gradually add the all-purpose flour and mix until the dough comes together. Stir in the vanilla extract.
- Spread the dough evenly into the bottom of a lined 9x13-inch baking dish. Bake in the preheated oven for 20-25 minutes, or until the edges start to turn a light golden brown. Let it cool completely in the pan.
- In a double boiler or microwave-safe bowl, melt the caramel baking chips until smooth, stirring in between to prevent burning. Pour the melted caramel over the cooled shortbread layer and spread it evenly. Allow it to set for about 30 minutes.
- Melt the chocolate chips along with the coconut oil, stirring until smooth. Pour the melted chocolate over the caramel layer, spreading it evenly. Smooth out the top with a spatula.
- Place the baking dish in the refrigerator for 1-2 hours, or until the chocolate is completely set. Once set, lift the bars out of the pan using the parchment paper and cut them into desired sizes.
Equipment
- 9x13 inch Baking Dish
- Mixing Bowls
- Double boiler or microwave-safe bowl
- Parchment Paper
- Spatula or whisk
Notes
- Make sure your butter is softened to room temperature for best mixing results.
- Allow each layer to cool completely before adding the next to prevent melting.
- Try adding a pinch of sea salt on top of the chocolate layer for a salted caramel twist!


