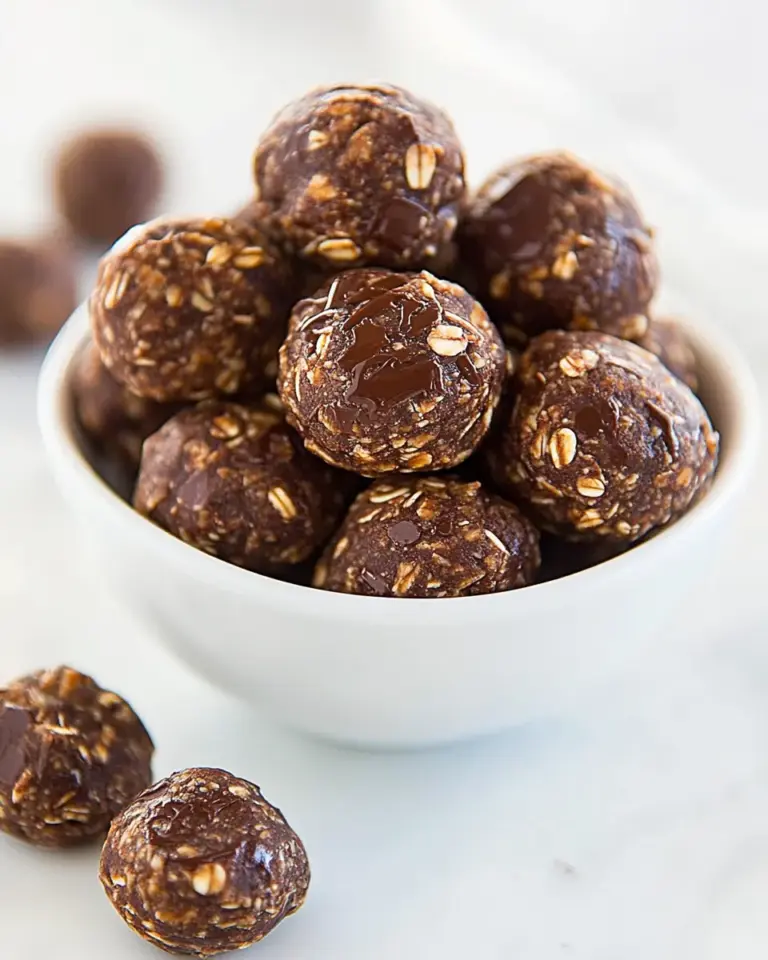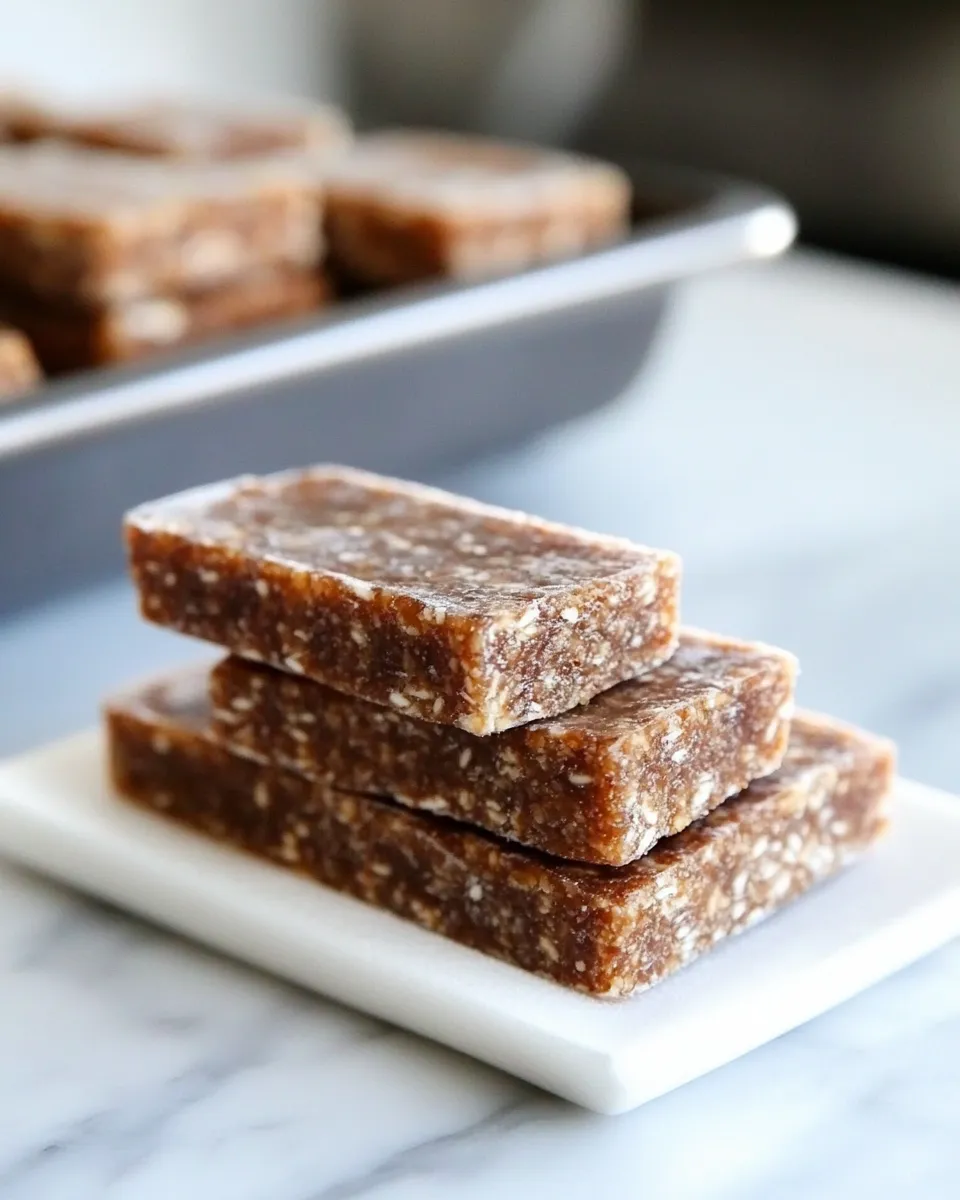
There’s something magical about a snack that’s both wholesome and indulgent. Enter Homemade Larabars, the perfect blend of flavor and nutrition that you can whip up in your own kitchen. These no-bake bars are not only easy to make but are also packed with energy, making them ideal for a busy day or a post-workout pick-me-up. With just a handful of ingredients, you can create a delicious treat that rivals any store-bought option. Let’s dive into why you’ll love making these at home and how to get started!
Reasons to Love Homemade Larabars
Homemade Larabars are a wonderful alternative to processed snacks for several reasons:
- Simple Ingredients: Made with whole foods like nuts and dates, you know exactly what you’re eating.
- Customizable: Adjust the flavors and ingredients to suit your taste preferences.
- Nutritious: Packed with healthy fats, fiber, and natural sugars, they provide sustained energy.
- Quick to Prepare: With minimal prep time, you can have a batch ready in no time.
- Cost-effective: Making your own bars can save you money compared to buying pre-packaged versions.
Gather These Ingredients
Before you begin, make sure you have the following ingredients on hand:
- 2/3 cup dry roasted unsalted peanuts: These add a delightful crunch and rich flavor.
- 24 oz pitted dates (I use the SunMaid brand): The base of the bars, providing natural sweetness.
- 1/4 cup chocolate chips: For that extra touch of indulgence. Feel free to use dark chocolate for a richer taste.
- Pinch sea salt: Enhances the flavors and balances the sweetness of the dates.
What You’ll Need (Gear)
To make your Homemade Larabars, gather the following equipment:
- Food processor: Essential for blending the ingredients into a sticky dough.
- Spatula: For scraping down the sides of the processor and transferring the mixture.
- 9×9 inch baking pan: To shape and set your bars.
- Parchment paper: Helps with easy removal of the bars after they have set.
Homemade Larabars, Made Easy
Making Homemade Larabars is a straightforward process. Follow these simple steps:
Step 1: Prepare Your Pan
Line a 9×9 inch baking pan with parchment paper, leaving some overhang to make it easier to lift the bars out later.
Step 2: Process the Peanuts
In your food processor, add the dry roasted unsalted peanuts. Pulse until they are finely chopped, but be careful not to turn them into peanut butter.
Step 3: Add the Dates
Next, add the pitted dates to the food processor with the chopped peanuts. Process until the mixture is sticky and begins to form a ball. You may need to scrape down the sides a couple of times.
Step 4: Mix in Chocolate Chips and Salt
Add the chocolate chips and a pinch of sea salt. Pulse a few more times until the chocolate chips are evenly distributed throughout the mixture.
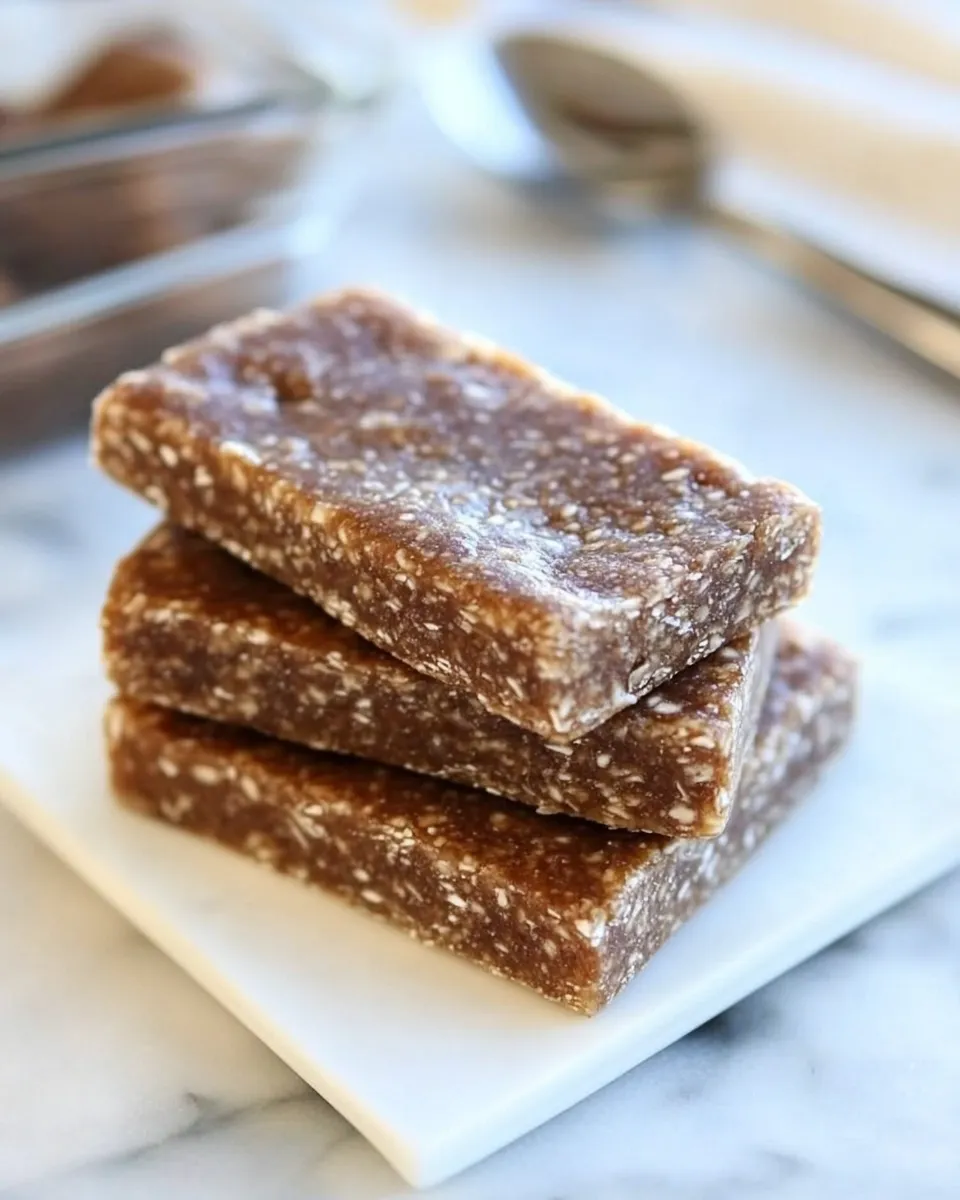
Step 5: Press the Mixture into the Pan
Transfer the mixture to the prepared baking pan. Using your spatula, press down firmly to create an even layer. Make sure it’s tightly packed for the best texture.
Step 6: Chill and Set
Place the pan in the refrigerator for at least 1 hour to allow the bars to firm up. This step is crucial for easy slicing and a good texture.
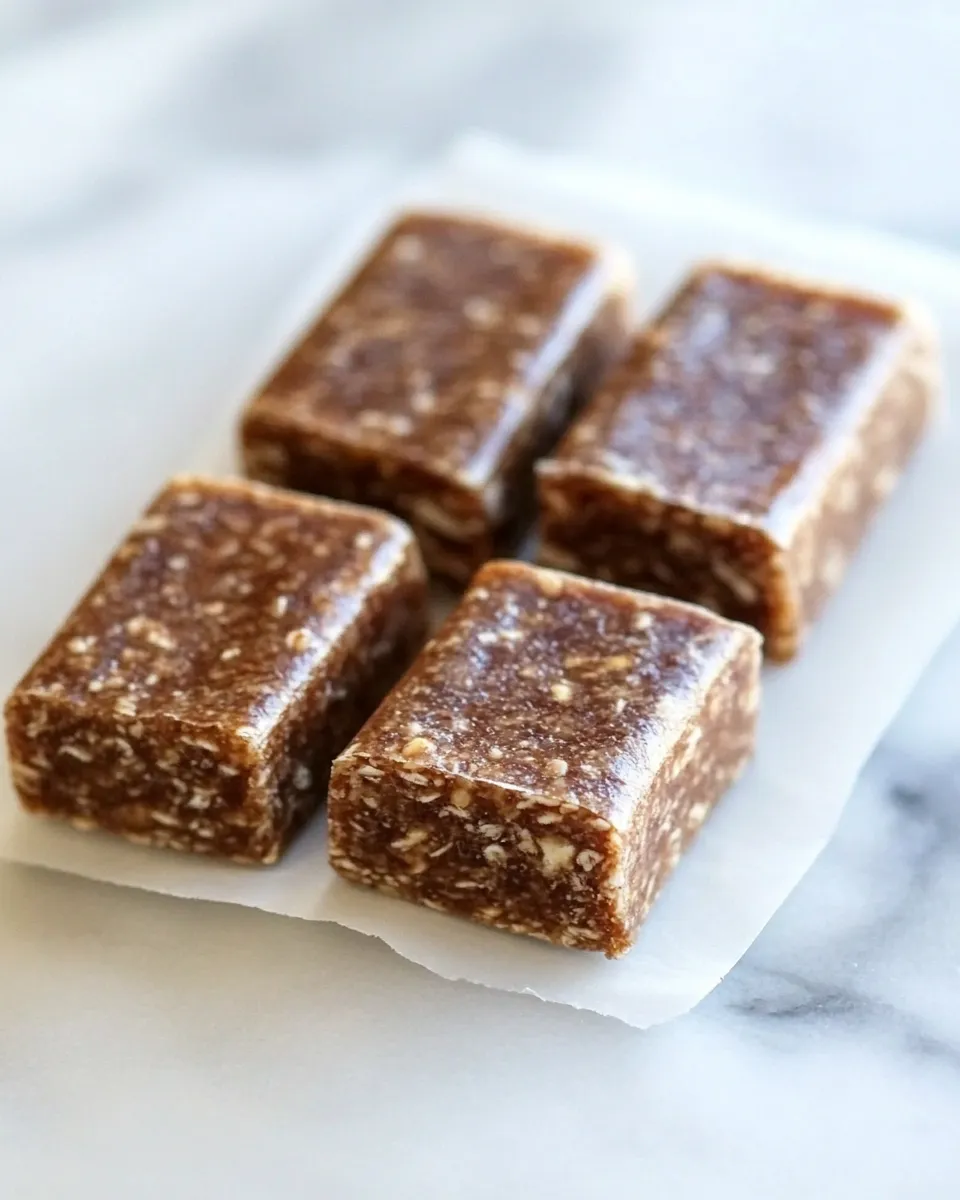
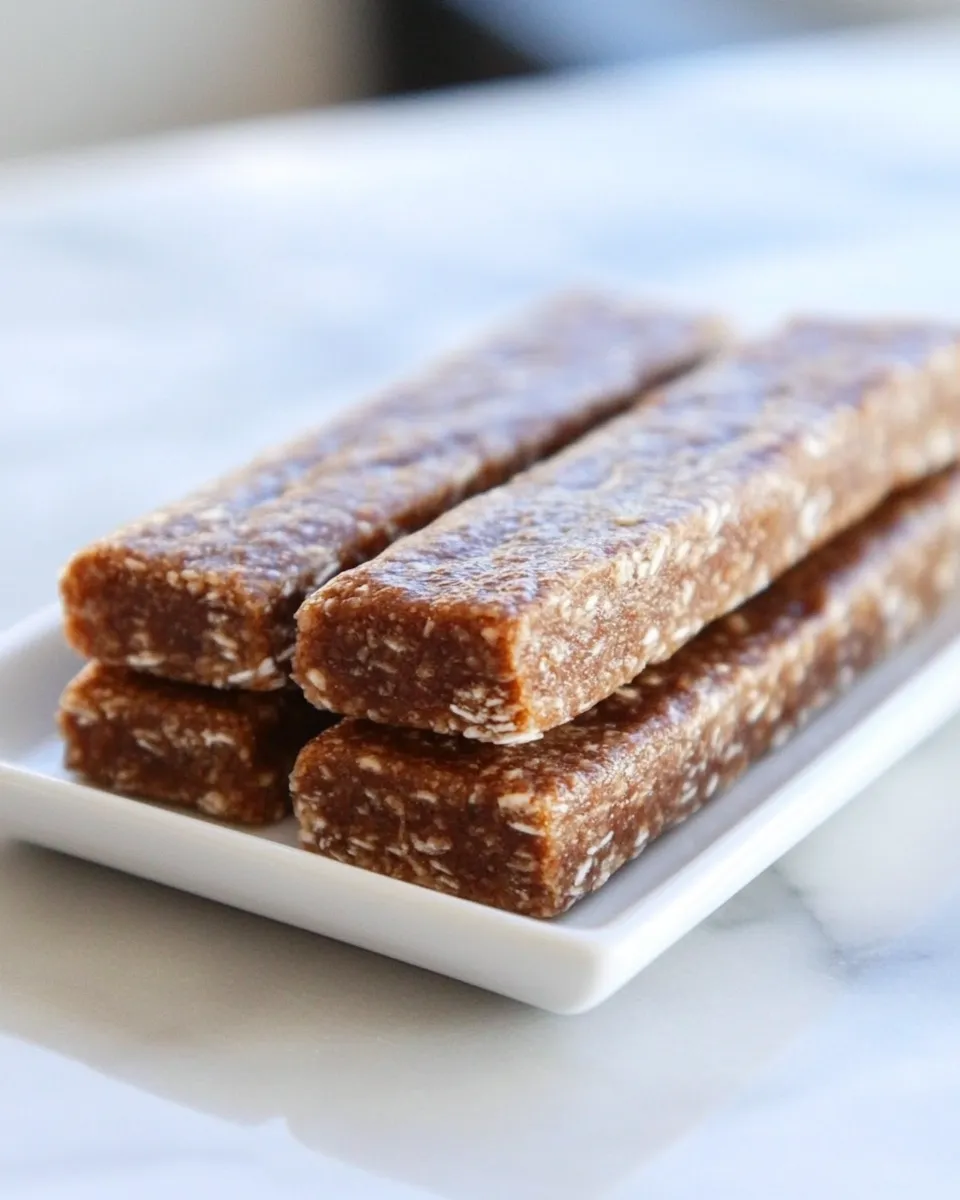
Step 7: Slice and Enjoy
Once chilled, lift the bars out of the pan using the parchment paper. Cut into squares or rectangles, depending on your preference. Enjoy your delicious Homemade Larabars!
Nutrition-Minded Tweaks
Want to make your Homemade Larabars even healthier? Consider these tweaks:
- Add some chia seeds: Boost the fiber and omega-3 content.
- Substitute almonds for peanuts: If you’re looking for a different nut flavor.
- Incorporate dried fruits: Such as cranberries or apricots for added sweetness and texture.
- Use almond butter: Instead of chocolate chips for a nutty twist.
Pro Perspective
- Storage: Store your Homemade Larabars in an airtight container in the refrigerator. They will last up to two weeks, but good luck keeping them around that long!
- Experiment: Don’t hesitate to experiment with different nut and dried fruit combinations. Each batch can be a new flavor adventure!
- Texture Tip: If you prefer a chewier texture, reduce the processing time slightly to leave some peanut chunks intact.
Cooling, Storing & Rewarming
After making your Homemade Larabars, here’s how to keep them fresh:
- Cooling: Allow the bars to cool in the fridge for at least an hour before slicing.
- Storing: Keep them in an airtight container, preferably in the fridge to maintain their firmness.
- Rewarming: If you prefer them soft, you can microwave them for a few seconds before enjoying.
Your Top Questions
Can I use other nuts instead of peanuts?
Absolutely! Almonds, cashews, or walnuts can all be used to create delicious variations of Homemade Larabars.
Are there any substitutions for chocolate chips?
If you want to skip the chocolate, try adding a scoop of nut butter or some shredded coconut for added texture and flavor.
How do I make these vegan?
All the ingredients listed are already vegan, so you can enjoy your Homemade Larabars without any modifications!
Can I freeze them?
Yes! You can freeze your Homemade Larabars. Just wrap them individually in plastic wrap or parchment paper and store them in a freezer-safe container. They will last for up to three months.
Once you’ve mastered , consider trying your hand at these delicious recipes:
Save & Share
If you loved making your Homemade Larabars, don’t forget to share the recipe with friends and family! Snap a photo and tag your creations on social media. Your kitchen accomplishments deserve to be celebrated!
With a few simple ingredients and some easy steps, you can enjoy the satisfaction of homemade snacks that are both tasty and nutritious. So roll up your sleeves, gather your ingredients, and get ready to indulge in the deliciousness of Homemade Larabars. Happy snacking!
Homemade Larabars
Ingredients
- 2/3 cup dry roasted unsalted peanuts adds crunch and flavor
- 24 oz pitted dates provides natural sweetness
- 1/4 cup chocolate chips for indulgence
- 1 pinch sea salt enhances flavors
Instructions
- Line a 9x9 inch baking pan with parchment paper, leaving some overhang for easy removal.
- In your food processor, add the dry roasted unsalted peanuts and pulse until finely chopped.
- Add the pitted dates to the food processor with the chopped peanuts and process until sticky and forming a ball.
- Mix in the chocolate chips and a pinch of sea salt, pulsing until evenly distributed.
- Transfer the mixture to the prepared baking pan and press down firmly to create an even layer.
- Chill in the refrigerator for at least 1 hour to firm up.
- Lift the bars out using the parchment paper and slice into squares or rectangles.
Equipment
- Food Processor
- Spatula
- 9x9-inch Baking Pan
- Parchment Paper
Notes
- Store in an airtight container in the fridge for up to two weeks.
- Experiment with different nuts and dried fruits for unique flavors.
- Reduce processing time for a chewier texture by leaving some peanut chunks intact.