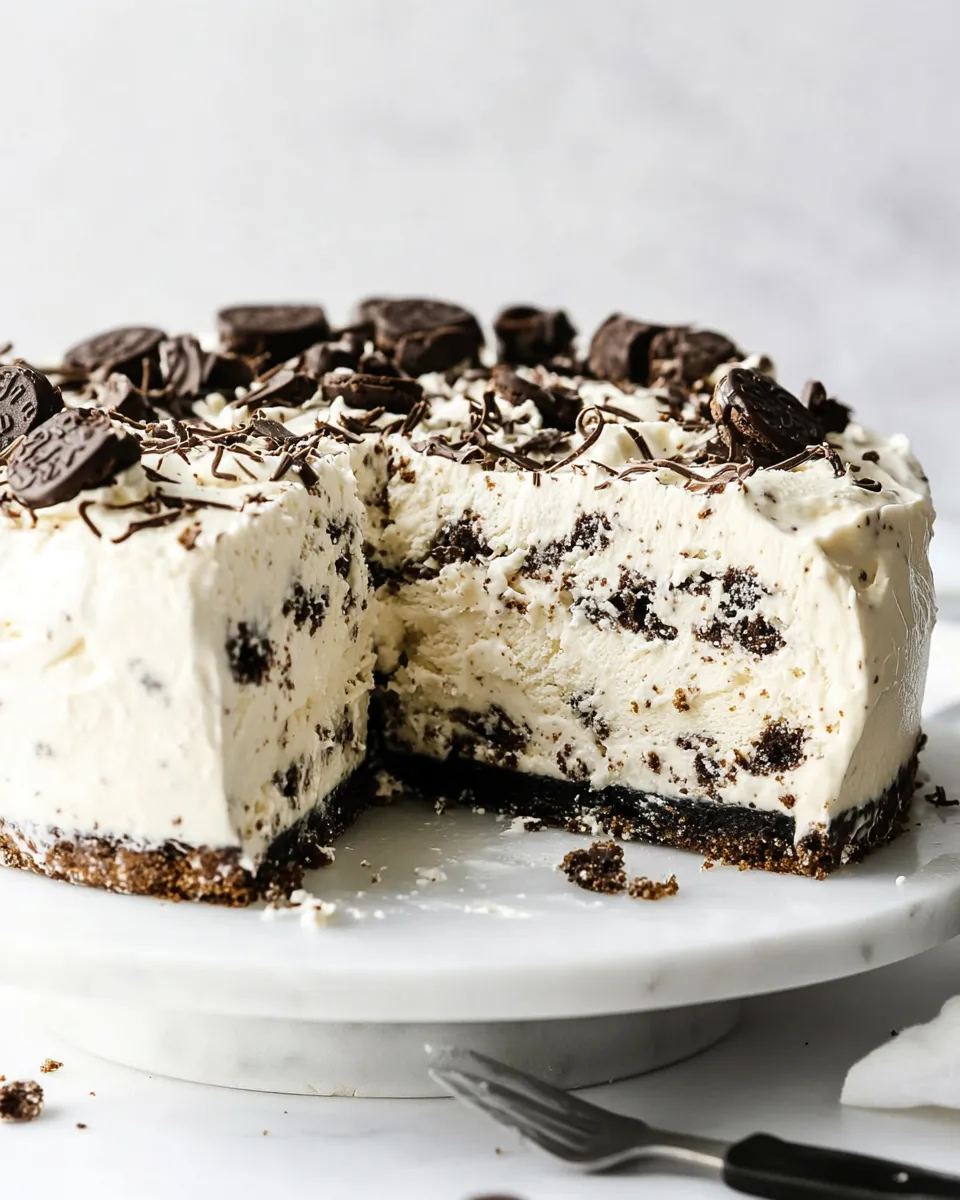
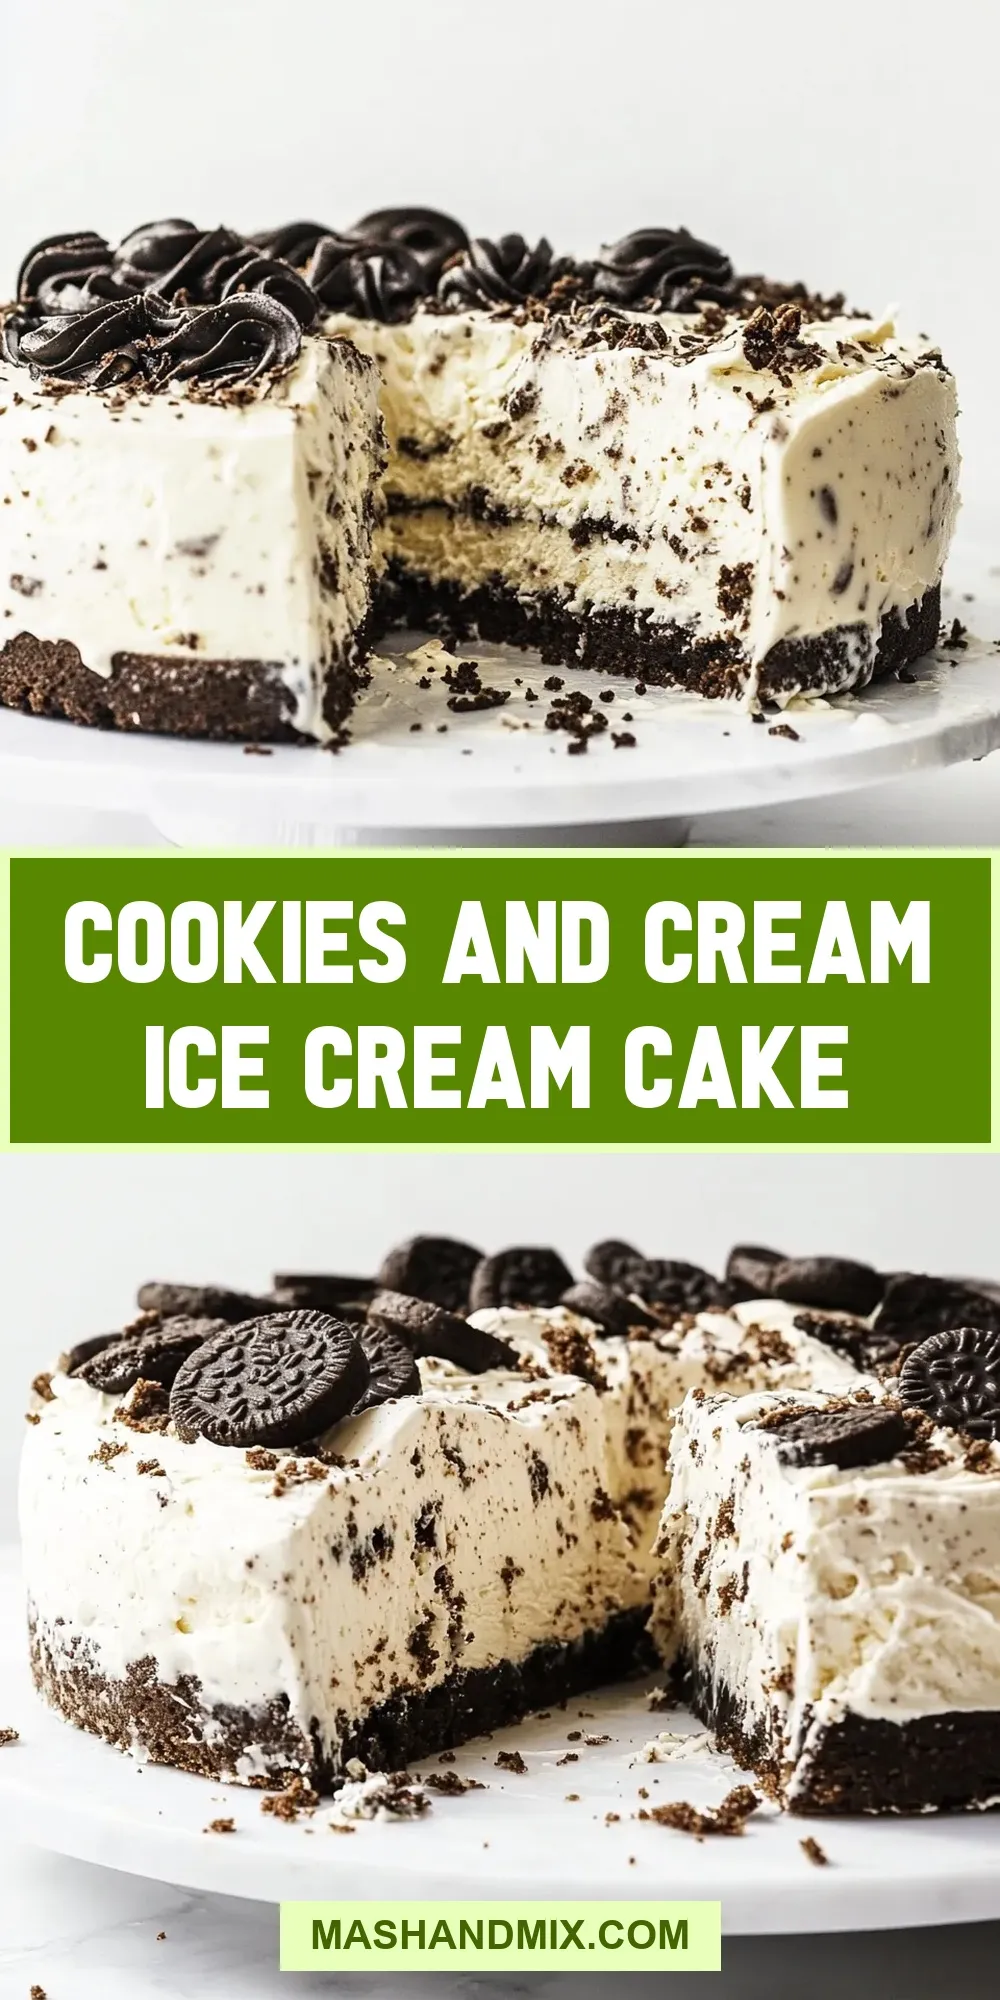
If you’re looking for a show-stopping dessert that combines two of the best treats in the world, then this Cookies and Cream Ice Cream Cake is going to be your new favorite! With layers of creamy cookies and cream ice cream, a crunchy Oreo crust, and fluffy whipped topping, this cake is perfect for any occasion—from birthdays to summer barbecues. The best part? It’s incredibly simple to make, requiring minimal baking skills and just a few ingredients. So, let’s dive into this deliciously creamy world.
What Makes This Recipe Special
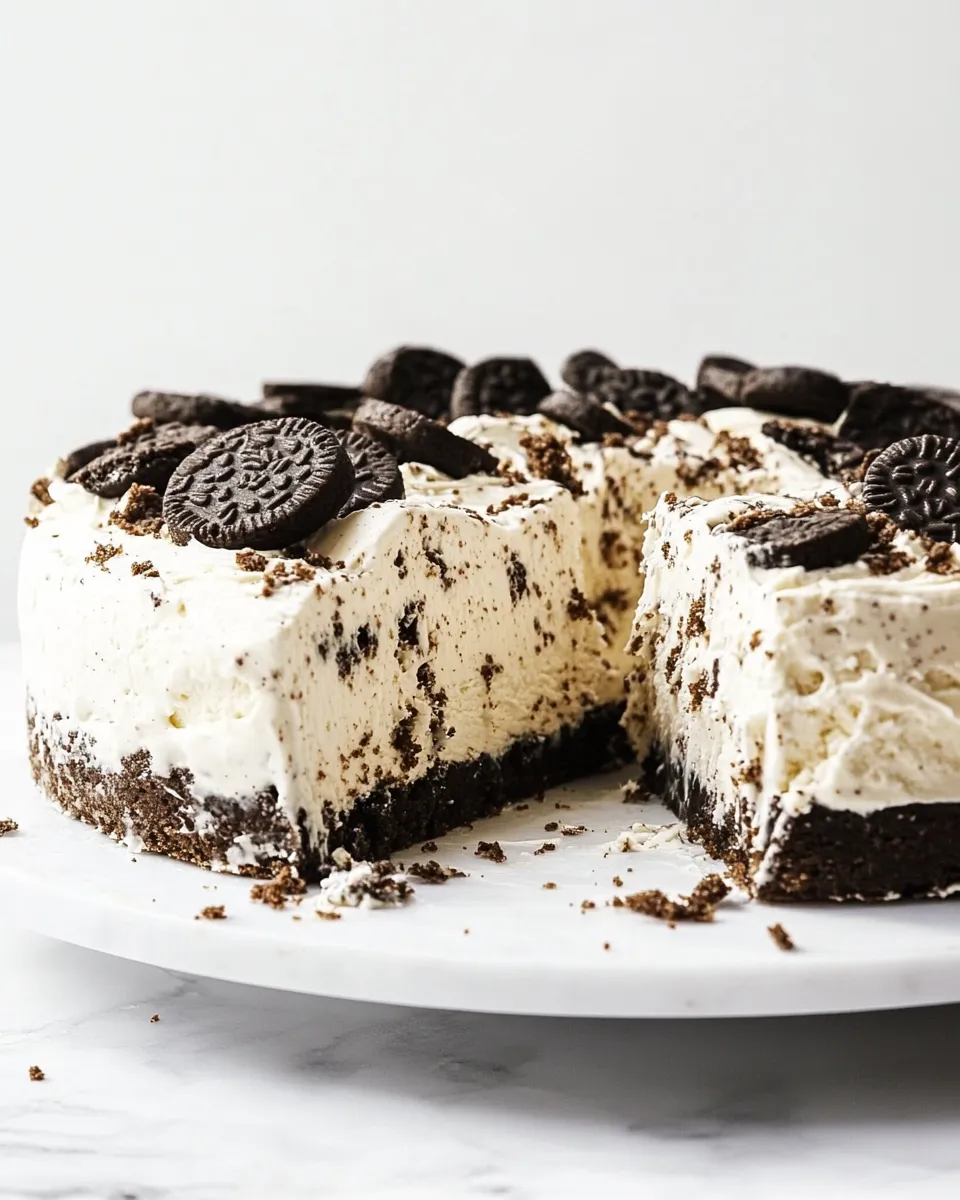
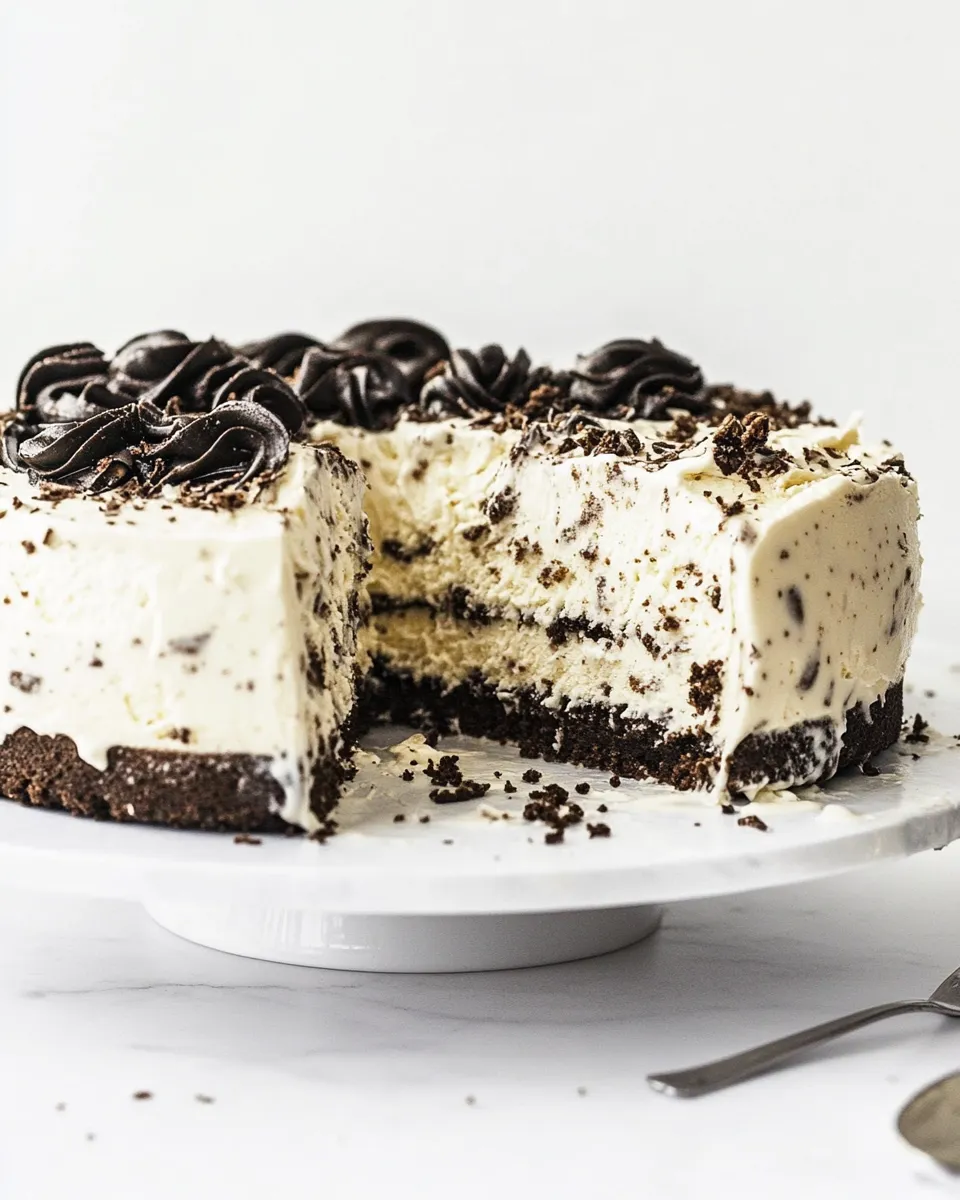
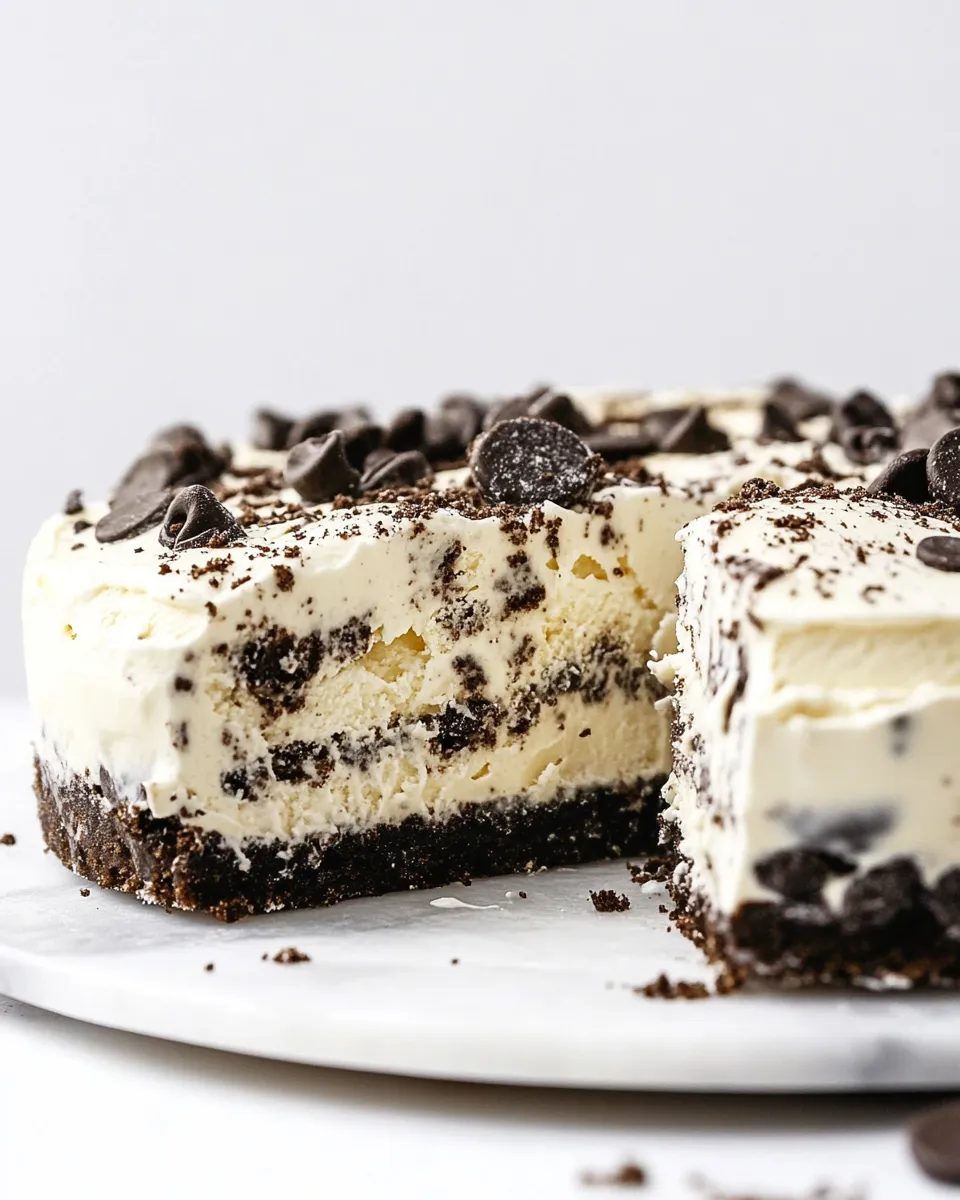
This Cookies and Cream Ice Cream Cake is a delightful combination of textures and flavors. The crispy Oreo crust complements the smoothness of the ice cream and Cool Whip perfectly. Not only does it look impressive, but it’s also a guaranteed crowd-pleaser. The layers of crushed Oreos throughout the ice cream add an extra crunch, making each bite a delightful experience. Plus, it’s an ice cream cake, which means it’s refreshingly cold and perfect for warm weather celebrations.
What You’ll Gather
- 36 Oreos, crushed – This will form the base of your cake and add that rich cookie flavor.
- 1/2 cup Butter, melted – This will bind the crushed Oreos together.
- 1 gallon Cookies and Cream Ice Cream, softened – The star of the show, providing that creamy texture.
- 1 container Cool Whip, thawed – Adds lightness and fluffiness to the cake.
- 1 jar Chocolate Sauce – For drizzling and adding an extra layer of indulgence.
- Oreos, crushed (for garnish) – A finishing touch for added crunch and decoration.
What You’ll Need (Gear)
- Springform Pan – Perfect for easy removal of the cake.
- Mixing Bowl – To combine the crushed Oreos and melted butter.
- Spatula – For spreading the ice cream and Cool Whip evenly.
- Freezer Space – Make sure you have enough room to chill your cake.
Cookies and Cream Ice Cream Cake Cooking Guide
Step 1: Prepare the Crust
Start by crushing the 36 Oreos in a mixing bowl. You can use a food processor for a fine crumble or place them in a zip-top bag and crush them with a rolling pin. Once crushed, pour in the melted butter and mix until the crumbs are evenly coated.
Step 2: Form the Base
Press the Oreo mixture firmly into the bottom of a springform pan to create an even layer. Use the back of a measuring cup or your fingers to pack it down tightly. This will ensure a sturdy crust for your cake.
Step 3: Add the Ice Cream Layer
Scoop the softened cookies and cream ice cream into the pan on top of the crust. Use the spatula to spread it out evenly, making sure it reaches the edges of the pan. You may need to let the ice cream soften a bit more if it’s too hard to spread.
Step 4: Layer the Cool Whip
Once the ice cream layer is smooth, spread the thawed Cool Whip over the top of the ice cream. This layer adds a light and airy texture, balancing the richness of the ice cream.
Step 5: Freeze the Cake
Cover the pan with plastic wrap and place it in the freezer for at least four hours, or until completely firm. If you can, overnight is even better!
Step 6: Serve and Garnish
Once ready to serve, remove the cake from the springform pan. Drizzle chocolate sauce over the top and sprinkle crushed Oreos for garnish. Slice into wedges and enjoy!
Make It Your Way
- Add a layer of fudge or caramel sauce between the ice cream and Cool Whip layers for added richness.
- Use different flavors of ice cream such as vanilla or chocolate if you prefer.
- Incorporate sprinkles or other candy bits into the Cool Whip layer for extra fun.
- For a more decadent version, layer with chocolate cake instead of a crust.
Mistakes Even Pros Make
- Not crushing the Oreos finely enough can lead to a crumbly crust.
- Using hard ice cream makes it difficult to spread evenly.
- Skipping the cooling time can result in a messy slice when you cut the cake.
- Overfilling the cake can lead to overflow when it melts.
Make-Ahead & Storage
This Cookies and Cream Ice Cream Cake is perfect for making ahead of time. You can assemble it up to a week in advance and keep it in the freezer until you’re ready to serve. Just remember to cover it well with plastic wrap to prevent freezer burn. If you have leftovers, they can be stored in the freezer, although it’s best enjoyed fresh within a few days to retain the best texture.
Frequently Asked Questions
Can I use homemade ice cream instead of store-bought?
Absolutely! Homemade cookies and cream ice cream will add a personal touch to this cake and can be tailored to your taste.
What can I use instead of Cool Whip?
You can substitute with homemade whipped cream if you prefer. Just whip heavy cream with a bit of sugar until soft peaks form, and use it the same way as Cool Whip.
How do I make sure the cake doesn’t melt too quickly?
Keep the cake in the freezer until just before serving. If it starts to melt, return it to the freezer for a few minutes to firm up again.
Can I add toppings to this cake?
Yes! Feel free to add toppings such as chopped nuts, chocolate chips, or additional crushed Oreos for extra texture and flavor.
Ready, Set, Cook
Now that you have all the steps to create this delightful Cookies and Cream Ice Cream Cake, it’s time to gather your ingredients and get started! This cake is not just a dessert; it’s an experience that everyone will love. So, whether it’s a special occasion or just a treat for yourself, you’ll be glad you whipped up this delicious cake! Enjoy every creamy, crunchy bite!
Share on Pinterest

Cookies and Cream Ice Cream Cake
Ingredients
For the Crust:
- 36 pieces Oreos, crushed
- 1/2 cup Butter, melted
For the Cake:
- 1 gallon Cookies and Cream Ice Cream, softened
- 1 container Cool Whip, thawed
- 1 jar Chocolate Sauce
Instructions
Instructions:
- Start by crushing the 36 Oreos in a mixing bowl. You can use a food processor or crush them in a zip-top bag with a rolling pin. Pour in the melted butter and mix until the crumbs are evenly coated.
- Press the Oreo mixture firmly into the bottom of a springform pan to create an even layer. Use the back of a measuring cup or your fingers to pack it down tightly.
- Scoop the softened cookies and cream ice cream into the pan on top of the crust. Use the spatula to spread it out evenly, reaching the edges of the pan.
- Spread the thawed Cool Whip over the top of the ice cream, adding a light and airy texture.
- Cover the pan with plastic wrap and place it in the freezer for at least four hours, or until completely firm.
- Remove the cake from the springform pan, drizzle chocolate sauce over the top, and sprinkle crushed Oreos for garnish. Slice into wedges and enjoy!
Equipment
- Springform Pan
- Mixing Bowl
- Spatula
- Freezer Space
Notes
- Assemble the cake up to a week in advance and keep it in the freezer.
- Cover well with plastic wrap to prevent freezer burn.
- Best enjoyed fresh within a few days for optimal texture.