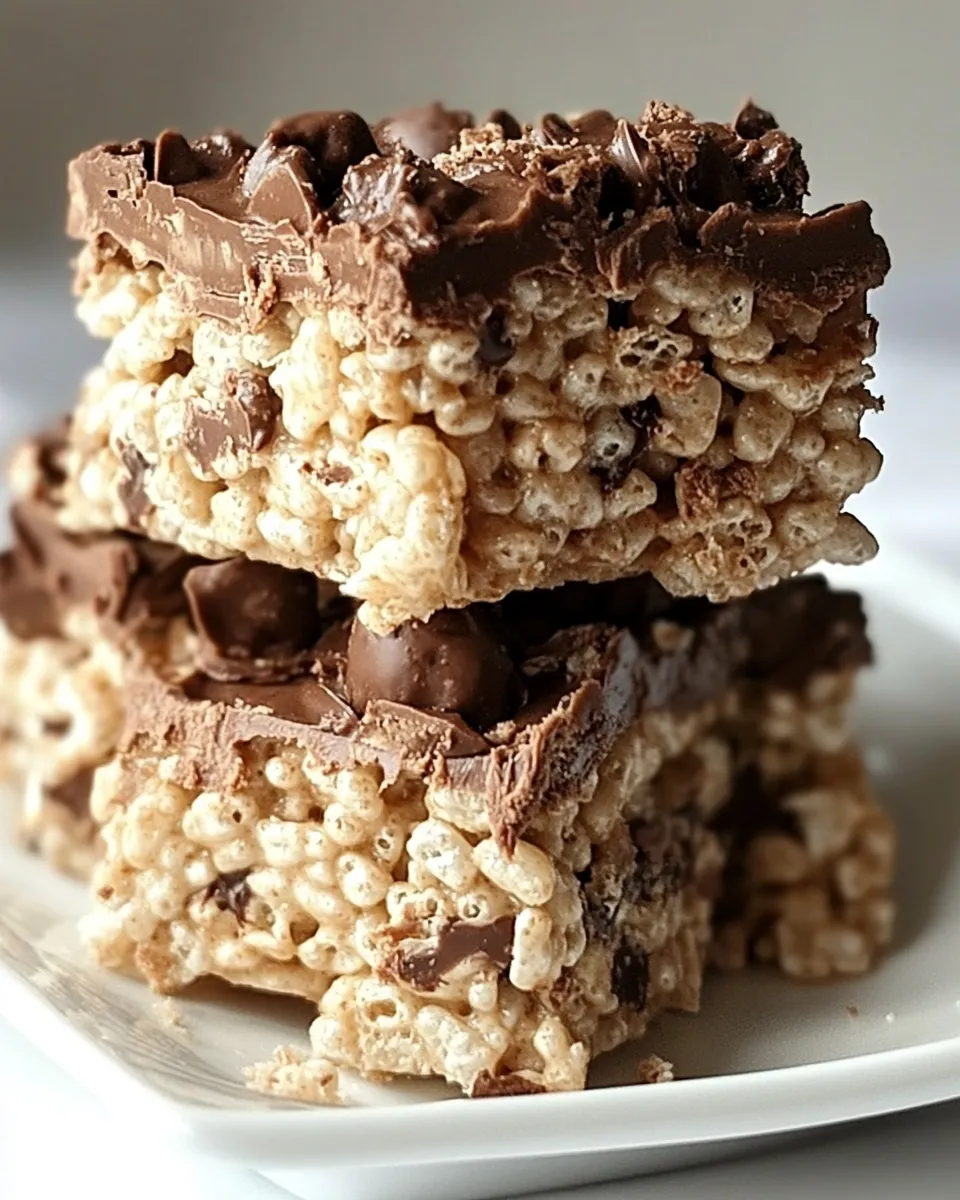
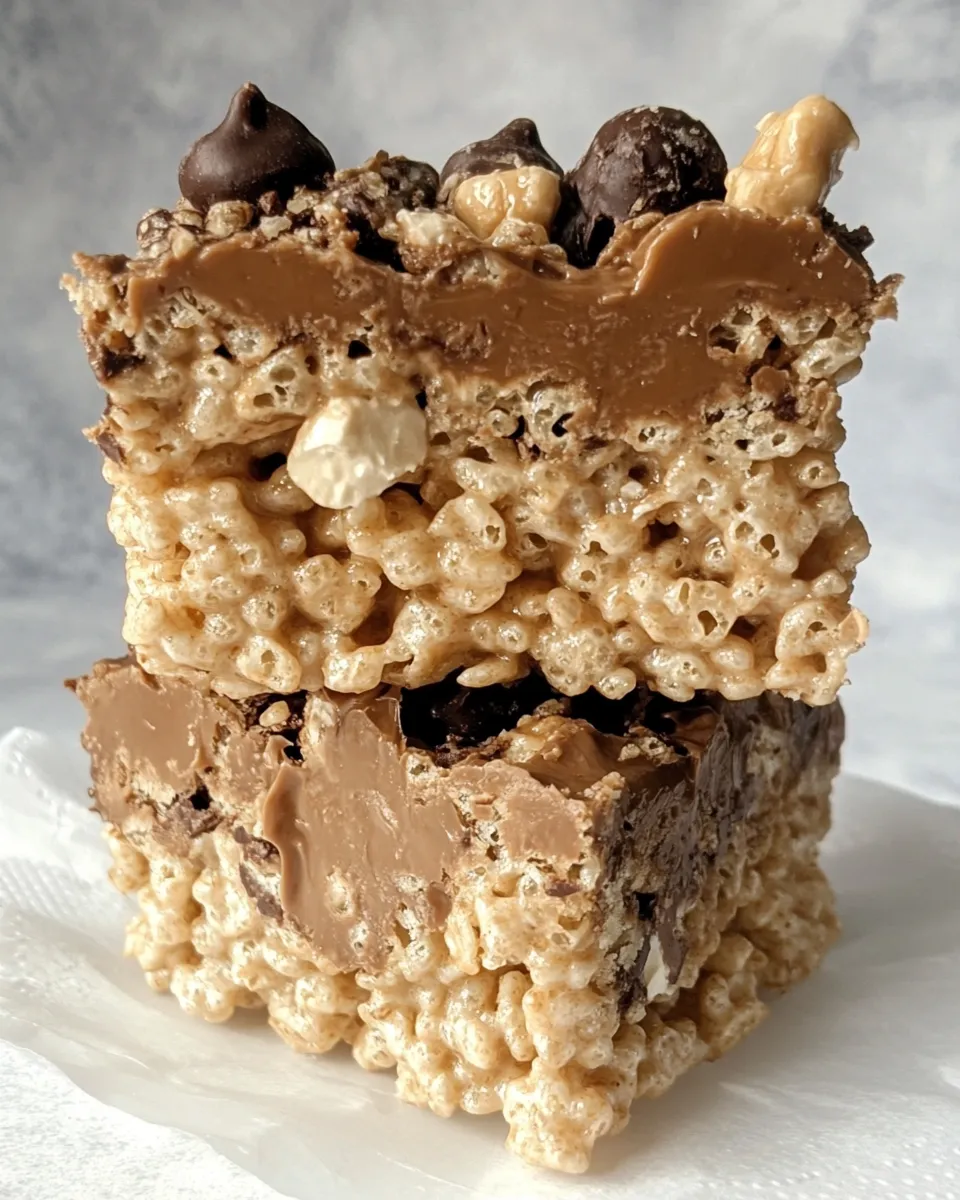
If you are looking for a delightful twist on a classic treat, then these Peanut Butter Cup Rice Krispies Treats are about to become your new favorite dessert. Imagine the chewy, crunchy goodness of traditional Rice Krispies treats combined with the rich, creamy flavor of peanut butter and the indulgence of peanut butter cups. It’s the perfect combination of textures and flavors that will have everyone asking for seconds. Whether you’re preparing for a special occasion or just want a sweet snack to enjoy at home, these treats are quick, easy, and oh-so-satisfying!
Why Cooks Rave About It
The beauty of Peanut Butter Cup Rice Krispies Treats lies in their simplicity and adaptability. They come together in under 30 minutes and require minimal ingredients. The addition of peanut butter cups elevates the classic treat to a whole new level, making it irresistible. Plus, they are a crowd-pleaser, appealing to both kids and adults alike. With the gooeyness of marshmallows, the crunch of the Rice Krispies, and the richness of chocolate, these treats are a guaranteed hit at any gathering.
What We’re Using
- 6 cups (168g) Rice Krispies – The foundation of our treats, providing that signature crunch.
- 10.5 ounces (297.67g) miniature marshmallows – The sweet and gooey element that binds everything together.
- ½ cup (56.75g) unsalted butter (2 ounces) – Adds richness and helps melt the marshmallows perfectly.
- 2 cups (516g) creamy peanut butter – The star ingredient that brings a luscious, nutty flavor.
- 12 ounces (340.2g) peanut butter cups (about 40), quartered – For chunks of chocolatey goodness in every bite.
- 1 cup (180g) milk chocolate chips, or 6 ounces milk chocolate, finely chopped – For a delightful chocolate drizzle on top.
Equipment at a Glance
- Large mixing bowl – For combining the ingredients.
- 8×8 or 9×13-inch baking pan – To hold your delicious mixture as it sets.
- Spatula – For mixing and spreading the treats evenly.
- Measuring cups and spoons – To ensure your ingredients are precise.
- Double boiler or microwave-safe bowl – For melting the chocolate.
Directions: Peanut Butter Cup Rice Krispies Treats
Step 1: Prepare Your Pan
Begin by greasing your baking pan with a bit of butter or lining it with parchment paper. This will ensure your Peanut Butter Cup Rice Krispies Treats come out easily once they’re set.
Step 2: Melt the Butter and Marshmallows
In a large saucepan over medium heat, melt the unsalted butter. As soon as the butter is melted, add in the miniature marshmallows. Stir continuously until the marshmallows are completely melted and smooth.
Step 3: Mix in the Peanut Butter
Remove the saucepan from heat and stir in the creamy peanut butter until well combined. The mixture should be smooth and creamy, with no lumps.
Step 4: Combine with Rice Krispies
In your large mixing bowl, add the Rice Krispies. Pour the melted marshmallow and peanut butter mixture over the Rice Krispies and gently fold until everything is evenly coated.
Step 5: Add the Peanut Butter Cups
Carefully fold in the quartered peanut butter cups, making sure they are evenly distributed throughout the mixture.
Step 6: Press into the Pan
Transfer the mixture into your prepared baking pan. Use your spatula to press it down evenly, ensuring it’s packed tightly for the best texture.
Step 7: Melt the Chocolate
In a double boiler or microwave-safe bowl, melt the milk chocolate chips until smooth. If using a microwave, heat in 30-second intervals, stirring in between to avoid burning.
Step 8: Drizzle the Chocolate
Once the chocolate is melted, drizzle it over the top of the pressed Rice Krispies mixture. Use a spatula or the back of a spoon to spread it evenly if desired.
Step 9: Set and Slice
Allow the treats to cool at room temperature for about 30 minutes until set. Once cooled, slice into squares and enjoy!
Holiday & Seasonal Touches
- For Halloween, add some candy corn or orange food coloring to the marshmallow mixture.
- During the Christmas season, sprinkle crushed peppermint candies on top of the chocolate drizzle.
- For Easter, use pastel-colored chocolate candies or mini eggs for an extra festive touch.
- In the summer, try adding in some dried fruit or nuts for a different flavor profile.
Avoid These Traps
- Don’t overheat the marshmallows; they can become tough if cooked too long.
- Make sure to pack the Rice Krispies mixture firmly into the pan for the best results.
- Using the wrong size pan can lead to uneven treats; stick to the recommended sizes.
- Be careful not to burn the chocolate while melting; stir frequently if using a microwave.
Prep Ahead & Store
These Peanut Butter Cup Rice Krispies Treats can be made ahead of time and stored for up to a week. Once they’ve set, keep them in an airtight container at room temperature. If you want to keep them for longer, you can freeze them for up to three months. Just make sure to wrap them tightly to prevent freezer burn!
FAQ
Can I use crunchy peanut butter instead of creamy?
Absolutely! Crunchy peanut butter will add a delightful texture to your treats.
What if I can’t find miniature marshmallows?
You can use regular-sized marshmallows; just cut them into smaller pieces to ensure they melt evenly.
Can I make these treats vegan?
Yes! Substitute the butter with a plant-based alternative and use dairy-free chocolate chips.
How can I make these treats more chocolatey?
For an extra chocolate flavor, you can mix in some cocoa powder with the Rice Krispies or use dark chocolate instead of milk chocolate.
Before You Go
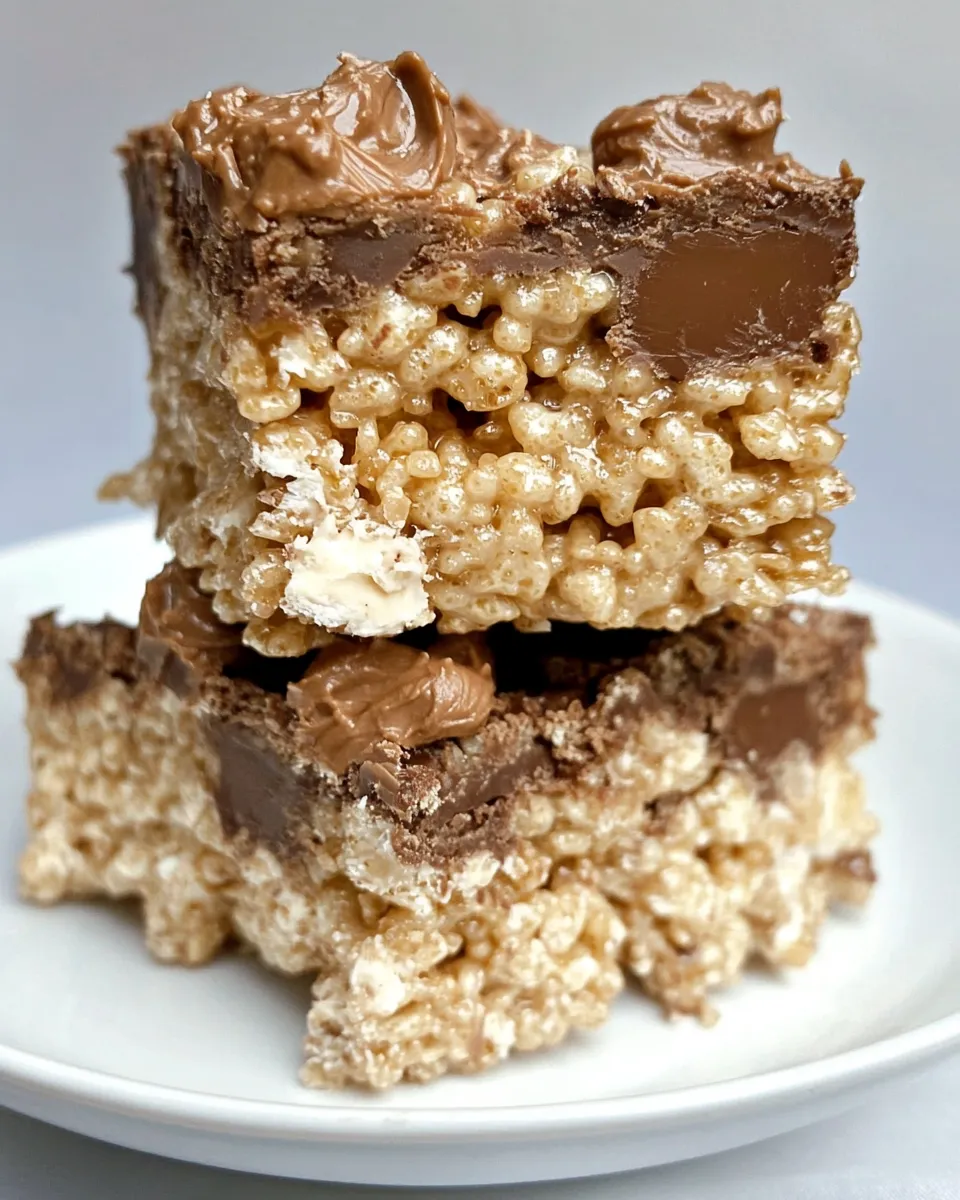
These Peanut Butter Cup Rice Krispies Treats are not just a dessert; they’re an experience. With each bite, you’re greeted by the sweetness of marshmallows, the crunch of cereal, and the salty, creamy goodness of peanut butter. Perfect for any occasion, they are sure to impress family and friends alike. So why wait? Gather your ingredients and make a batch today! You won’t regret it.

Peanut Butter Cup Rice Krispies Treats
Ingredients
- 6 cups Rice Krispies
- 10.5 ounces miniature marshmallows
- ½ cup unsalted butter (2 ounces)
- 2 cups creamy peanut butter
- 12 ounces peanut butter cups (about 40, quartered)
- 1 cup milk chocolate chips (or 6 ounces milk chocolate, finely chopped)
Instructions
- Begin by greasing your baking pan with a bit of butter or lining it with parchment paper. This will ensure your Peanut Butter Cup Rice Krispies Treats come out easily once they’re set.
- In a large saucepan over medium heat, melt the unsalted butter. As soon as the butter is melted, add in the miniature marshmallows. Stir continuously until the marshmallows are completely melted and smooth.
- Remove the saucepan from heat and stir in the creamy peanut butter until well combined. The mixture should be smooth and creamy, with no lumps.
- In your large mixing bowl, add the Rice Krispies. Pour the melted marshmallow and peanut butter mixture over the Rice Krispies and gently fold until everything is evenly coated.
- Carefully fold in the quartered peanut butter cups, making sure they are evenly distributed throughout the mixture.
- Transfer the mixture into your prepared baking pan. Use your spatula to press it down evenly, ensuring it’s packed tightly for the best texture.
- In a double boiler or microwave-safe bowl, melt the milk chocolate chips until smooth. If using a microwave, heat in 30-second intervals, stirring in between to avoid burning.
- Once the chocolate is melted, drizzle it over the top of the pressed Rice Krispies mixture. Use a spatula or the back of a spoon to spread it evenly if desired.
- Allow the treats to cool at room temperature for about 30 minutes until set. Once cooled, slice into squares and enjoy!
Equipment
- Large Mixing Bowl
- 8x8 or 9x13-inch baking pan
- Spatula
- Measuring cups and spoons
- Double boiler or microwave-safe bowl
Notes
- These treats can be stored in an airtight container at room temperature for up to a week.
- For longer storage, freeze them for up to three months, wrapped tightly.
- Feel free to customize with seasonal candies or toppings.