
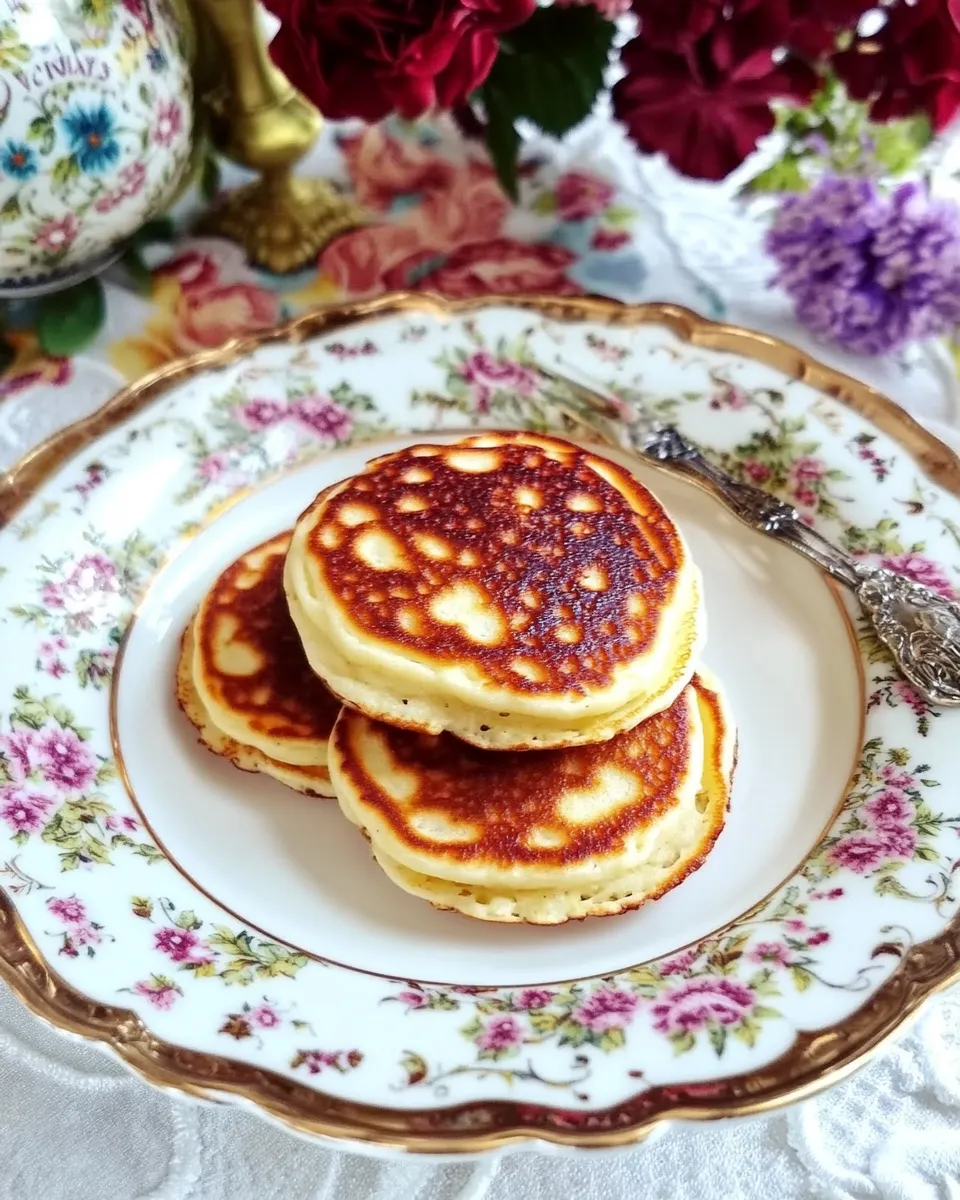
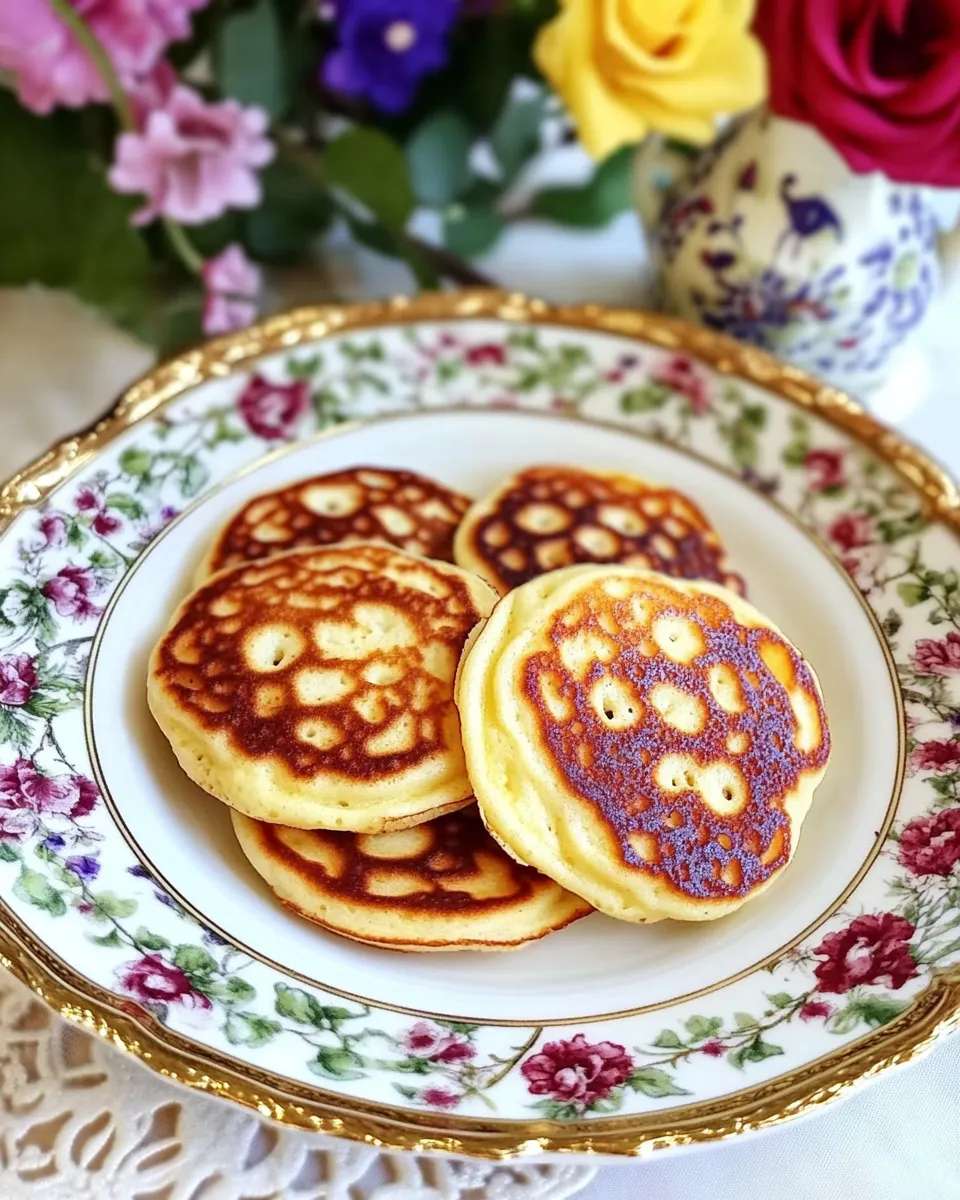
Pikelets are a delightful treat, perfect for breakfast, afternoon tea, or even as a light snack any time of the day. These fluffy little pancakes are quick to whip up and can be enjoyed plain or adorned with your favorite toppings. Today, we’re diving into Victorias Favorite Pikelets, a recipe that combines simplicity with mouthwatering flavor. With just a handful of ingredients, you’ll be on your way to enjoying these delightful bites in no time.
Why It Works Every Time
The beauty of Victorias Favorite Pikelets lies in its straightforward approach. The use of self-rising flour ensures that your pikelets will rise beautifully, achieving that fluffy texture we all crave. The addition of sugar balances the flavors, while the melted butter adds a richness that complements the lightness of the batter. With just one egg and some milk, you’ll create a batter that cooks up perfectly every time, making it a fail-safe recipe that even novice cooks can master.
Your Shopping Guide
Before you embark on your pikelet-making adventure, here’s a handy shopping list to gather everything you’ll need:
- 1 cup self-rising flour
- 1 tablespoon sugar
- 1 large egg
- 1 tablespoon butter, melted
- 1/2 cup milk (or more if needed)
These ingredients are easy to find and are likely already in your pantry, making this an accessible recipe for everyone.
Before You Start: Equipment
To make Victorias Favorite Pikelets, you’ll need a few essential pieces of equipment:
- Mixing Bowl: For combining your ingredients smoothly.
- Whisk: To blend the batter until it’s lump-free.
- Non-stick Frying Pan: Ensures your pikelets cook evenly without sticking.
- Measuring Cups and Spoons: For accurate ingredient measurements.
- Spatula: To flip the pikelets with ease.
Having the right tools at your disposal will make the pikelet-making process even more enjoyable!
Victorias Favorite Pikelets, Made Easy
Now, let’s get into the step-by-step process of creating these delightful pikelets.
Step 1: Mix the Dry Ingredients
In a mixing bowl, combine 1 cup of self-rising flour and 1 tablespoon of sugar. Whisk them together until they are well combined.
Step 2: Add the Wet Ingredients
In a separate bowl, crack open 1 large egg. Add 1 tablespoon of melted butter and 1/2 cup of milk. Whisk these ingredients together until smooth.
Step 3: Combine Wet and Dry Ingredients
Pour the wet mixture into the bowl with the dry ingredients. Gently stir until just combined; be careful not to overmix. If the batter seems too thick, add a little more milk until you reach your desired consistency.
Step 4: Heat the Pan
Place your non-stick frying pan over medium heat. Allow it to warm up for a couple of minutes. To check if it’s ready, sprinkle a few drops of water onto the pan; if they sizzle and evaporate, it’s time to cook your pikelets.
Step 5: Cook the Pikelets
Using a ladle or a measuring cup, pour small amounts of batter onto the pan, forming rounds about 3 inches in diameter. Cook for about 2-3 minutes, or until bubbles form on the surface and the edges begin to look set.
Step 6: Flip and Finish Cooking
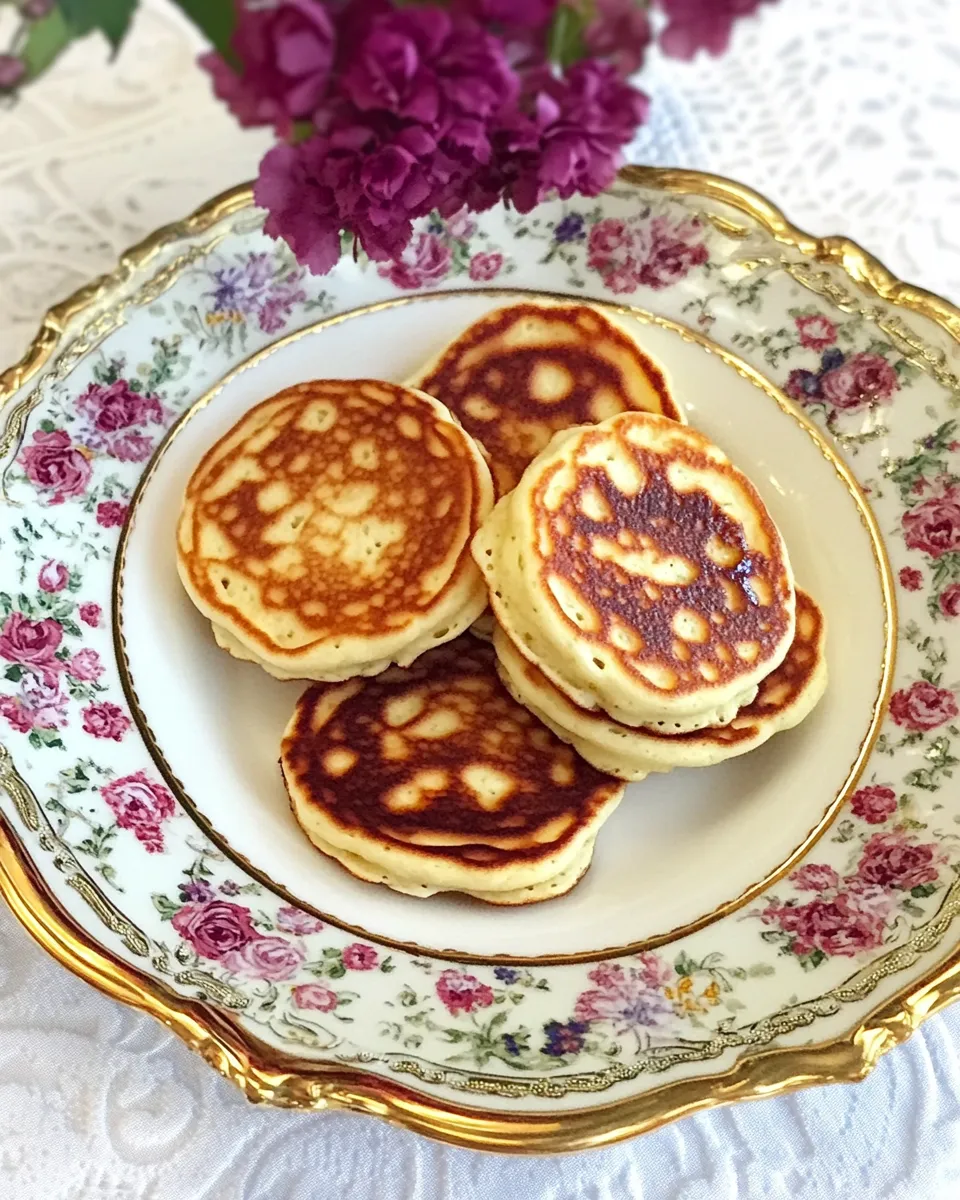
Carefully flip the pikelets using a spatula and cook for an additional 1-2 minutes on the other side until golden brown. Remove them from the pan and keep them warm while you continue with the remaining batter.
Step 7: Serve and Enjoy
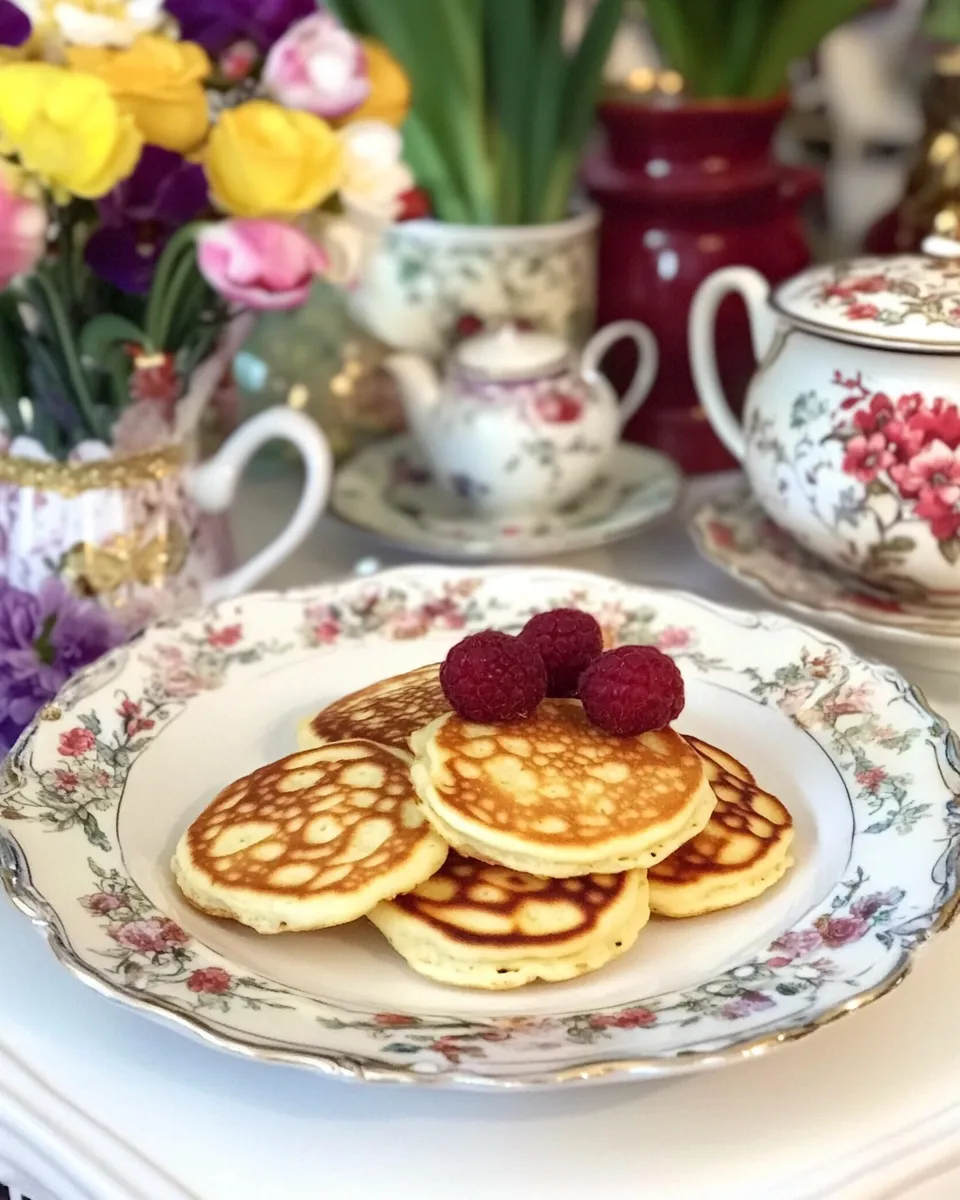
Once all your pikelets are cooked, serve them warm with your choice of toppings. Whether it’s a drizzle of maple syrup, a dollop of whipped cream, or fresh fruit, the options are endless!
Fresh Seasonal Changes
One of the best things about Victorias Favorite Pikelets is how easily they can be adapted to highlight seasonal ingredients. Here are a few ideas:
- Spring: Add fresh berries like strawberries or blueberries to the batter for a burst of flavor and color.
- Summer: Incorporate grated zucchini or finely chopped peaches for a refreshing twist.
- Autumn: Mix in pumpkin puree and a pinch of cinnamon for a cozy fall flavor.
- Winter: Use mashed bananas or applesauce in the batter for added sweetness and moisture.
Feel free to experiment with flavors that resonate with the season to keep your pikelets exciting and relevant throughout the year!
What I Learned Testing
Throughout my testing process for Victorias Favorite Pikelets, I discovered several key points that can help you achieve the best results:
- Don’t overmix the batter. A few lumps are okay; they’ll disappear during cooking.
- Make sure your pan is adequately heated before adding the batter to avoid soggy pikelets.
- Adjust the milk to achieve your desired batter consistency; a thicker batter will yield fluffier pikelets.
- Keep your pikelets warm in a low oven (about 200°F) while you finish cooking the remaining batter.
These tips will help you perfect your pikelet-making technique!
Best Ways to Store
If you happen to have any pikelets left over (which is unlikely because they’re so delicious!), here’s how to store them:
- Refrigerate: Place them in an airtight container and store in the refrigerator for up to 3 days.
- Freeze: For longer storage, freeze pikelets in a single layer on a baking sheet. Once frozen, transfer them to a freezer-safe bag or container. They can last up to 3 months.
- Reheat: To enjoy again, simply pop them in the toaster, microwave, or oven until warm.
These storage tips ensure that you can enjoy Victorias Favorite Pikelets even after the initial batch is gone!
Common Questions
Can I use all-purpose flour instead of self-rising flour?
Yes, you can! If you choose to use all-purpose flour, just make sure to add 1.5 teaspoons of baking powder to the mix to ensure they rise properly.
Can I make the batter ahead of time?
It’s best to make the batter fresh for the best texture, but you can prepare the dry ingredients in advance and mix them with the wet ingredients just before cooking.
What toppings pair well with pikelets?
Pikelets are versatile! They pair wonderfully with maple syrup, honey, yogurt, fresh fruits, or even savory toppings like avocado and poached egg.
Can I double the recipe?
Absolutely! Just double each ingredient and ensure you have a large enough mixing bowl and pan to accommodate the extra batter.
To round off your meal or indulge in something sweet after your pikelets, consider these delightful dessert suggestions:
These desserts make the perfect companions to your delicious pikelets!
The Last Word
Victorias Favorite Pikelets are not just a recipe; they are a canvas for creativity and a testament to the joy of home cooking. Whether you’re enjoying them on a lazy Sunday morning or impressing friends at a brunch gathering, these pikelets will surely be a hit. The simplicity of the ingredients and the ease of preparation make this dish a staple in any kitchen. So, don your apron, gather your ingredients, and start whipping up a batch of these delightful pikelets today!
Victorias Favorite Pikelets
Ingredients
- 1 cup self-rising flour
- 1 tablespoon sugar
- 1 large egg
- 1 tablespoon butter melted
- 1/2 cup milk or more if needed
Instructions
- In a mixing bowl, combine 1 cup of self-rising flour and 1 tablespoon of sugar. Whisk them together until they are well combined.
- In a separate bowl, crack open 1 large egg. Add 1 tablespoon of melted butter and 1/2 cup of milk. Whisk these ingredients together until smooth.
- Pour the wet mixture into the bowl with the dry ingredients. Gently stir until just combined; be careful not to overmix. If the batter seems too thick, add a little more milk until you reach your desired consistency.
- Place your non-stick frying pan over medium heat. Allow it to warm up for a couple of minutes. To check if it’s ready, sprinkle a few drops of water onto the pan; if they sizzle and evaporate, it’s time to cook your pikelets.
- Using a ladle or a measuring cup, pour small amounts of batter onto the pan, forming rounds about 3 inches in diameter. Cook for about 2-3 minutes, or until bubbles form on the surface and the edges begin to look set.
- Carefully flip the pikelets using a spatula and cook for an additional 1-2 minutes on the other side until golden brown. Remove them from the pan and keep them warm while you continue with the remaining batter.
- Once all your pikelets are cooked, serve them warm with your choice of toppings.
Equipment
- Mixing Bowl
- Whisk
- Non-stick Frying Pan
- Measuring cups and spoons
- Spatula
Notes
- Don’t overmix the batter; a few lumps are okay.
- Ensure your pan is adequately heated to avoid soggy pikelets.
- Adjust the milk for your desired batter consistency.
- Keep cooked pikelets warm in a low oven while finishing the batch.


