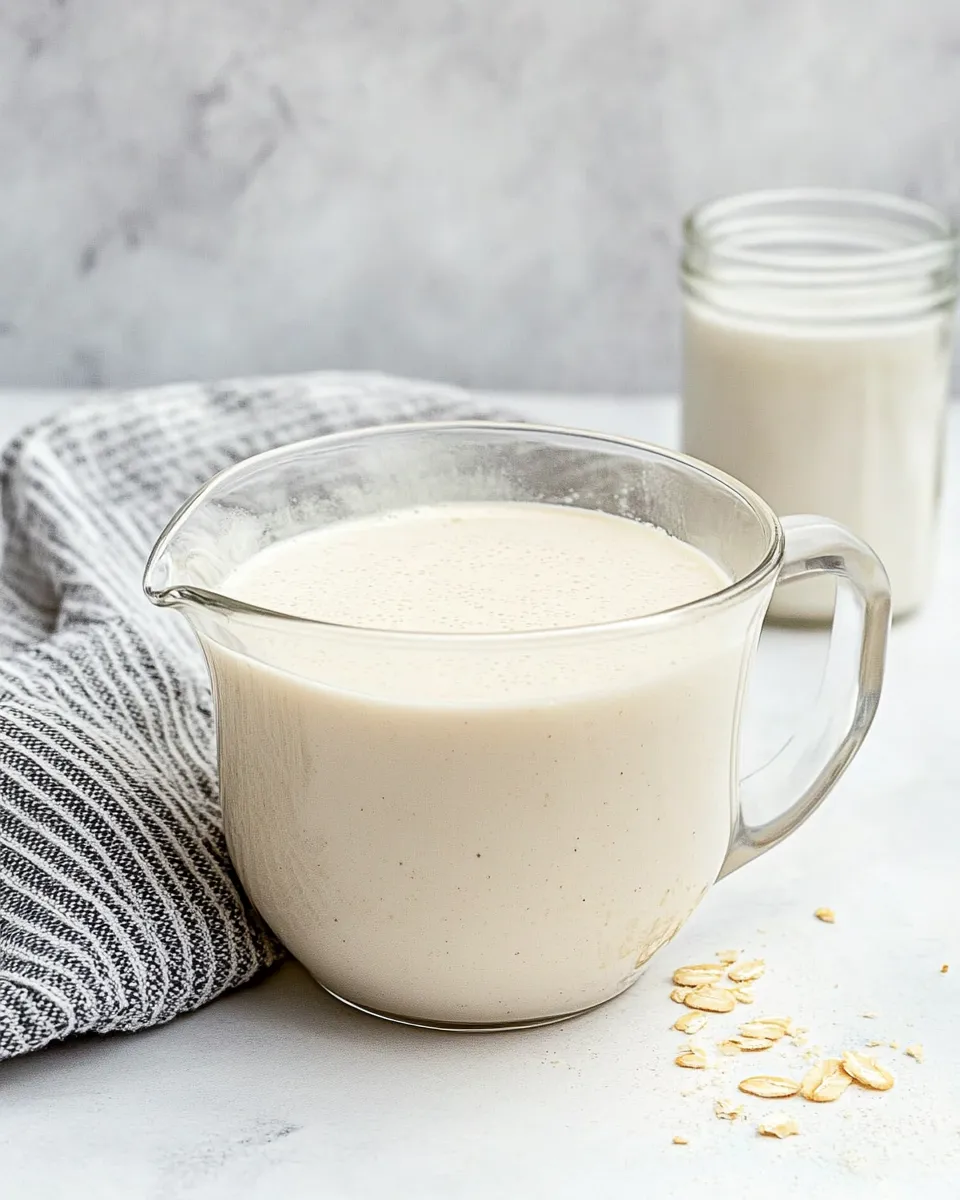
Evaporated milk is a versatile ingredient that adds creaminess and richness to a variety of dishes, from creamy soups to luscious desserts. Unlike regular milk, evaporated milk has been gently heated to remove about 60% of its water content, resulting in a thicker, more concentrated product. Whether you’re using it for baking, cooking, or as a coffee creamer, making your own evaporated milk at home is not only simple but also budget-friendly. In this article, we will guide you through the process of creating your own evaporated milk using just 3 ½ cups of whole milk.
Why This Recipe Works

Making evaporated milk at home is a straightforward process that allows you to control the ingredients and ensure freshness. By simmering whole milk gently, you can avoid the preservatives and additives often found in store-bought options. This recipe also ensures that you can adjust the thickness according to your preferences, making it perfect for tailoring to your favorite recipes.
What to Buy
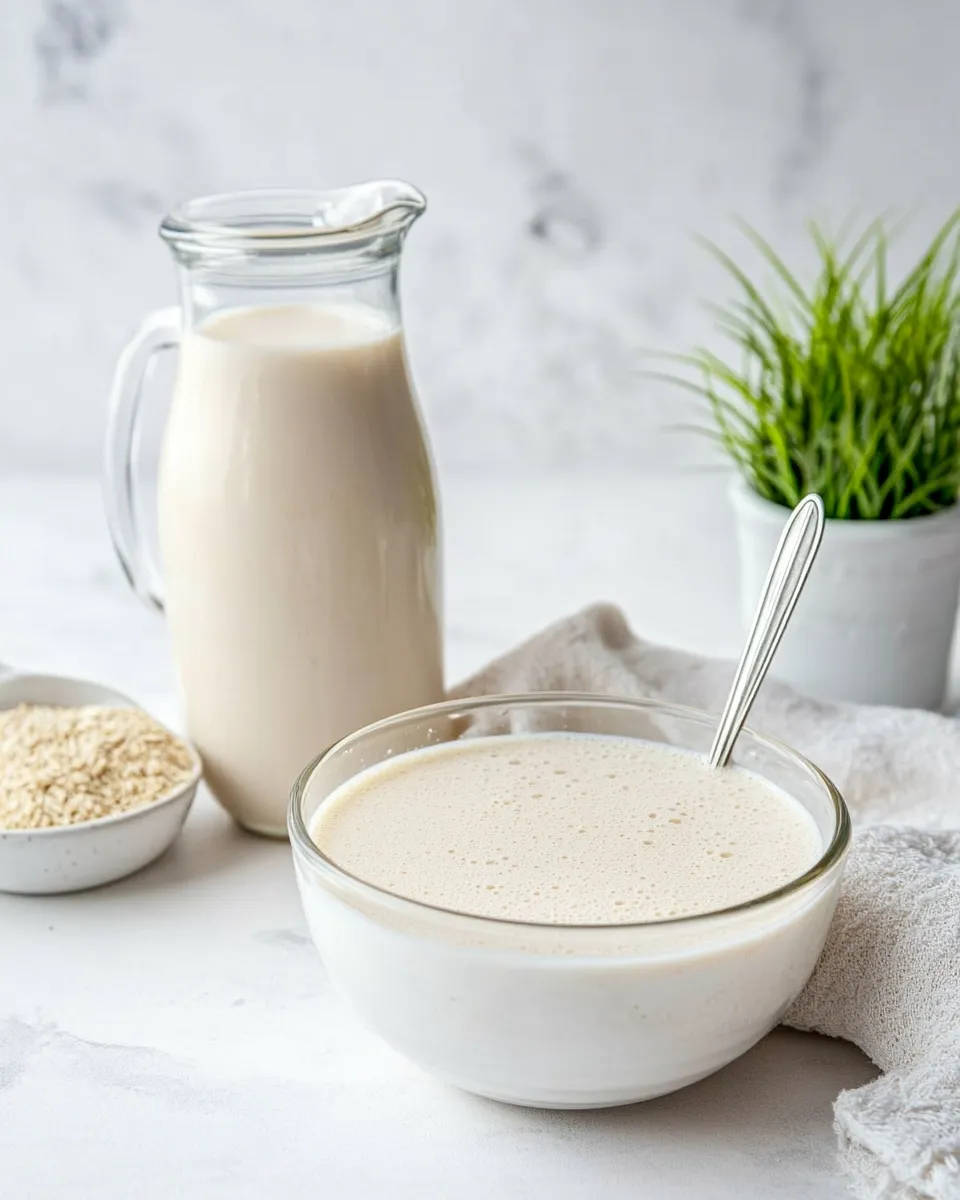
When preparing to make your homemade evaporated milk, here’s what you’ll need:
- 3 ½ cups of whole milk – The foundation for creamy, rich evaporated milk.
- Large saucepan – For simmering the milk evenly.
- Measuring cups – To ensure accurate measurements.
- Stirring spoon – A sturdy spoon for mixing.
- Heatproof container – To store your evaporated milk once cooled.
Gear Up: What to Grab
Before you get started, make sure you have the following kitchen tools on hand:
- Whisk – Useful for stirring if you want to incorporate air into the milk.
- Fine mesh strainer – Optional, to ensure a smooth consistency if desired.
- Thermometer – To monitor the milk’s temperature (optional but helpful).
Evaporated Milk Recipe — Do This Next
Step 1: Measure the Milk
Start by measuring out 3 ½ cups of whole milk. This is the perfect amount to yield about 1 ½ cups of evaporated milk after the water has been reduced.
Step 2: Heat the Milk
Pour the measured milk into a large saucepan and place it over medium heat. Stir occasionally to prevent the milk from sticking to the bottom of the pan.
Step 3: Simmer the Milk
Once the milk begins to bubble around the edges, reduce the heat to low. You want to maintain a gentle simmer. Continue to simmer for about 30 to 40 minutes, stirring frequently. You’ll notice the milk will reduce in volume as the water evaporates.
Step 4: Check for Thickness
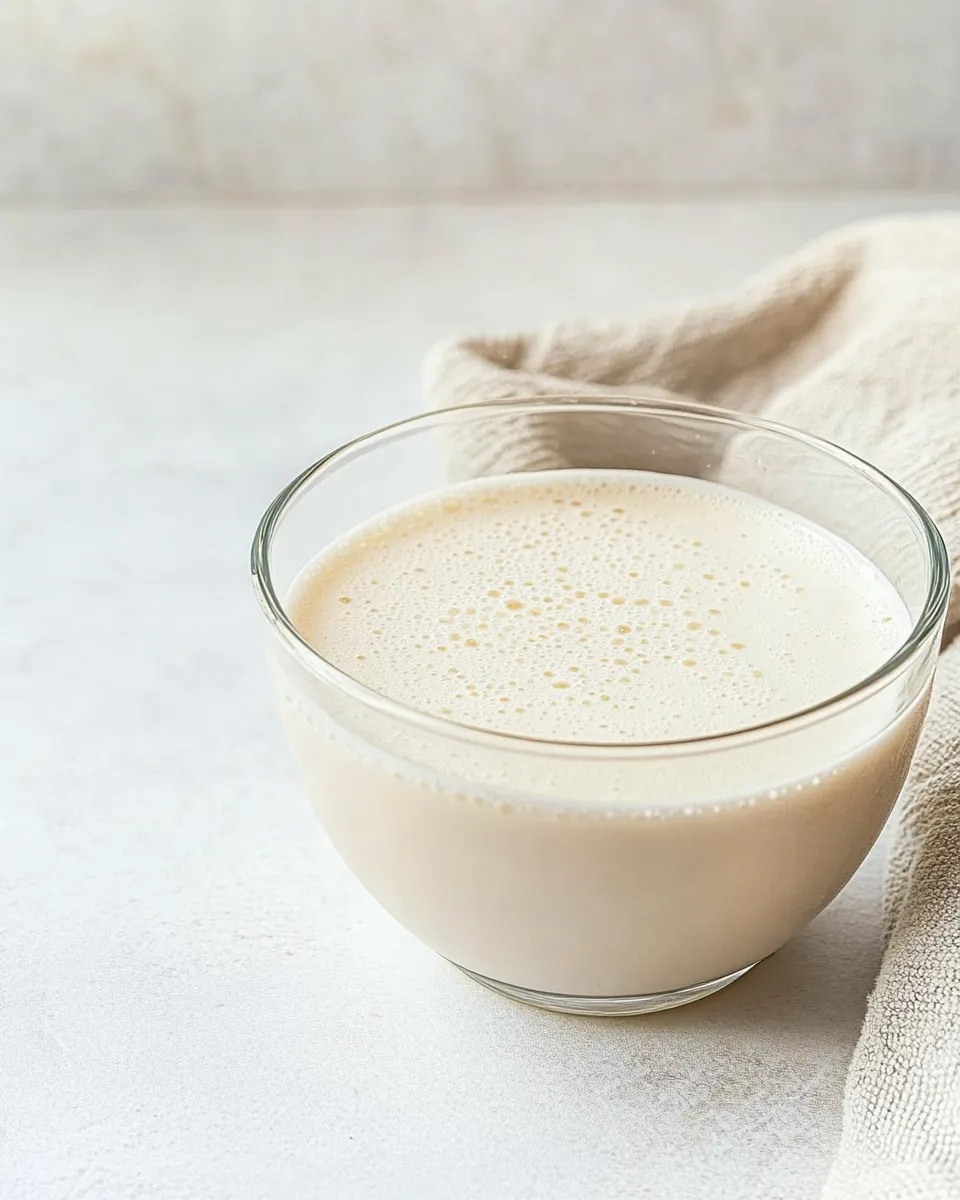
After 30 to 40 minutes, check the consistency. The milk should be noticeably thicker and have a slightly caramelized color. If you want it thicker, continue to simmer for an additional 10 minutes, stirring regularly.
Step 5: Cool and Store
Once you’ve achieved your desired thickness, remove the saucepan from the heat. Allow the evaporated milk to cool to room temperature. After cooling, pour it into a heatproof container and store it in the refrigerator, where it will keep for up to a week.
Seasonal Spins
Evaporated milk can be customized for different seasons and flavors. Here are some ideas you might want to try:
- Add a pinch of nutmeg or cinnamon for a cozy autumn twist.
- Mix in a splash of vanilla extract for a sweet, fragrant flavor perfect for desserts.
- Stir in some cocoa powder to create a chocolatey version for holiday treats.
- Infuse with fresh herbs like rosemary or thyme for savory dishes.
Flavor Logic
Evaporated milk’s unique flavor comes from the slow cooking process, which caramelizes the natural sugars in the milk, lending it a subtle sweetness. This enhances both sweet and savory dishes, making it a versatile ingredient. Here are some ideas on how to incorporate evaporated milk into your cooking:
- Use it as a base for creamy soups, such as tomato basil or potato leek.
- In desserts, it can replace heavy cream in recipes like pumpkin pie or custards.
- For breakfast, it can be added to oatmeal or pancakes for extra creaminess.
- In beverages, it works wonderfully in coffee or hot chocolate for a richer taste.
Storage & Reheat Guide
To ensure your evaporated milk remains fresh and delicious, follow these tips:
- Store in an airtight container in the refrigerator for up to a week.
- For longer storage, consider freezing in ice cube trays and transferring to a freezer bag once solid.
- When reheating, do so gently over low heat to avoid curdling.
- Shake or stir well before using, as some separation may occur during storage.
Popular Questions
Can I use low-fat milk instead of whole milk?
While whole milk gives the best results in terms of creaminess and flavor, you can use low-fat milk. Just be aware that the final product will be less rich.
How do I know when the evaporated milk is ready?
The milk is ready when it has reduced in volume by about 60% and appears thicker than regular milk, with a slightly golden hue.
What can I substitute for evaporated milk in recipes?
You can substitute an equal amount of whole milk mixed with a bit of cream or make your own by simmering milk until it reduces. Alternatively, use condensed milk, but adjust sugar levels in your recipes.
Can I make evaporated milk with non-dairy milk?
Yes! You can make evaporated milk using non-dairy alternatives like almond milk or coconut milk, though the flavor and texture will differ. Ensure to choose a variety that is unsweetened for best results.
If you enjoyed making this evaporated milk recipe, consider trying out these delicious recipes next:
The Takeaway
Making your own evaporated milk is not only easy but also allows you to create a fresher, healthier version for your culinary creations. With just 3 ½ cups of whole milk, you can transform a simple ingredient into something luxurious and versatile. Whether you’re baking, cooking, or simply looking to enhance your coffee, this homemade evaporated milk recipe is sure to elevate your dishes. So, roll up your sleeves and give it a try—your taste buds will thank you!
Evaporated Milk Recipe
Ingredients
- 3.5 cups whole milk
Instructions
- Start by measuring out 3 ½ cups of whole milk. This is the perfect amount to yield about 1 ½ cups of evaporated milk after the water has been reduced.
- Pour the measured milk into a large saucepan and place it over medium heat. Stir occasionally to prevent the milk from sticking to the bottom of the pan.
- Once the milk begins to bubble around the edges, reduce the heat to low. You want to maintain a gentle simmer. Continue to simmer for about 30 to 40 minutes, stirring frequently. You’ll notice the milk will reduce in volume as the water evaporates.
- After 30 to 40 minutes, check the consistency. The milk should be noticeably thicker and have a slightly caramelized color. If you want it thicker, continue to simmer for an additional 10 minutes, stirring regularly.
- Once you’ve achieved your desired thickness, remove the saucepan from the heat. Allow the evaporated milk to cool to room temperature. After cooling, pour it into a heatproof container and store it in the refrigerator, where it will keep for up to a week.
Equipment
- Large Saucepan
- Measuring cups
- Stirring spoon
- Heatproof container
- Whisk
- Fine-Mesh Strainer
- Thermometer
Notes
- For a richer flavor, consider adding a pinch of nutmeg or cinnamon.
- Store the evaporated milk in an airtight container in the refrigerator for up to a week.
- To freeze, pour into ice cube trays and transfer to a freezer bag once solid.