
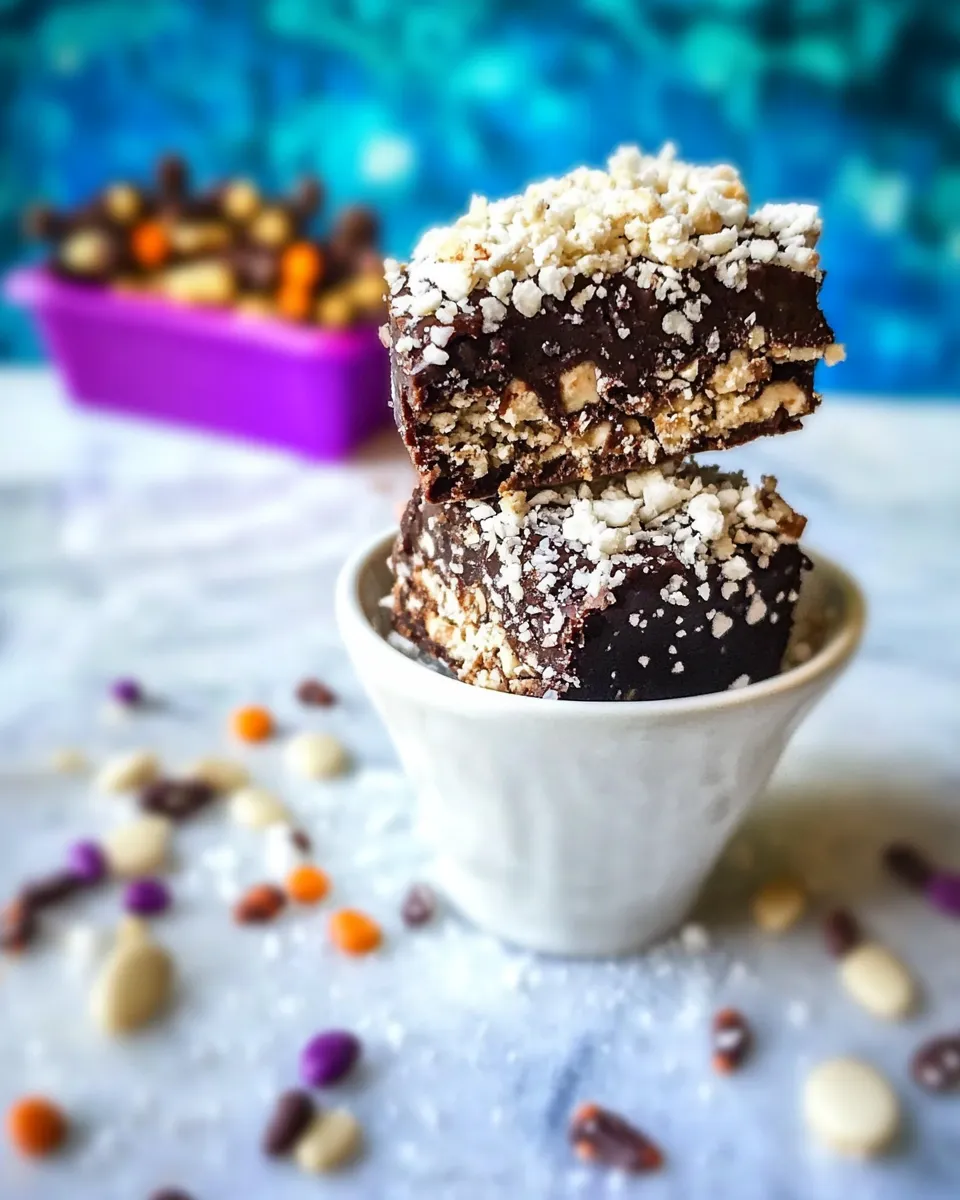
There’s something undeniably magical about a dessert that allows you to unleash your creativity. Enter the (Build Your Own) Candied Up Balboa Bars. These delightful treats are a perfect blend of creamy ice cream, rich chocolate, and a medley of toppings that will make your taste buds dance with joy. They’re not just a dessert; they’re a customizable experience that you can share with family and friends, making every occasion sweeter and more memorable. So, grab your favorite toppings and let’s get started on this delicious adventure!
What Sets This Recipe Apart
The beauty of (Build Your Own) Candied Up Balboa Bars lies in their versatility. Not only can you choose from a plethora of toppings, but you can also adapt the base to suit your preferences. The combination of creamy vanilla bean ice cream, warm hot fudge, and a variety of crunchy and chewy toppings creates a dessert that’s not just indulgent but also tailored to your liking. Whether you’re a chocolate lover, a fan of fruity flavors, or someone who enjoys a bit of crunch, these bars have something for everyone. Plus, they’re perfect for any occasion, from summer barbecues to cozy winter nights.
Ingredient Rundown
To whip up these delightful bars, you’ll need the following ingredients:
- 1.75 quarts vanilla bean ice cream
- 1/2 cup of your favorite hot fudge sauce, slightly warm (hot fudge recipe here)
- 20 ounces good quality milk or semi-sweet chocolate, chopped
- 4 tablespoons coconut oil
- Crushed Oreos
- Crushed Butterfingers
- Finely chopped Snickers
- M&M’s (Mini or regular)
- Chopped Reese’s or Reese’s mini’s
- Pieces of Reese’s
- Bite size or regular Kit Kat bars, chopped
- Crushed Whoppers (Chocolate Malt Balls)
- Chopped peanuts
- Toffee bits
- Sprinkles!
- Crumble Chocolate Chip Cookies (homemade or store-bought)
- Crumble Chocolate Chip Cookie Dough (homemade or store-bought)
Appliances & Accessories
To make your (Build Your Own) Candied Up Balboa Bars, you’ll need a few handy tools:
- Mixing bowls: For mixing and preparing toppings.
- Spatula: To help spread the ice cream and fudge.
- Microwave or double boiler: For melting chocolate.
- Baking sheet or dish: To assemble the bars.
- Freezer-safe container: For freezing your finished bars.
(Build Your Own) Candied Up Balboa Bars.: From Prep to Plate
Step 1: Prepare Your Base
Start by scooping the vanilla bean ice cream into a baking sheet or dish lined with parchment paper. Spread it evenly, about 1-2 inches thick. This will be the delicious base for your Balboa Bars.
Step 2: Add the Hot Fudge Sauce
Drizzle the slightly warm hot fudge sauce over the ice cream. Use a spatula to gently swirl it into the ice cream, creating a rich marbled effect.
Step 3: Melt the Chocolate
In a microwave-safe bowl, combine the chopped chocolate and coconut oil. Microwave in 30-second intervals, stirring until smooth and fully melted. This mixture will be used to coat the bars.
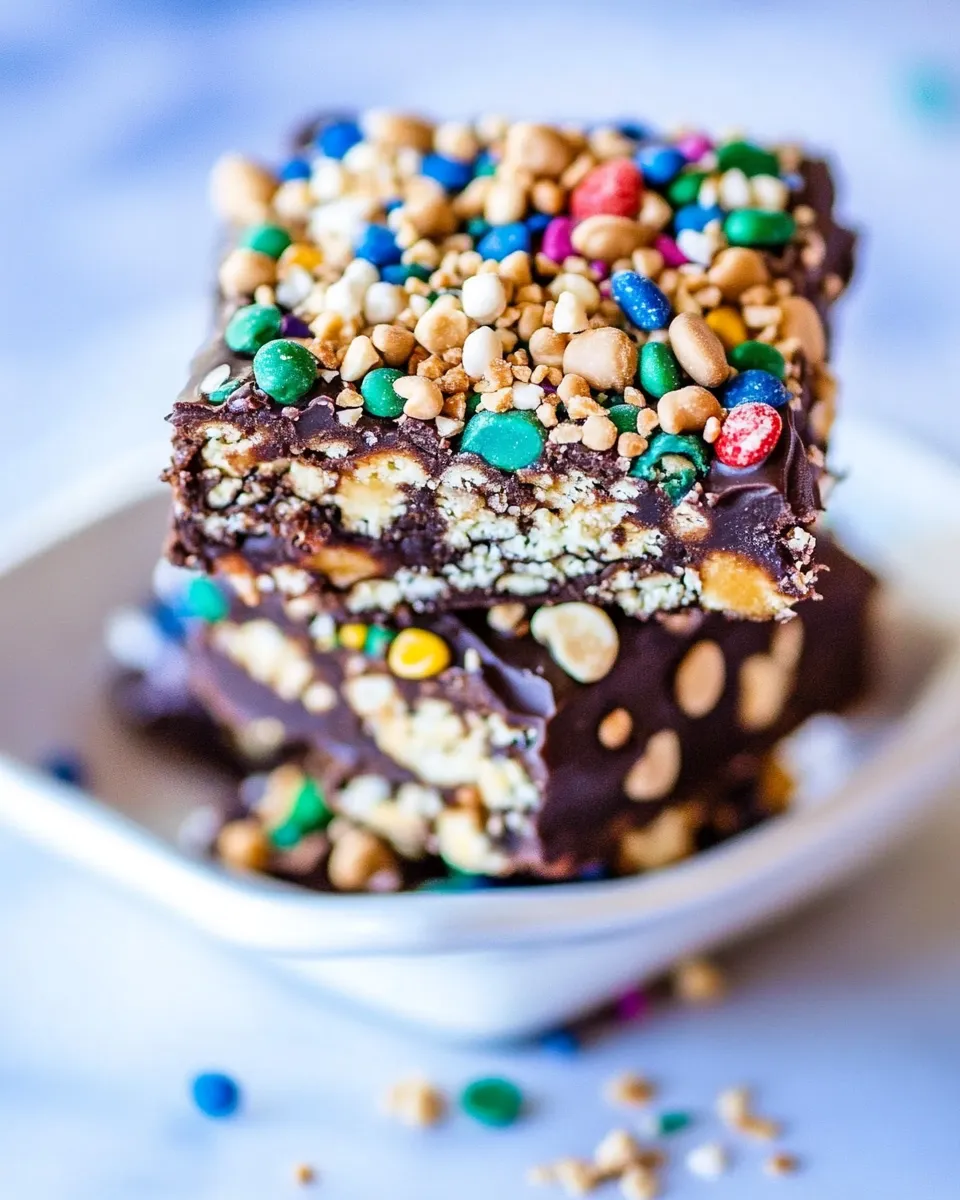
Step 4: Choose Your Toppings
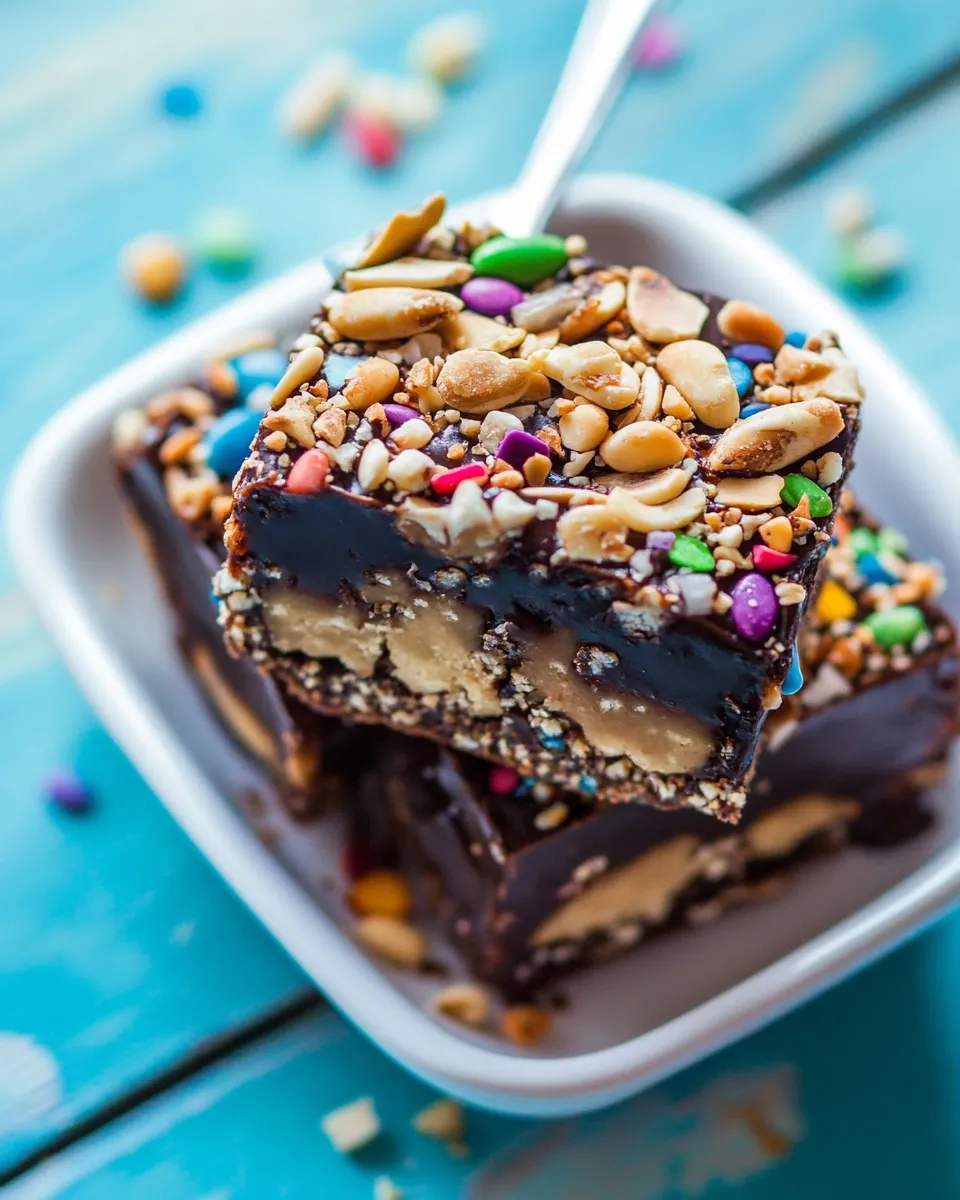
Now comes the fun part! Gather all your favorite toppings and start layering them on top of the hot fudge. Be generous! The more toppings, the better the flavor and texture.
Step 5: Pour the Chocolate
Once you have your toppings in place, pour the melted chocolate over the entire creation. Make sure to cover it well, allowing some to seep into the toppings for extra flavor.
Step 6: Freeze
Place the baking sheet or dish in the freezer for at least 4 hours or until completely firm. This step is crucial for achieving the perfect Balboa Bar texture.
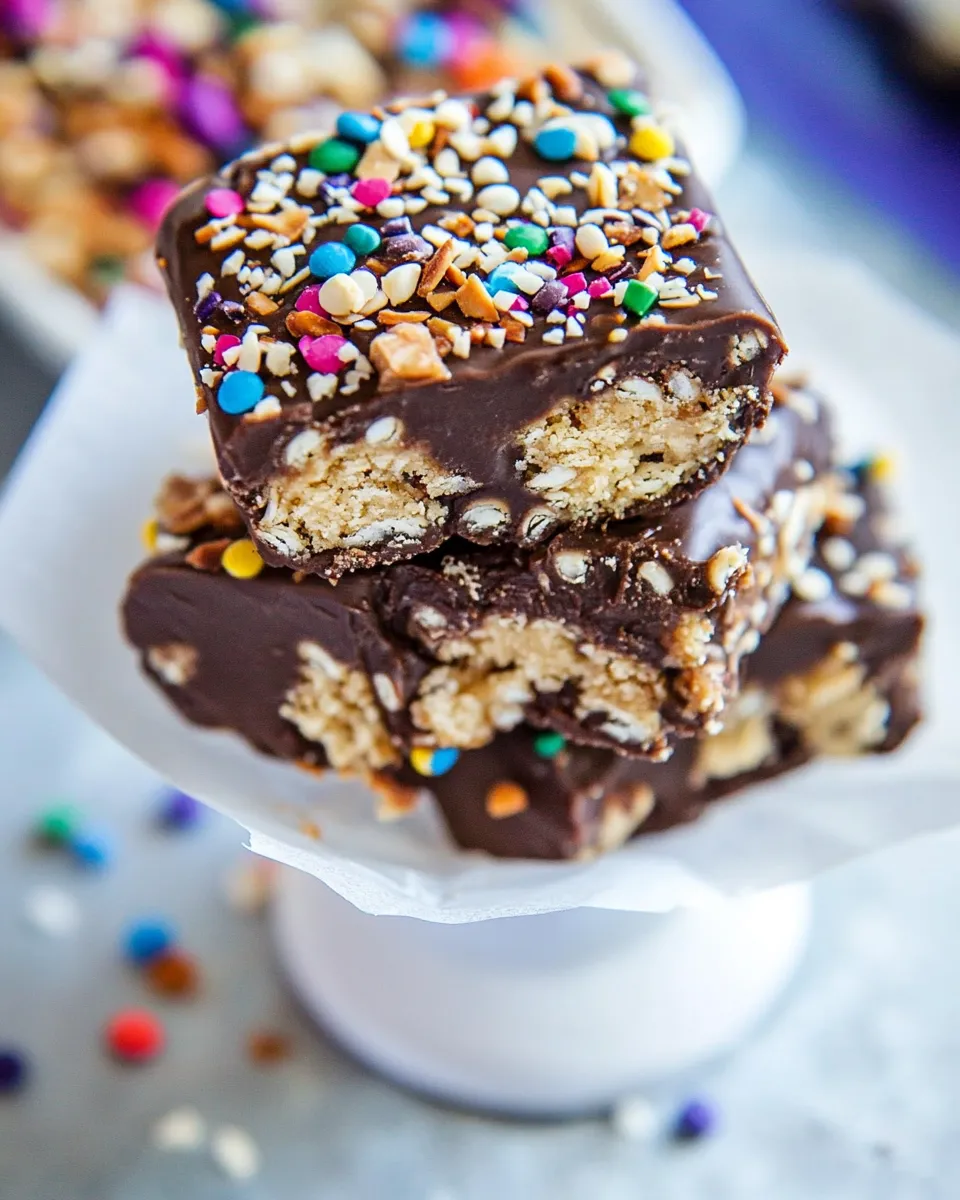
Step 7: Slice and Serve
When you’re ready to indulge, remove the bars from the freezer. Let them sit for a few minutes to soften slightly, then slice into squares or rectangles. Serve with extra hot fudge sauce on the side for dipping!
Holiday-Friendly Variations
Feel free to adapt your (Build Your Own) Candied Up Balboa Bars for different holidays and occasions:
- Halloween: Add candy corn, gummy worms, and orange sprinkles.
- Christmas: Use peppermint candies, crushed gingerbread cookies, and red and green sprinkles.
- Valentine’s Day: Incorporate heart-shaped candies, pink sprinkles, and strawberries.
- Birthday Parties: Go wild with colorful sprinkles, birthday cake pieces, and a variety of chocolates.
Mistakes That Ruin (Build Your Own) Candied Up Balboa Bars.
To ensure your bars turn out perfectly, avoid these common pitfalls:
- Using low-quality chocolate: It can ruin the taste. Opt for good quality chocolate.
- Not allowing the ice cream to soften: If it’s too hard, it won’t spread easily.
- Overloading on toppings: While it’s tempting, too many toppings can lead to a messy bar.
- Skipping the freezing step: Make sure to freeze until completely firm for the best texture.
Best Ways to Store
To keep your (Build Your Own) Candied Up Balboa Bars fresh:
- Store the bars in an airtight container in the freezer.
- Separate layers with parchment paper to prevent sticking.
- Consume within 2-3 weeks for optimal flavor and texture.
Troubleshooting Q&A
What if my chocolate is too thick to pour over the bars?
If your melted chocolate is too thick, you can add a little more coconut oil or heat it gently in the microwave for a few seconds to loosen it up.
Can I use fruit or yogurt instead of ice cream?
Yes! You can substitute the ice cream with frozen yogurt or a fruit sorbet for a lighter version of these bars.
What if my bars are too hard to cut?
Let the bars sit at room temperature for 5-10 minutes before cutting. This will soften them slightly and make slicing easier.
Can I make these bars ahead of time?
Absolutely! You can prepare them a day or two in advance and keep them in the freezer until you’re ready to serve.
If you love the idea of (Build Your Own) Candied Up Balboa Bars, check out these similar recipes:
Make It Tonight
There’s no time like the present to dive into the world of (Build Your Own) Candied Up Balboa Bars. Whether it’s a cozy night in, a celebration with friends, or just a treat for yourself, these bars are the perfect way to satisfy your sweet cravings. Gather your ingredients, unleash your creativity, and create a dessert that’s uniquely yours. You won’t regret it!
Indulging in the process of creating your own Balboa Bars is half the fun, and the joy of sharing them with loved ones makes it all the sweeter. So, let’s get building and make tonight a deliciously memorable one!
(Build Your Own) Candied Up Balboa Bars.
Ingredients
- 1.75 quarts vanilla bean ice cream
- 1/2 cup hot fudge sauce slightly warm
- 20 ounces milk or semi-sweet chocolate chopped
- 4 tablespoons coconut oil
- Crushed Oreos
- Crushed Butterfingers
- Finely chopped Snickers
- M&M's (Mini or regular)
- Chopped Reese's or Reese's mini's
- Pieces of Reese's
- Bite size or regular Kit Kat bars chopped
- Crushed Whoppers (Chocolate Malt Balls)
- Chopped peanuts
- Toffee bits
- Sprinkles !
- Crumble Chocolate Chip Cookies (homemade or store-bought)
- Crumble Chocolate Chip Cookie Dough (homemade or store-bought)
Instructions
- Start by scooping the vanilla bean ice cream into a baking sheet or dish lined with parchment paper. Spread it evenly, about 1-2 inches thick. This will be the delicious base for your Balboa Bars.
- Drizzle the slightly warm hot fudge sauce over the ice cream. Use a spatula to gently swirl it into the ice cream, creating a rich marbled effect.
- In a microwave-safe bowl, combine the chopped chocolate and coconut oil. Microwave in 30-second intervals, stirring until smooth and fully melted. This mixture will be used to coat the bars.
- Gather all your favorite toppings and start layering them on top of the hot fudge. Be generous! The more toppings, the better the flavor and texture.
- Once you have your toppings in place, pour the melted chocolate over the entire creation. Make sure to cover it well, allowing some to seep into the toppings for extra flavor.
- Place the baking sheet or dish in the freezer for at least 4 hours or until completely firm. This step is crucial for achieving the perfect Balboa Bar texture.
- When you're ready to indulge, remove the bars from the freezer. Let them sit for a few minutes to soften slightly, then slice into squares or rectangles. Serve with extra hot fudge sauce on the side for dipping!
Equipment
- Mixing Bowls
- Spatula
- Microwave or double boiler
- Baking sheet or dish
- Freezer-safe container
Notes
- Store the bars in an airtight container in the freezer.
- Separate layers with parchment paper to prevent sticking.
- Consume within 2-3 weeks for optimal flavor and texture.


