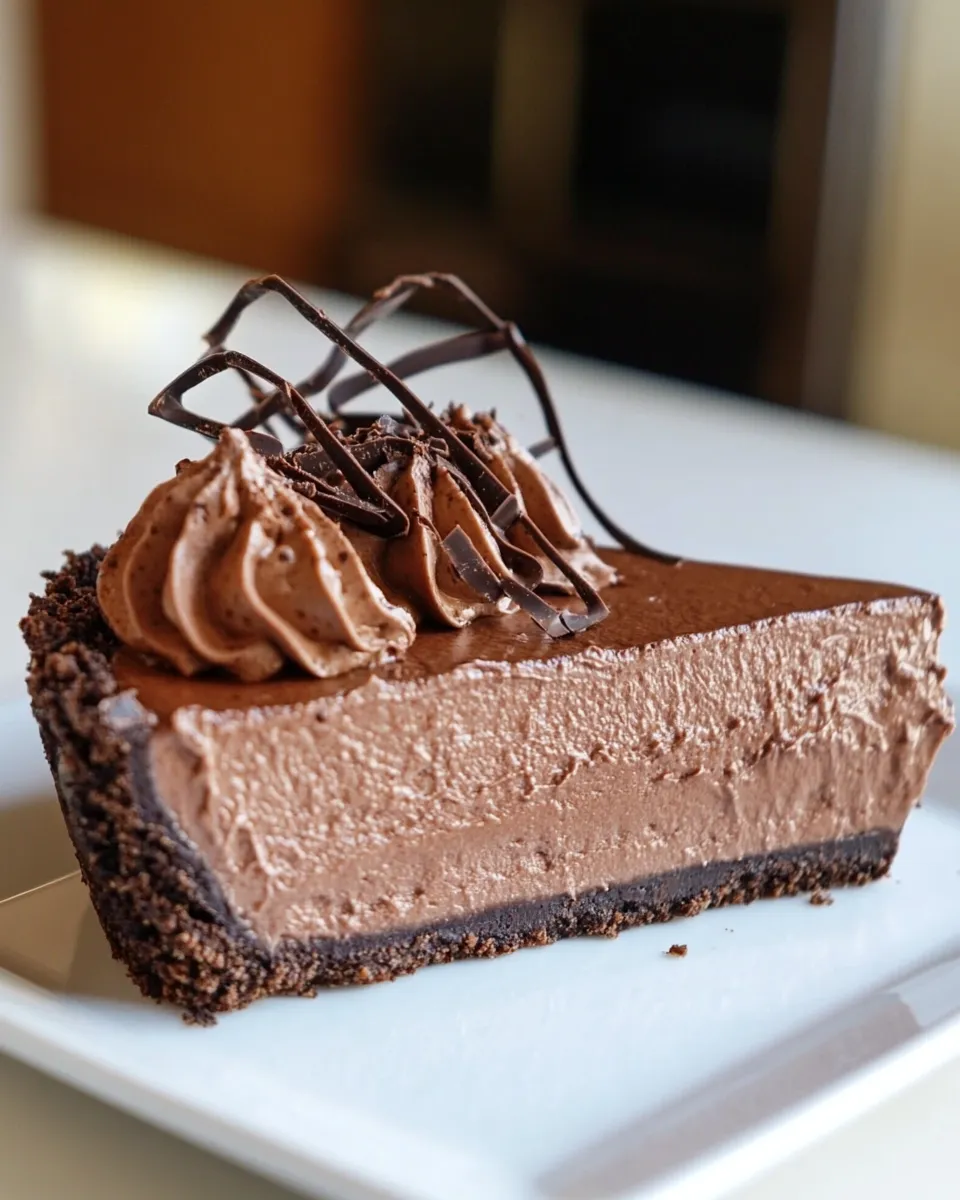
If you’re on the lookout for a decadent dessert that combines rich chocolate flavor with a creamy texture, then look no further than this Chocolate Truffle Pie. This no-bake pie is not only easy to prepare but also features a luscious filling made primarily from cashews or macadamias, making it a delightful treat for everyone. Whether you’re having a dinner party, celebrating a special occasion, or just indulging in a sweet craving, this pie is sure to impress.
Why This Recipe Is Reliable
This Chocolate Truffle Pie stands out for several reasons. Firstly, it requires no baking, which means less time in the kitchen and more time enjoying your creation. Secondly, the combination of creamy nuts and rich cocoa creates a texture that’s silky smooth and utterly delightful. Plus, it’s versatile; you can easily customize it to fit your dietary needs, making it a go-to recipe for various occasions. Finally, the balance of sweetness from maple syrup or honey complements the chocolate perfectly, ensuring each bite is satisfying.
Gather These Ingredients
- 1/4 cup cocoa powder – This adds a deep chocolate flavor.
- 2 tbsp Dutch-processed cocoa powder – For a more intense chocolate experience, but if unavailable, regular cocoa works just fine.
- 1 1/2 cups raw cashews or macadamias – These nuts create the creamy filling. For a nut-free option, check out the Vegan Chocolate Pie link.
- 2 1/2 cups strawberries or pitted cherries (250g) – Fresh or frozen, these add a fruity layer to the pie.
- 1/2 tbsp pure vanilla extract – Enhances the overall flavor.
- 1/8 tsp salt – A pinch of salt elevates the flavors.
- 1/3 cup virgin coconut oil – Provides richness and helps set the pie. For a coconut-free option, refer to the Vegan Chocolate Pie link.
- 1/3 cup pure maple syrup, honey, agave, OR 1/8 tsp uncut stevia – Sweeteners to suit your taste.
- Optional: 3 oz chocolate chips melted with 1 tsp oil – For drizzling on top, adding an extra layer of chocolatey goodness.
Cook’s Kit
- Food Processor or Blender – Essential for creating a smooth filling.
- Pie Dish – A 9-inch pie dish works perfectly for this recipe.
- Measuring Cups and Spoons – Accurate measurements ensure the best results.
- Spatula – For scraping down the sides of your processor or blender.
How to Prepare Chocolate Truffle Pie
Step 1: Prepare the Crust
In your food processor, blend 1 1/2 cups of raw cashews or macadamias until they reach a fine crumb consistency. Add in 1/4 cup cocoa powder, 1/8 tsp salt, and 1/3 cup virgin coconut oil. Pulse until the mixture resembles wet sand and holds together when pressed.
Step 2: Press into Pie Dish
Transfer the crust mixture into your pie dish. Use your fingers or the back of a measuring cup to press the mixture evenly across the bottom and up the sides of the dish. Set aside.
Step 3: Make the Filling
In the clean food processor, combine the remaining 1 1/2 cups of cashews or macadamias, 2 1/2 cups strawberries or pitted cherries, 2 tbsp Dutch cocoa powder, 1/2 tbsp pure vanilla extract, 1/3 cup pure maple syrup (or your choice of sweetener), and 1/8 tsp salt. Blend until smooth and creamy, scraping down the sides as needed.
Step 4: Pour and Chill
Pour the filling into the prepared crust, smoothing the top with a spatula. If you’re using melted chocolate chips for drizzling, do so at this point. Place the pie in the fridge for at least 4 hours or until firm.
Step 5: Serve and Enjoy!
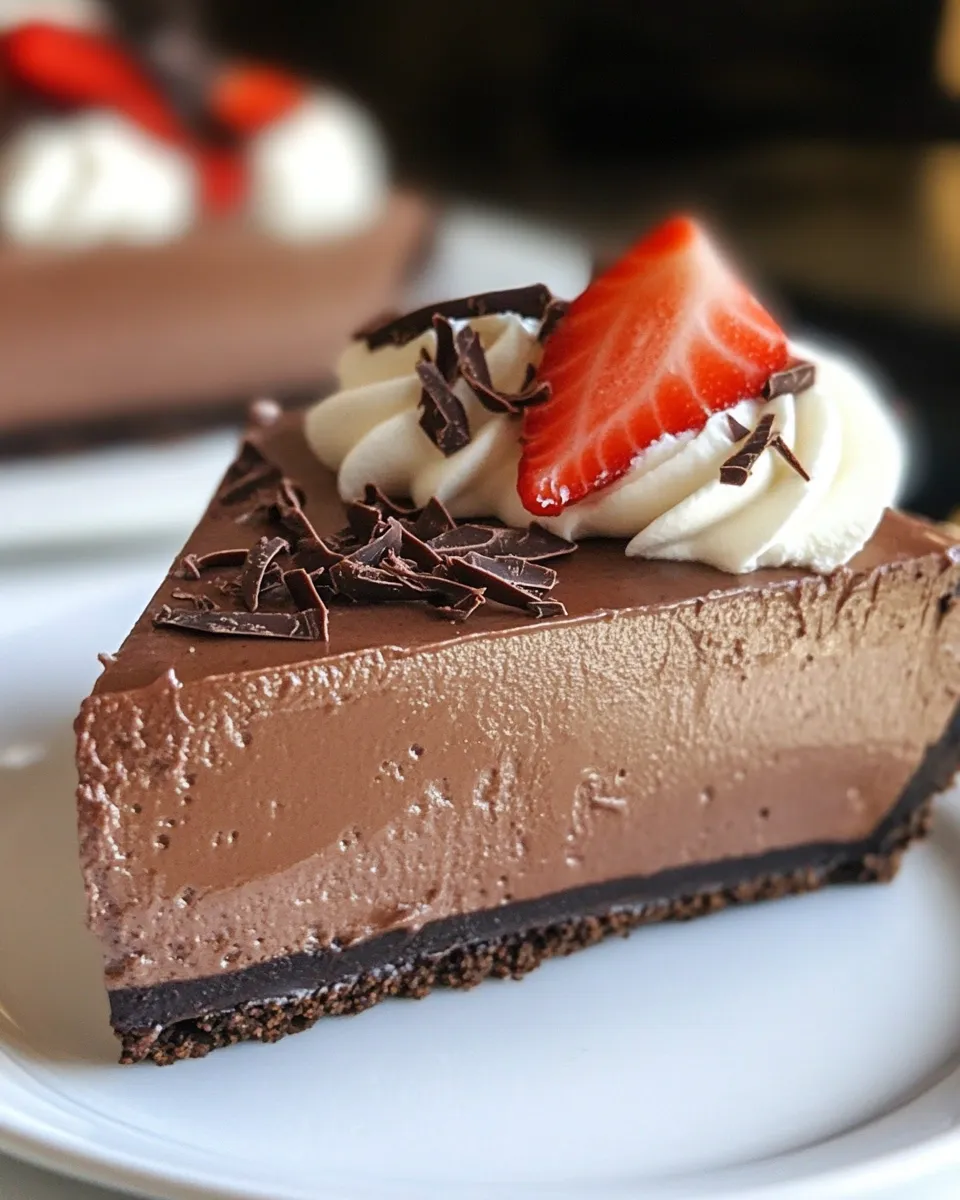
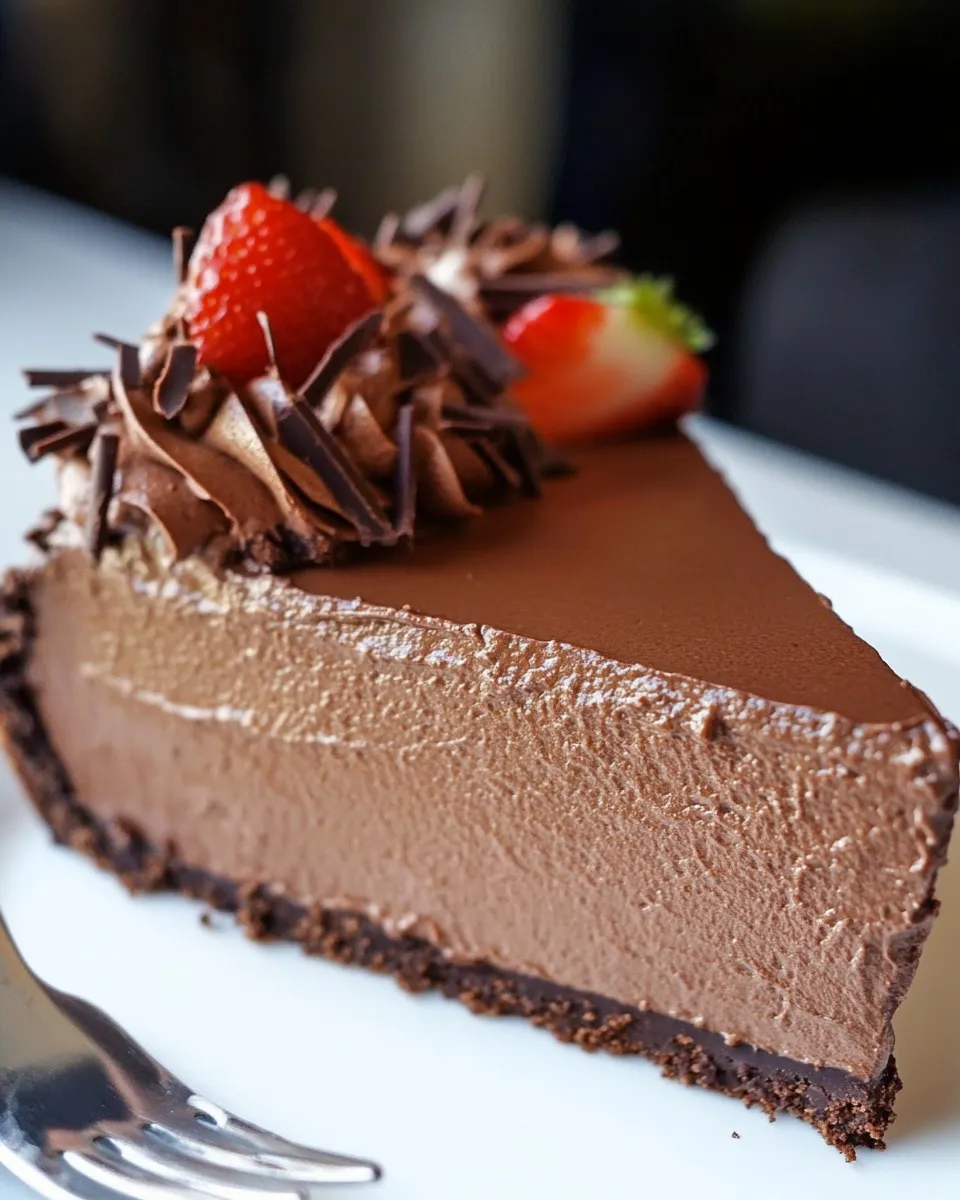
Once set, slice the pie and enjoy it chilled. Garnish with fresh fruit, chocolate shavings, or a dollop of whipped coconut cream for an extra touch.
Dietary Customizations
- Nut-Free Option: Use sunflower seeds or pumpkin seeds in place of cashews or macadamias to create a nut-free version.
- Coconut-Free: Substitute the coconut oil with avocado oil or another neutral oil.
- Low-Calorie Sweetener: For a lower-calorie option, use uncut stevia instead of maple syrup or honey.
- Vegan: Ensure all sweeteners used are plant-based, and avoid any optional dairy toppings.
What I Learned Testing
- This pie is incredibly forgiving; if you don’t have a specific fruit on hand, feel free to substitute with whatever berries or pitted fruits you have available.
- The texture of the filling improves after chilling, so patience really pays off in this recipe.
- Chocolate chips drizzled on top go a long way in adding visual appeal and an extra chocolatey punch.
- Using a high-speed blender can yield a creamier filling than a standard food processor.
Keep It Fresh: Storage Guide
The Chocolate Truffle Pie can be stored in the refrigerator for up to one week. Just make sure it’s covered well to prevent it from absorbing any odors from the fridge. You can also freeze individual slices for a quick dessert later on; simply wrap them tightly in plastic wrap and store them in an airtight container.
Helpful Q&A
Can I use different fruits in the filling?
Absolutely! While strawberries and cherries work beautifully, you can experiment with raspberries, blueberries, or even a combination of your favorites.
How can I make this pie gluten-free?
This recipe is naturally gluten-free as it does not contain any flour. Just be sure to double-check your sweeteners and any additional toppings for gluten-free certification.
Is there a way to make this pie more chocolatey?
For an extra chocolate kick, add more cocoa powder to the filling or use a richer chocolate for the drizzle. You can also fold in some chocolate chips into the filling before pouring it into the crust.
What can I serve with Chocolate Truffle Pie?
This pie pairs wonderfully with fresh whipped cream, a scoop of vanilla ice cream, or a sprinkle of crushed nuts on top for some extra texture.
In closing, this Chocolate Truffle Pie is not just a dessert; it’s an experience that brings joy with every bite. Its creamy texture, rich chocolate flavor, and fruity undertones make it a standout at any gathering or simply as a sweet treat for yourself. Whether you’re celebrating a special occasion or just craving something delightful, this recipe is sure to satisfy. Give it a try, and let the deliciousness unfold!

Chocolate Truffle Pie
Ingredients
For the Crust:
- 1.5 cups raw cashews or macadamias (for crust)
- 1/4 cup cocoa powder (for crust)
- 1/8 tsp salt (for crust)
- 1/3 cup virgin coconut oil (for crust)
For the Filling:
- 1.5 cups raw cashews or macadamias (for filling)
- 2.5 cups strawberries or pitted cherries (fresh or frozen)
- 2 tbsp Dutch-processed cocoa powder (for filling)
- 1/2 tbsp pure vanilla extract (for filling)
- 1/3 cup pure maple syrup, honey, agave, OR 1/8 tsp uncut stevia (for filling)
- 1/8 tsp salt (for filling)
- 3 oz chocolate chips (optional, melted with 1 tsp oil for drizzling)
Instructions
Instructions:
- Step 1: Prepare the Crust - In your food processor, blend 1 1/2 cups of raw cashews or macadamias until they reach a fine crumb consistency. Add in 1/4 cup cocoa powder, 1/8 tsp salt, and 1/3 cup virgin coconut oil. Pulse until the mixture resembles wet sand and holds together when pressed.
- Step 2: Press into Pie Dish - Transfer the crust mixture into your pie dish. Use your fingers or the back of a measuring cup to press the mixture evenly across the bottom and up the sides of the dish. Set aside.
- Step 3: Make the Filling - In the clean food processor, combine the remaining 1 1/2 cups of cashews or macadamias, 2 1/2 cups strawberries or pitted cherries, 2 tbsp Dutch cocoa powder, 1/2 tbsp pure vanilla extract, 1/3 cup pure maple syrup (or your choice of sweetener), and 1/8 tsp salt. Blend until smooth and creamy, scraping down the sides as needed.
- Step 4: Pour and Chill - Pour the filling into the prepared crust, smoothing the top with a spatula. If you’re using melted chocolate chips for drizzling, do so at this point. Place the pie in the fridge for at least 4 hours or until firm.
- Step 5: Serve and Enjoy! - Once set, slice the pie and enjoy it chilled. Garnish with fresh fruit, chocolate shavings, or a dollop of whipped coconut cream for an extra touch.
Equipment
- Food Processor or Blender
- Pie Dish
- Measuring cups and spoons
- Spatula
Notes
- Store the pie in the refrigerator for up to one week, covered to prevent odor absorption.
- Individual slices can be frozen for a quick dessert later; wrap tightly in plastic wrap.
- Feel free to substitute fruits based on availability for the filling.