
If you’ve ever craved the delightful crunch and chocolatey goodness of a Kit Kat bar, you’re in for a treat! This Homemade Kit Kat Bars Recipe will show you how to recreate this classic candy right in your own kitchen. With just a few simple ingredients and minimal effort, you can impress friends and family, or indulge your sweet tooth any time you like.
Why It’s My Go-To
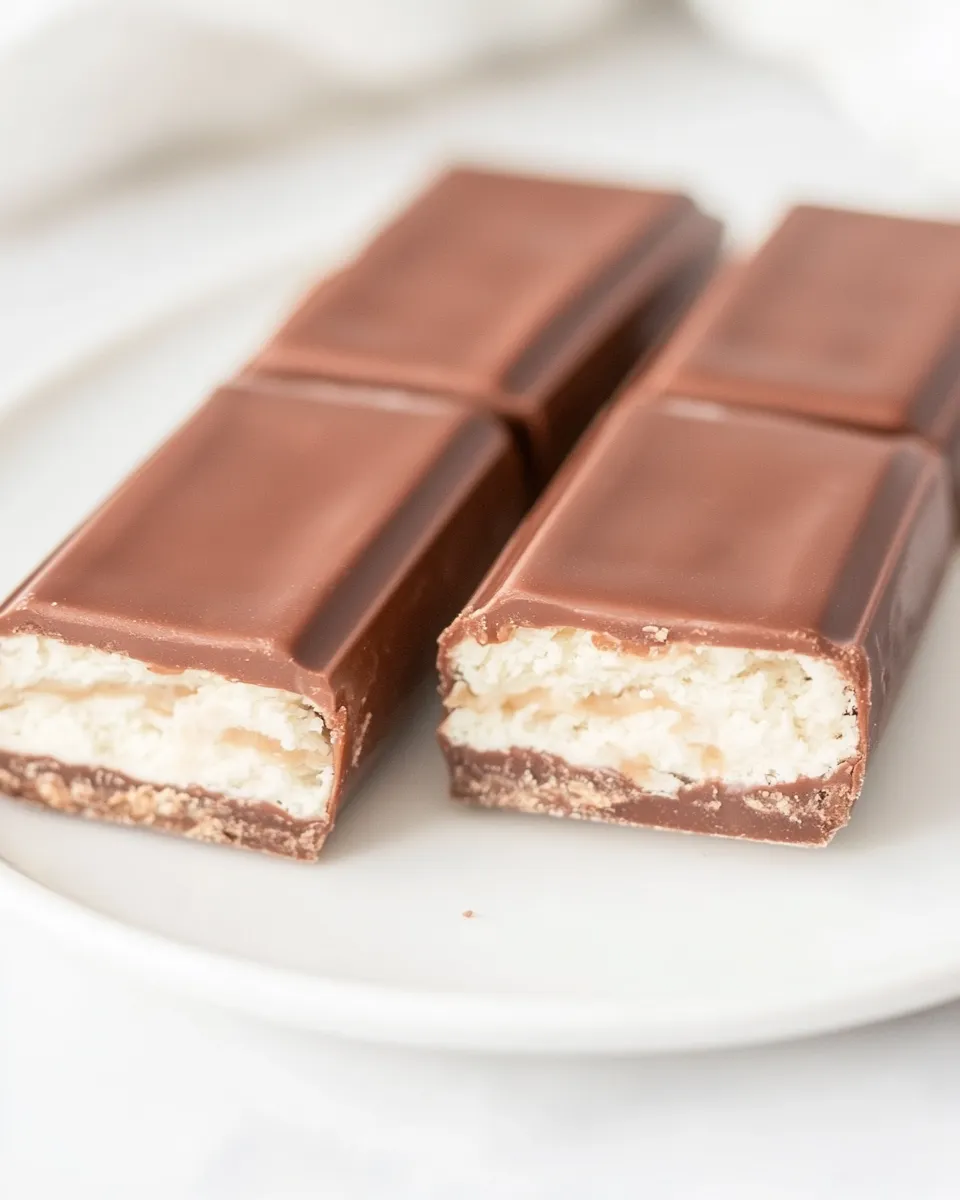
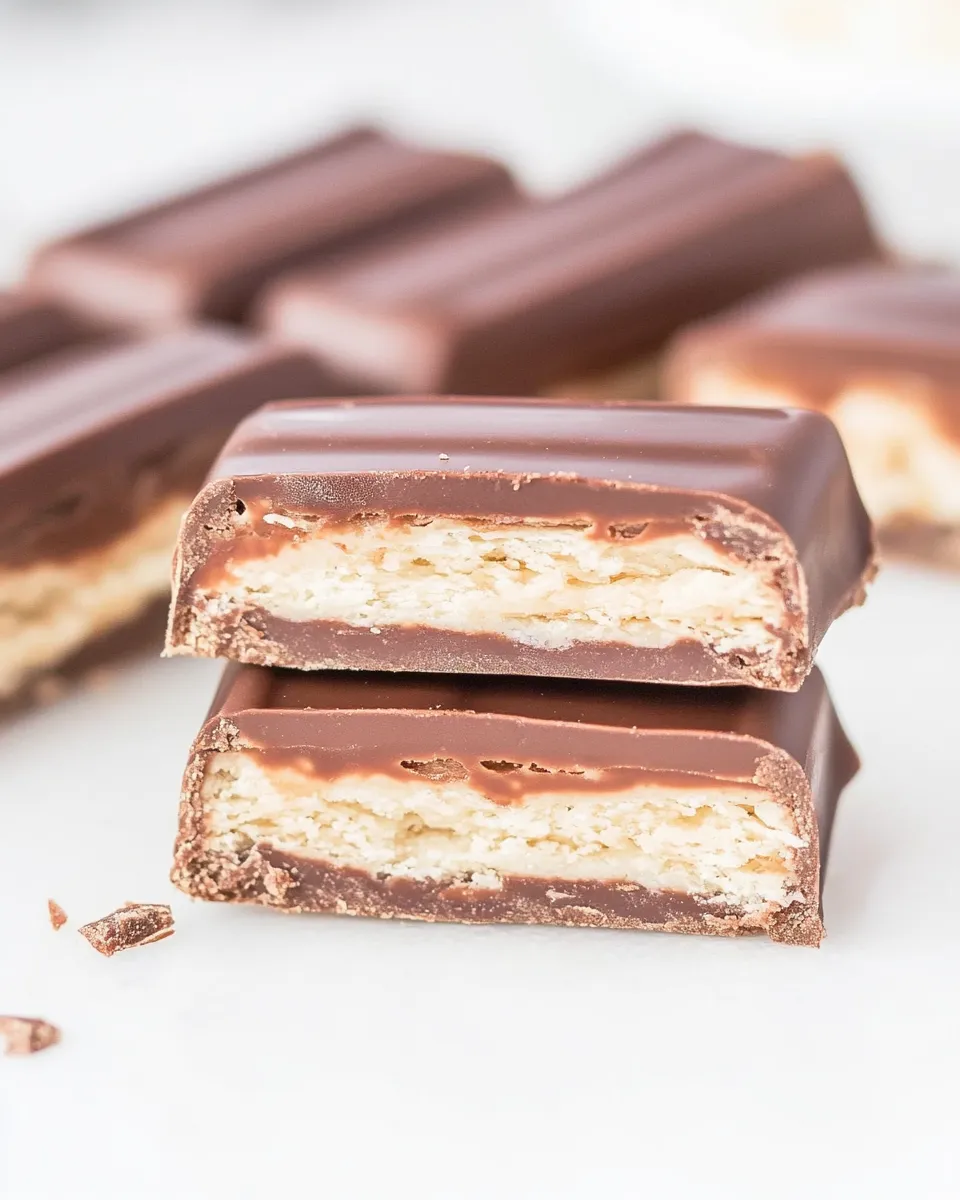
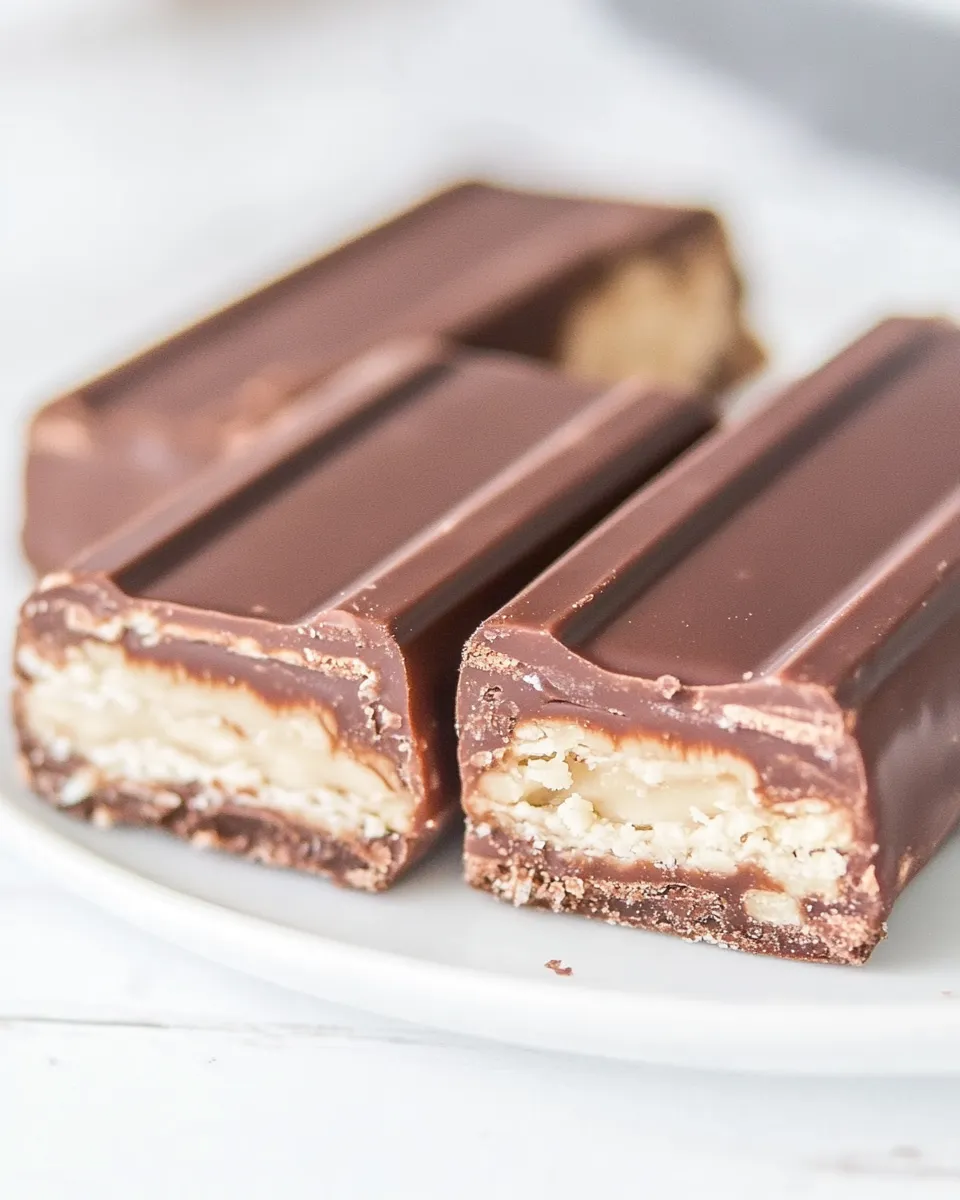
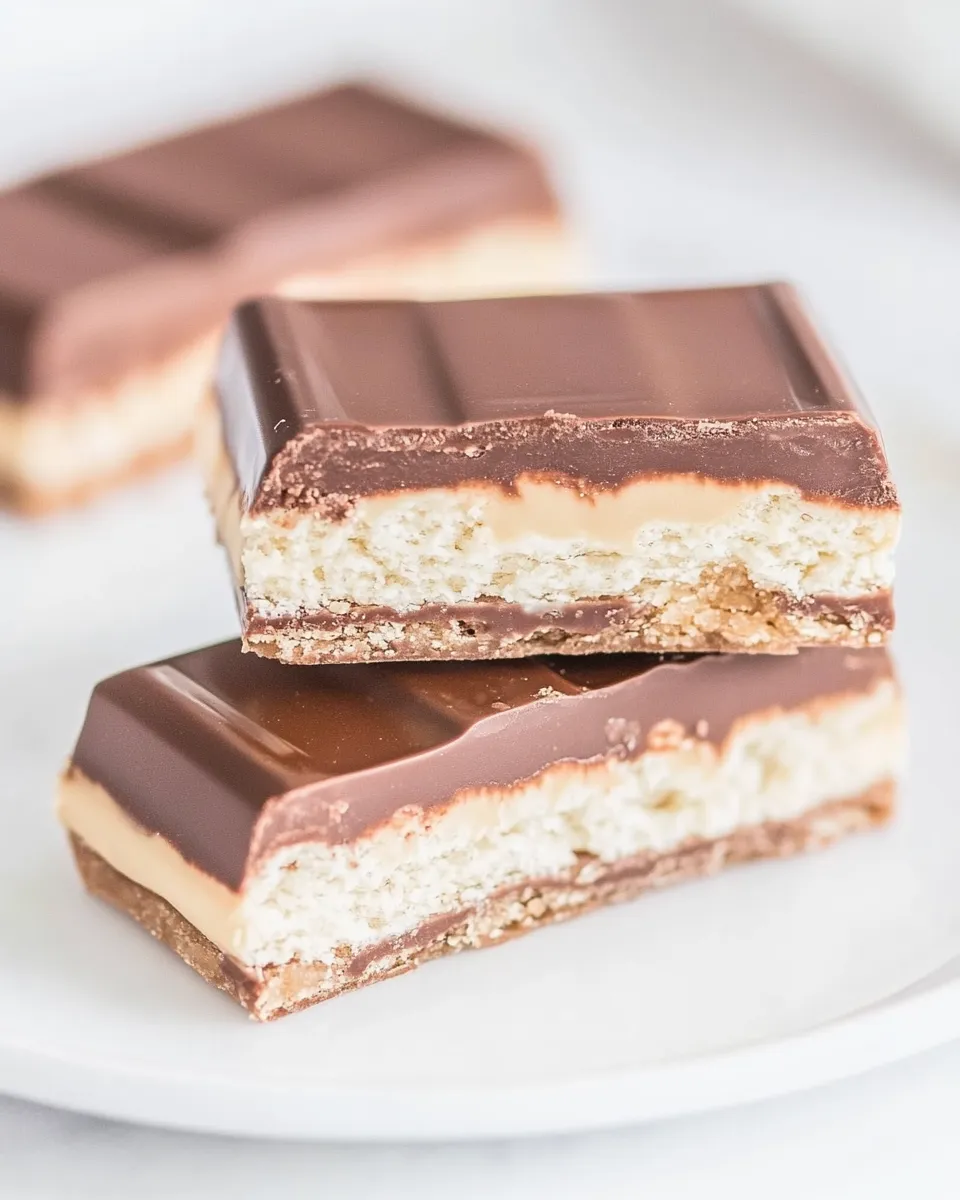
There’s something incredibly satisfying about making candy at home, and this recipe is no exception. The combination of crispy vanilla sugar wafers layered with rich chocolate is irresistible. Making homemade versions of your favorite treats means you control the ingredients, ensuring freshness and quality. Plus, it’s a fun project to do with kids or friends, and the results are always a crowd-pleaser!
What You’ll Gather
To whip up these delicious homemade Kit Kat bars, you’ll need the following ingredients:
- 15 vanilla sugar wafers – These are the foundation of your Kit Kat bars, providing that signature crunch.
- 2 cups semi-sweet chocolate chips – Divided use for coating and drizzling.
- 1 tablespoon vegetable oil – This helps to smooth out the chocolate for a glossy finish.
Tools of the Trade
Before you get started, make sure you have these essential tools on hand:
- Microwave-safe bowl – For melting the chocolate chips.
- Spatula – To mix and spread the chocolate.
- Baking sheet – Line it with parchment paper for easy cleanup.
- Cooling rack – Ideal for letting the chocolate-coated bars set.
Make Homemade Kit Kat Bars Recipe: A Simple Method
Follow these step-by-step instructions to create your own delightful homemade Kit Kat bars.
Step 1: Prepare Your Workspace
Start by clearing and prepping your workspace. Line a baking sheet with parchment paper to prevent sticking.
Step 2: Melt the Chocolate
In a microwave-safe bowl, combine 1 cup of semi-sweet chocolate chips with the vegetable oil. Microwave in 30-second intervals, stirring in between, until the chocolate is fully melted and smooth.
Step 3: Coat the Wafers
Dip each vanilla sugar wafer into the melted chocolate, ensuring they are evenly coated. Use a fork to lift them out, letting excess chocolate drip back into the bowl. Place the coated wafers on the lined baking sheet.
Step 4: Create Layers
When you have a layer of chocolate-coated wafers, place another layer of wafers on top. Repeat this process, alternating layers of chocolate and wafers, until you’ve used all the wafers.
Step 5: Final Chocolate Coating
Once you’ve stacked all the layers, melt the remaining 1 cup of chocolate chips. Pour this over the top of your layered wafers, smoothing it out with a spatula to cover completely.
Step 6: Chill and Set
Place the baking sheet in the refrigerator for about 30 minutes or until the chocolate has fully set.
Step 7: Slice and Serve
Once set, remove the homemade Kit Kat bars from the fridge. Use a sharp knife to slice them into desired sizes. Enjoy your delightful homemade treat!
Make It Fit Your Plan
Looking to customize your homemade Kit Kat bars? Here are some ideas:
- Use gluten-free wafers for a gluten-free version.
- Experiment with different chocolate types, such as milk chocolate or dark chocolate, for varied flavors.
- Add a sprinkle of sea salt on top for a sweet and salty twist.
- Mix in some chopped nuts or dried fruit for added texture and flavor.
Author’s Commentary
Making homemade Kit Kat bars has been a delightful experience for me. Each bite reminds me of my childhood, yet the satisfaction of crafting them myself brings a new level of enjoyment. I love that this recipe is so versatile; you can easily adjust flavors and textures to suit your preferences. Plus, they make fantastic gifts for friends and family!
Keep It Fresh: Storage Guide
To keep your homemade Kit Kat bars fresh, store them in an airtight container at room temperature for up to a week. If you want them to last longer, you can refrigerate them, but be sure to let them come to room temperature before serving for the best texture. If you want to enjoy them even later, you can freeze them in a freezer-safe container for up to three months.
Common Qs About Homemade Kit Kat Bars Recipe
Can I use milk chocolate instead of semi-sweet chocolate?
Absolutely! Milk chocolate will give your bars a sweeter taste, which many people enjoy. Just be sure to melt it in the same way as the semi-sweet chocolate.
What if I can’t find vanilla sugar wafers?
You can substitute with other types of sugar wafers or even graham crackers, though the texture may vary slightly.
Can I make these bars vegan?
Yes, simply use dairy-free chocolate chips and check that your wafers are free from dairy ingredients.
How do I prevent the chocolate from cracking when cutting?
Ensure the chocolate is fully melted and well-mixed with oil to maintain a smooth consistency. Allow the bars to sit at room temperature for a few minutes before cutting to avoid cracking.
Before You Go
With this Homemade Kit Kat Bars Recipe, you can indulge in a beloved classic while personalizing it to your taste. Whether you enjoy them as a sweet snack or share them with friends, they’re sure to be a hit. Happy baking, and enjoy every crispy, chocolatey bite!
Share on Pinterest


Homemade Kit Kat Bars Recipe
Ingredients
Ingredients
- 15 pieces vanilla sugar wafers
- 2 cups semi-sweet chocolate chips divided use for coating and drizzling
- 1 tablespoon vegetable oil helps to smooth out the chocolate
Instructions
Instructions
- Step 1: Prepare Your Workspace - Clear and prep your workspace. Line a baking sheet with parchment paper.
- Step 2: Melt the Chocolate - In a microwave-safe bowl, combine 1 cup of chocolate chips with the vegetable oil. Microwave in 30-second intervals, stirring until melted and smooth.
- Step 3: Coat the Wafers - Dip each wafer into the melted chocolate, ensuring they are evenly coated. Lift with a fork and let excess chocolate drip. Place on the lined baking sheet.
- Step 4: Create Layers - Alternate layers of chocolate-coated wafers and wafers until all wafers are used.
- Step 5: Final Chocolate Coating - Melt the remaining chocolate chips and pour over the top of the layered wafers, smoothing it out with a spatula.
- Step 6: Chill and Set - Refrigerate for about 30 minutes or until chocolate has fully set.
- Step 7: Slice and Serve - Remove from the fridge, slice into desired sizes, and enjoy!
Equipment
- Microwave-Safe Bowl
- Spatula
- Baking Sheet
- Cooling rack
Notes
- Store in an airtight container at room temperature for up to a week.
- Refrigerate for longer shelf life but allow to come to room temperature before serving.
- For freezing, use a freezer-safe container for up to three months.


