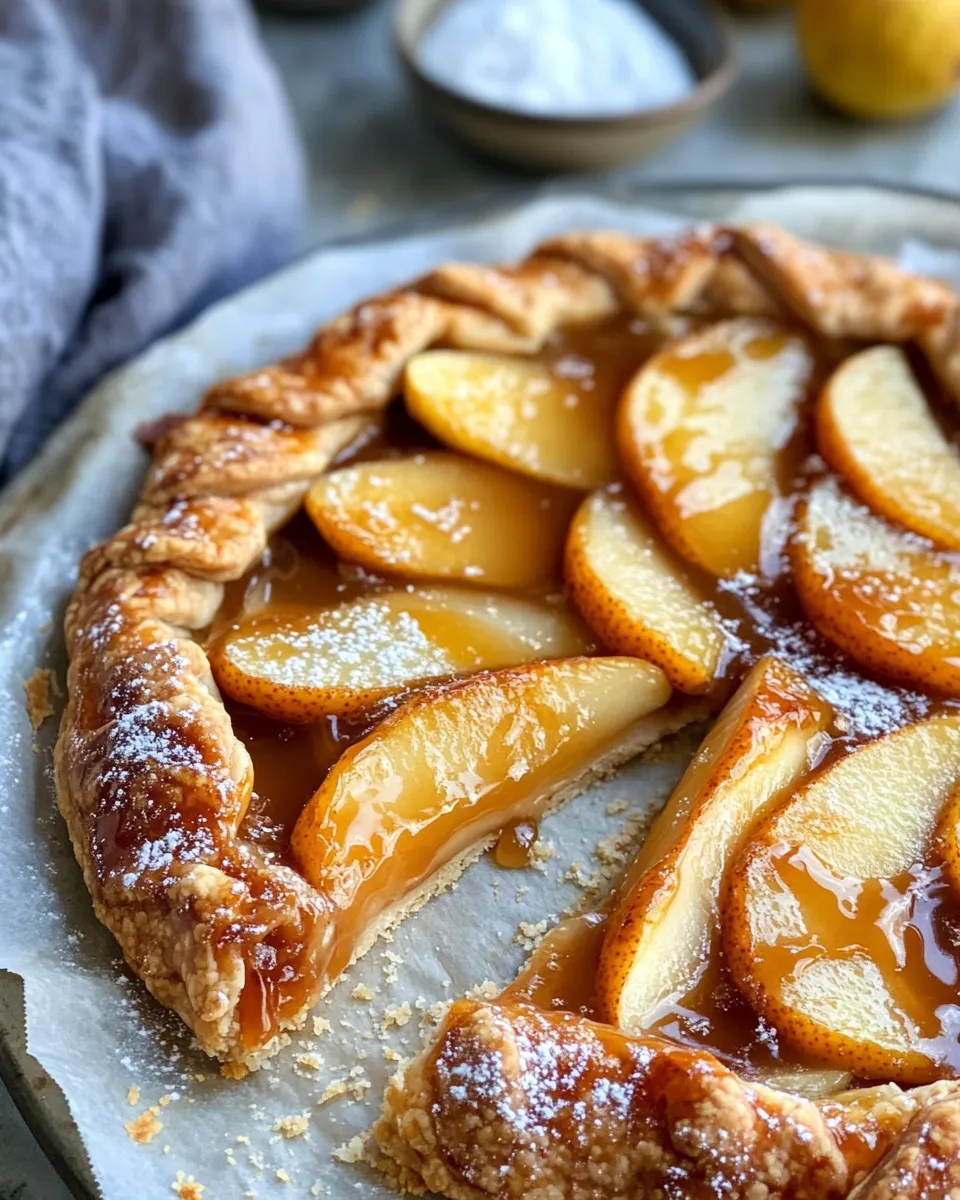
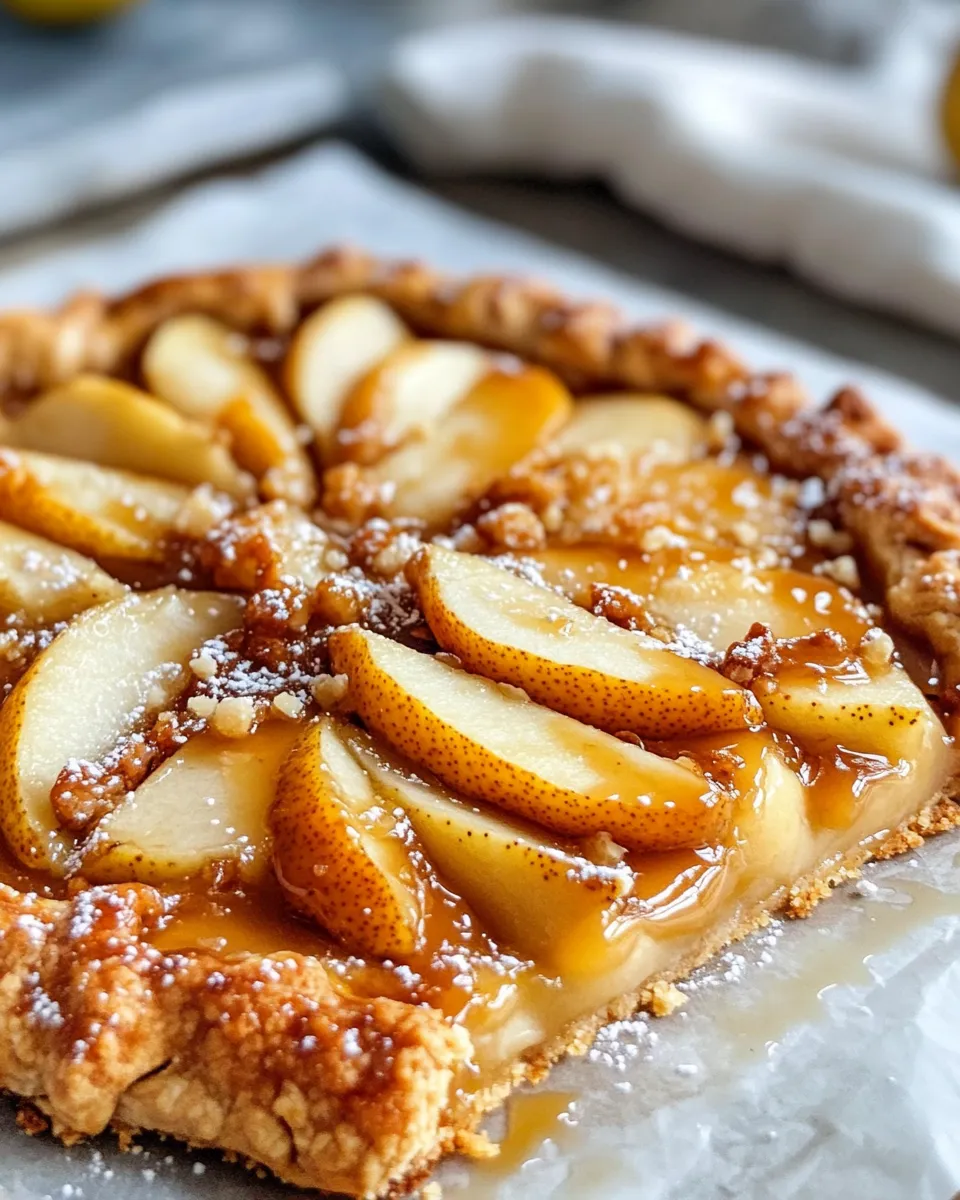
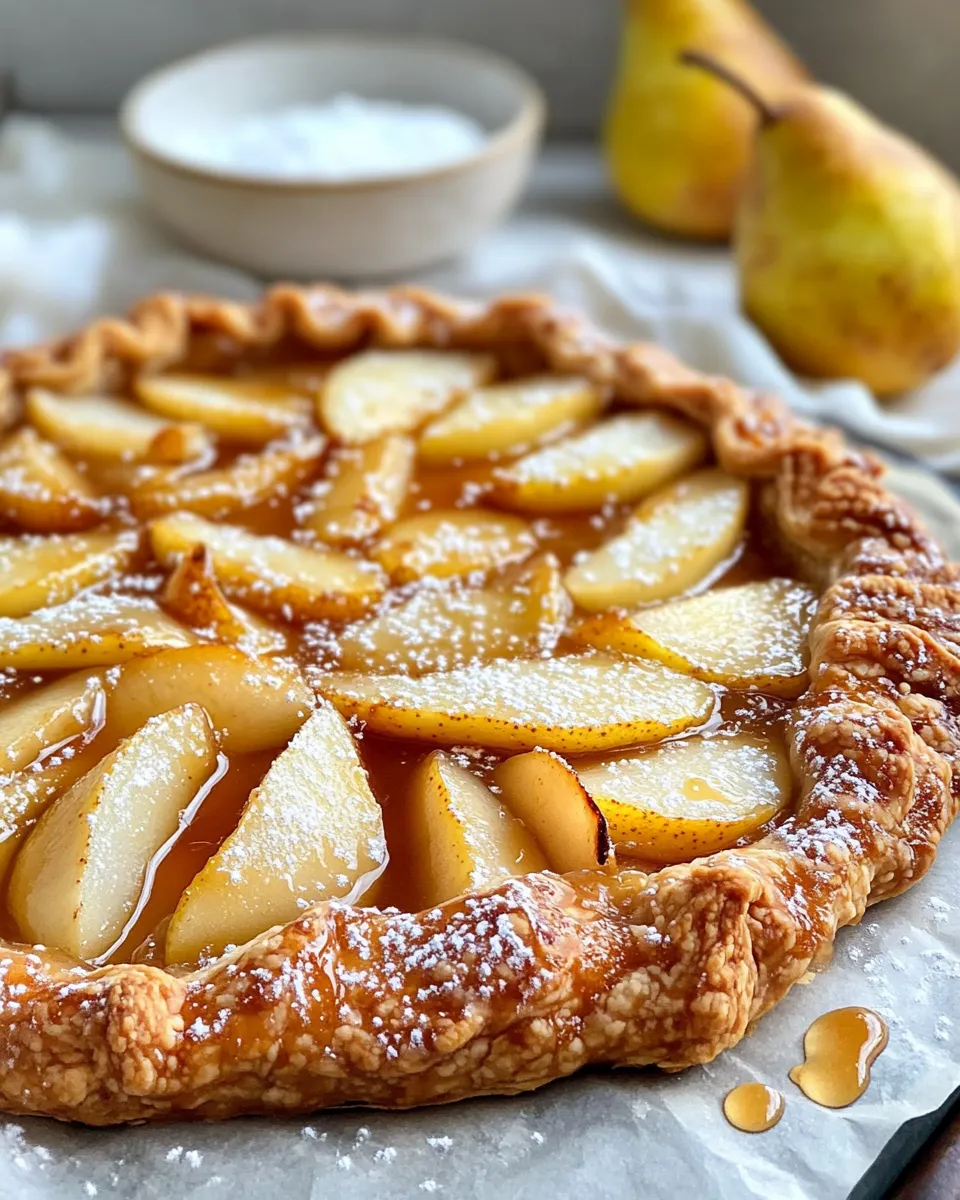
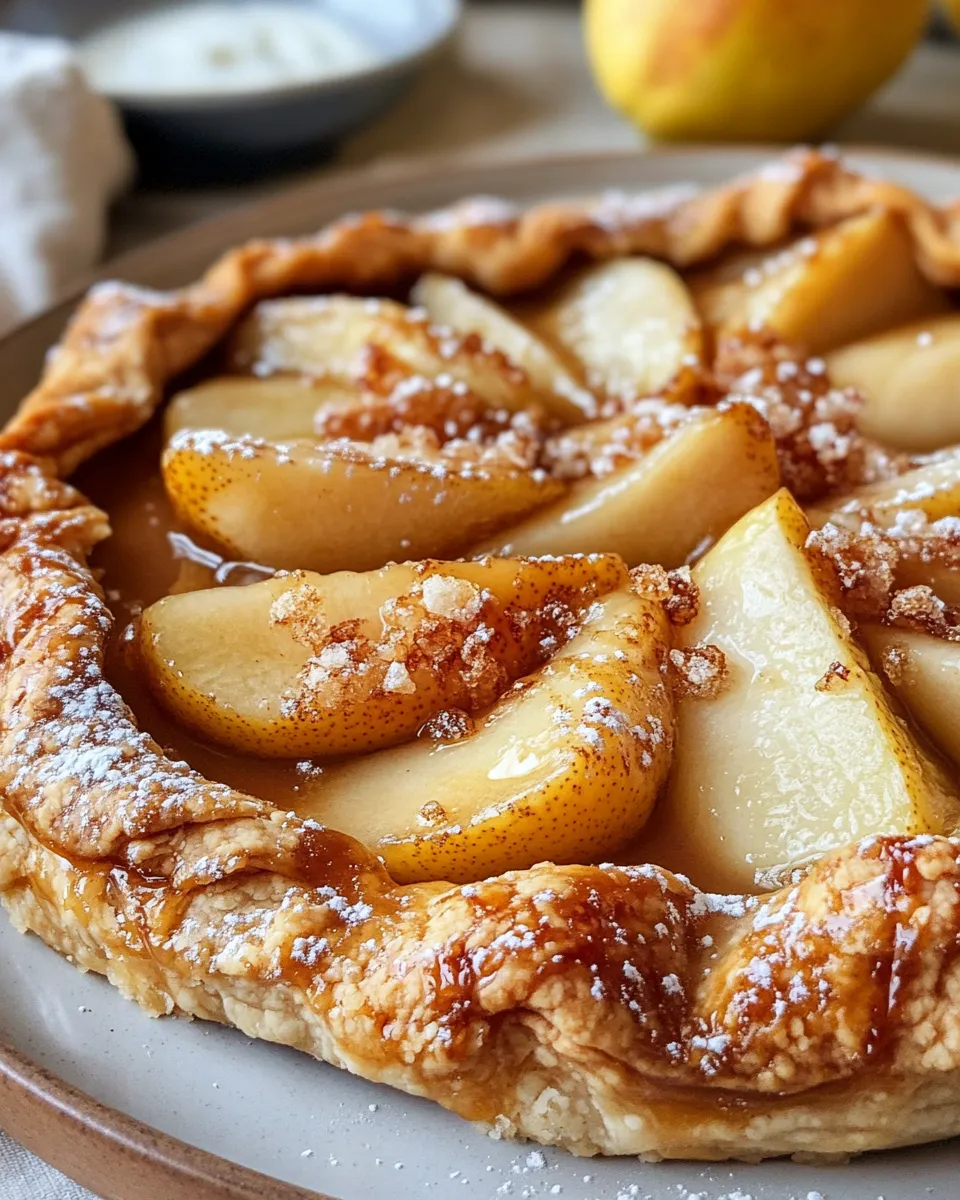
There’s something undeniably charming about a rustic dessert that feels both elegant and effortless. Enter the Salted Caramel Pear Galette — a gorgeous, flaky pastry wrapped around tender, juicy pears and drizzled with luscious salted caramel. This delightful treat is perfect for cozy evenings, special occasions, or whenever you want to impress without spending hours in the kitchen. Using just one pre-made pie crust, this recipe simplifies your baking experience while delivering maximum flavor and texture. Let’s dive into why this dessert deserves a permanent spot in your recipe collection.
Why This Recipe Is Reliable
This Salted Caramel Pear Galette recipe is designed with simplicity and consistency in mind. Relying on a pre-made pie crust means you skip the intimidating step of making dough from scratch, yet still enjoy that buttery, flaky base every time. The balance of sweet pears and rich salted caramel is thoughtfully crafted to satisfy cravings without overwhelming your palate. Each ingredient is easy to find and the steps straightforward, making it perfect for bakers of all levels. Plus, the galette’s open-faced design allows for even baking and a beautiful presentation without any fuss.
The Ingredient Lineup
- 1 pre-made pie crust – The foundation of your galette, bringing buttery, flaky goodness.
- 3 medium pears, peeled and sliced – Choose ripe but firm pears for the best texture and flavor.
- 1/2 cup granulated sugar – For sweetening the caramel and pear filling perfectly.
- 1/4 cup unsalted butter – Adds richness and helps create that dreamy caramel sauce.
- 1/2 cup heavy cream – Gives the caramel its creamy, smooth texture.
- 1 teaspoon vanilla extract – A warm, aromatic note that deepens the flavor.
- 1/4 teaspoon sea salt – Enhances the caramel’s sweetness with a subtle salty kick.
- 1 tablespoon all-purpose flour – Helps thicken the pear filling to prevent sogginess.
- 1 egg, beaten – Used for the egg wash to achieve a golden, glossy crust.
- 1 tablespoon sugar – Sprinkled on top for a delicate crunch and sparkle.
Cook’s Kit
- Baking sheet: To bake your galette evenly with minimal cleanup.
- Mixing bowls: For tossing pears and preparing the caramel sauce.
- Rolling pin: If your pie crust needs a little stretch or smoothing out.
- Pastry brush: For applying the egg wash to get that gorgeous golden finish.
- Knife and cutting board: For peeling and slicing the pears neatly.
- Saucepan: To make the salted caramel sauce right on your stovetop.
From Start to Finish: Salted Caramel Pear Galette
Step 1: Prepare Your Oven and Pie Crust
Preheat your oven to 400°F (200°C). Lay the pre-made pie crust on a parchment-lined baking sheet. If needed, gently roll it out to smooth any creases, aiming for roughly a 12-inch circle.
Step 2: Toss the Pears
In a mixing bowl, combine your peeled and sliced pears with the all-purpose flour and half of the granulated sugar. The flour helps soak up excess moisture, ensuring your crust stays crisp. Toss gently to coat the slices evenly.
Step 3: Make the Salted Caramel
In a saucepan over medium heat, melt the unsalted butter. Add the remaining granulated sugar and stir until it dissolves and turns a rich amber color, about 5-7 minutes. Carefully pour in the heavy cream and stir continuously until smooth and thickened. Remove from heat and mix in the vanilla extract and sea salt. Set aside to cool slightly.
Step 4: Assemble the Galette
Spoon the pear mixture into the center of the pie crust, leaving about 2 inches of border around the edges. Drizzle roughly half of the salted caramel over the pears. Fold the edges of the dough over the pears, pleating as you go, to create a rustic border.
Step 5: Egg Wash and Sugar Sprinkle
Brush the crust edges with the beaten egg to encourage browning. Sprinkle the crust with the tablespoon of sugar to add a beautiful sparkle and crunch when baked.
Step 6: Bake to Perfection
Place the galette in the preheated oven and bake for 35-40 minutes, or until the crust is golden and the pears are tender and bubbly. Halfway through baking, you can spoon the remaining salted caramel over the pears for extra indulgence if desired.
Step 7: Cool and Serve
Allow your Salted Caramel Pear Galette to cool for at least 15 minutes on the baking sheet. This resting time helps the caramel set slightly, making it easier to slice. Serve warm or at room temperature, perhaps with a scoop of vanilla ice cream or a dollop of whipped cream.
Flavor-Forward Alternatives
- Swap pears for apples: Try this recipe with tart apples for a crisp, classic twist reminiscent of Caramel Apple Doughnuts.
- Add warm spices: Cinnamon, nutmeg, or cardamom can deepen the flavor profile.
- Use a different crust: Puff pastry can create an even flakier texture, similar in elegance to Puff Pastry Baked Brie With Spicy Cranberries.
- Top with nuts: Toasted walnuts or pecans add a satisfying crunch and nutty flavor.
What Not to Do
- Don’t use overly ripe pears; they’ll turn mushy and release too much liquid, making the crust soggy.
- Avoid skipping the flour in the filling—this step is crucial to keep the galette from becoming watery.
- Don’t pour the hot caramel directly onto the raw pears before assembling; it can make the crust soggy. Instead, drizzle it over the pears after they’re in place.
- Resist opening the oven door frequently during baking to prevent uneven cooking.
Store, Freeze & Reheat
Once cooled, store any leftover Salted Caramel Pear Galette in an airtight container in the refrigerator for up to 3 days. To reheat, warm slices in a 350°F oven for 10-15 minutes to revive the crispy crust and warm filling.
For longer storage, wrap the galette tightly in plastic wrap and then foil, freezing for up to 2 months. Thaw overnight in the refrigerator before reheating as above.
Handy Q&A
Can I make this galette gluten-free?
Yes! Substitute the pre-made pie crust with a gluten-free variety available in stores or make your own gluten-free dough. Just be mindful that gluten-free doughs can be more delicate and require gentle handling.
What type of pears work best?
Firm, slightly tart pears like Bosc or Anjou hold their shape beautifully during baking, providing a pleasant texture contrast with the caramel.
Can I prepare this galette ahead of time?
Absolutely! You can assemble the galette and refrigerate it for up to 24 hours before baking. Bring it to room temperature before placing it in the hot oven for best results.
Is there a way to make this recipe less sweet?
To reduce sweetness, cut down the granulated sugar slightly or use a less sugary caramel sauce. Alternatively, sprinkle a little lemon zest over the pears for a bright, balancing flavor.
Next Steps
Now that you have the perfect Salted Caramel Pear Galette recipe, why not experiment with your own twists? Try pairing this dessert with a scoop of cinnamon ice cream or a drizzle of honey for extra decadence. Don’t hesitate to explore seasonal fruits or add a sprinkle of toasted nuts for texture. Baking this galette will quickly become a go-to for effortless entertaining or a cozy night in.
This recipe’s combination of sweet, salty, and buttery flavors wrapped in a tender crust delivers a comforting, crowd-pleasing dessert that’s as beautiful as it is delicious. Whether you’re a seasoned baker or just starting out, this Salted Caramel Pear Galette is guaranteed to wow your taste buds and your guests alike. So grab that pie crust, and let’s get baking!
Share on Pinterest
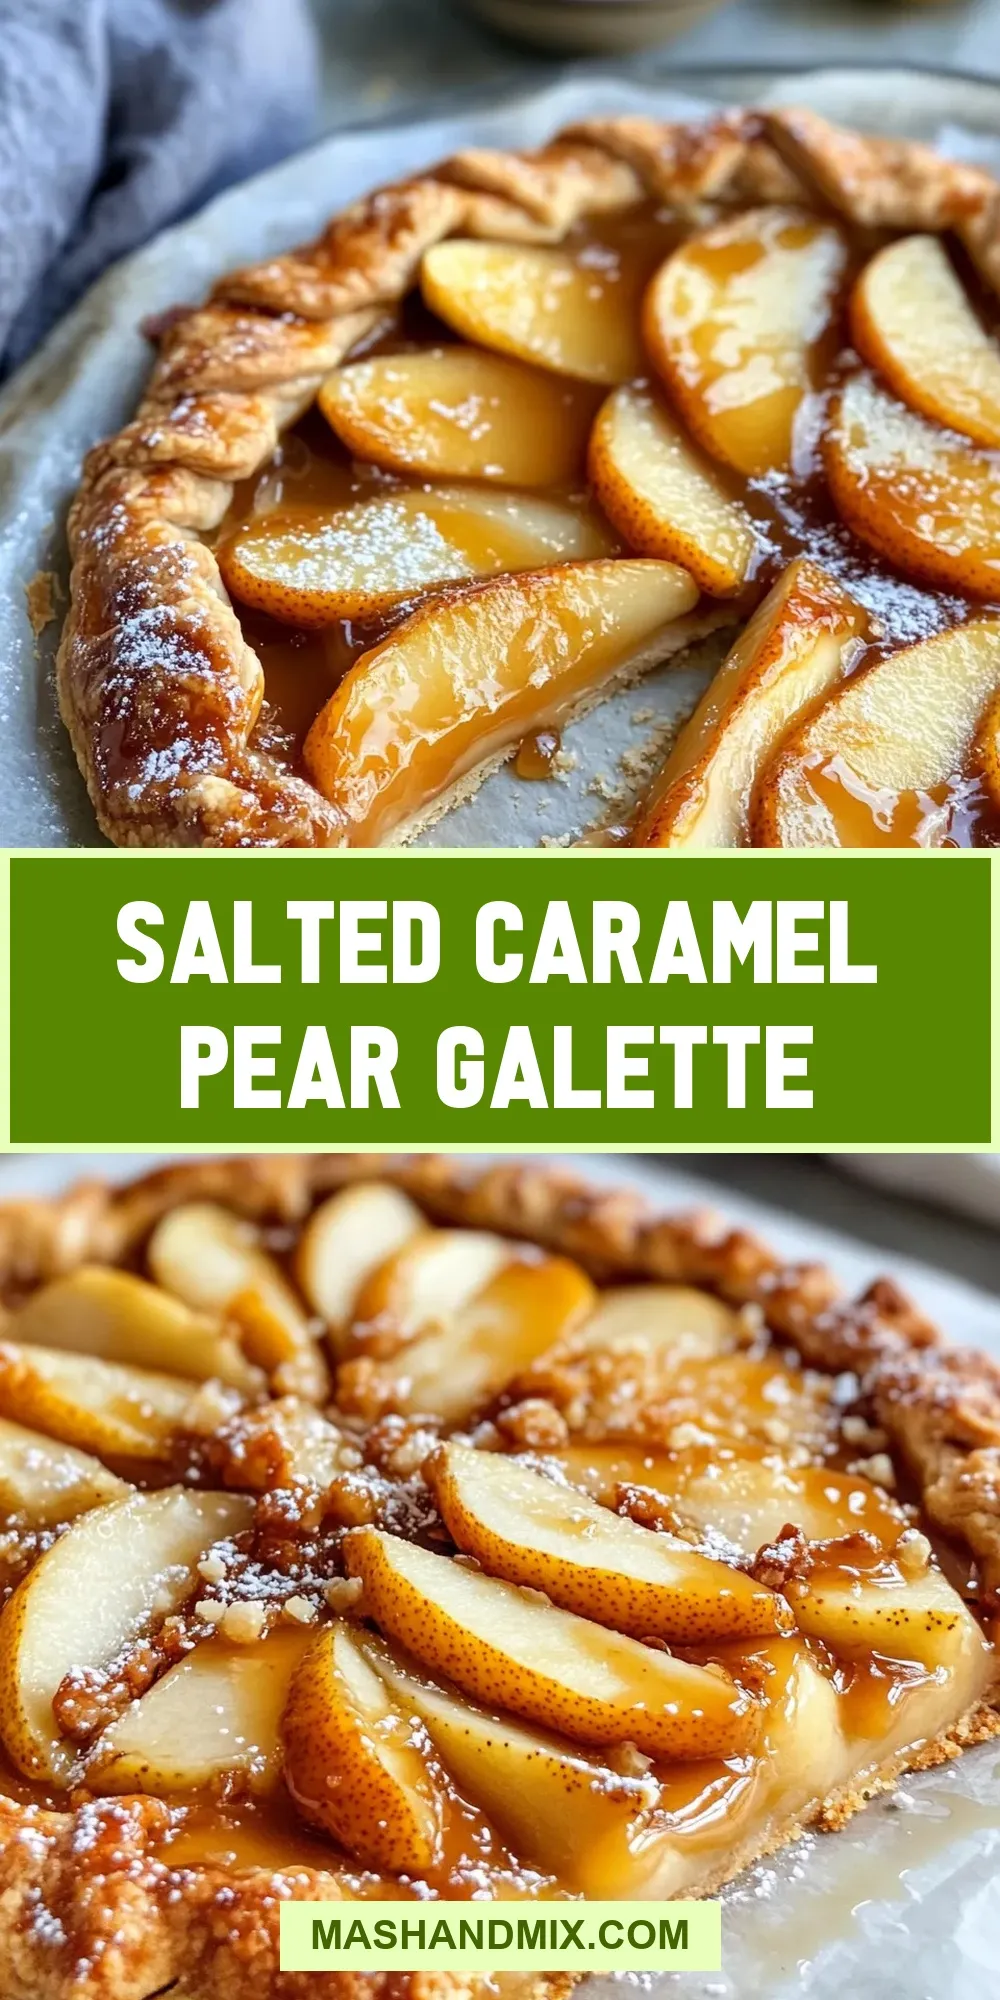

Salted Caramel Pear Galette
Ingredients
- 1 pre-made pie crust pie crust buttery, flaky
- 3 medium pears peeled and sliced
- 0.5 cup granulated sugar divided
- 0.25 cup unsalted butter
- 0.5 cup heavy cream
- 1 teaspoon vanilla extract
- 0.25 teaspoon sea salt
- 1 tablespoon all-purpose flour
- 1 egg egg beaten
- 1 tablespoon sugar for sprinkling on crust
Instructions
Prepare Your Oven and Pie Crust
- Preheat your oven to 400°F (200°C). Lay the pre-made pie crust on a parchment-lined baking sheet. If needed, gently roll it out to smooth any creases, aiming for roughly a 12-inch circle.
Toss the Pears
- In a mixing bowl, combine your peeled and sliced pears with the all-purpose flour and half of the granulated sugar. Toss gently to coat the slices evenly and help keep the crust crisp.
Make the Salted Caramel
- In a saucepan over medium heat, melt the unsalted butter. Add the remaining granulated sugar and stir until it dissolves and turns a rich amber color, about 5-7 minutes. Carefully pour in the heavy cream and stir continuously until smooth and thickened. Remove from heat and mix in the vanilla extract and sea salt. Set aside to cool slightly.
Assemble the Galette
- Spoon the pear mixture into the center of the pie crust, leaving about 2 inches of border around the edges. Drizzle roughly half of the salted caramel over the pears. Fold the edges of the dough over the pears, pleating as you go, to create a rustic border.
Egg Wash and Sugar Sprinkle
- Brush the crust edges with the beaten egg to encourage browning. Sprinkle the crust with the tablespoon of sugar to add a beautiful sparkle and crunch when baked.
Bake to Perfection
- Place the galette in the preheated oven and bake for 35-40 minutes, or until the crust is golden and the pears are tender and bubbly. Halfway through baking, spoon the remaining salted caramel over the pears for extra indulgence if desired.
Cool and Serve
- Allow your Salted Caramel Pear Galette to cool for at least 15 minutes on the baking sheet. This resting time helps the caramel set slightly, making it easier to slice. Serve warm or at room temperature, perhaps with a scoop of vanilla ice cream or a dollop of whipped cream.
Equipment
- Baking Sheet
- Mixing Bowls
- Rolling Pin
- Pastry Brush
- Knife
- Cutting Board
- Saucepan
Notes
- Use firm, slightly tart pears like Bosc or Anjou to maintain texture and avoid mushiness.
- Store leftovers in an airtight container in the refrigerator for up to 3 days; reheat in a 350°F oven for 10-15 minutes to restore crispness.
- For a gluten-free version, substitute the pie crust with a gluten-free variety but handle gently as gluten-free doughs can be delicate.