There’s something incredibly delightful about waking up to the aroma of freshly made waffles. Now, imagine infusing that waffle magic with the rich, alluring flavors of red velvet! These Red Velvet Waffles are not just a treat for the taste buds; they are a feast for the eyes, too. With their stunning crimson hue and decadent flavor profile, they can easily elevate your breakfast game to extraordinary heights. Perfect for a cozy brunch, a special occasion, or even just because you feel like treating yourself, these waffles will have everyone swooning. Let’s dive into why you should whip up this recipe and how to create these luscious treats in your kitchen!
Why This Recipe Is a Must-Try
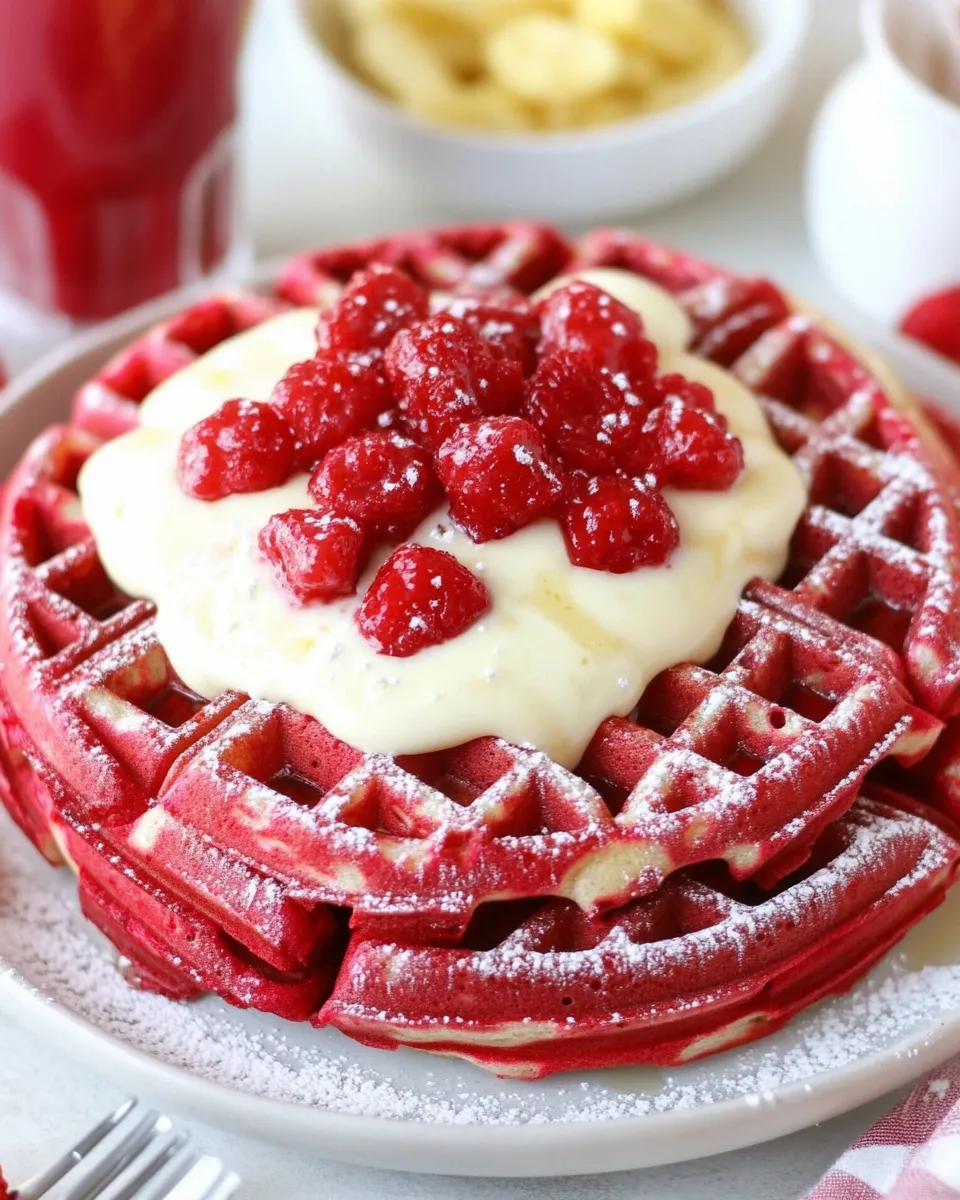
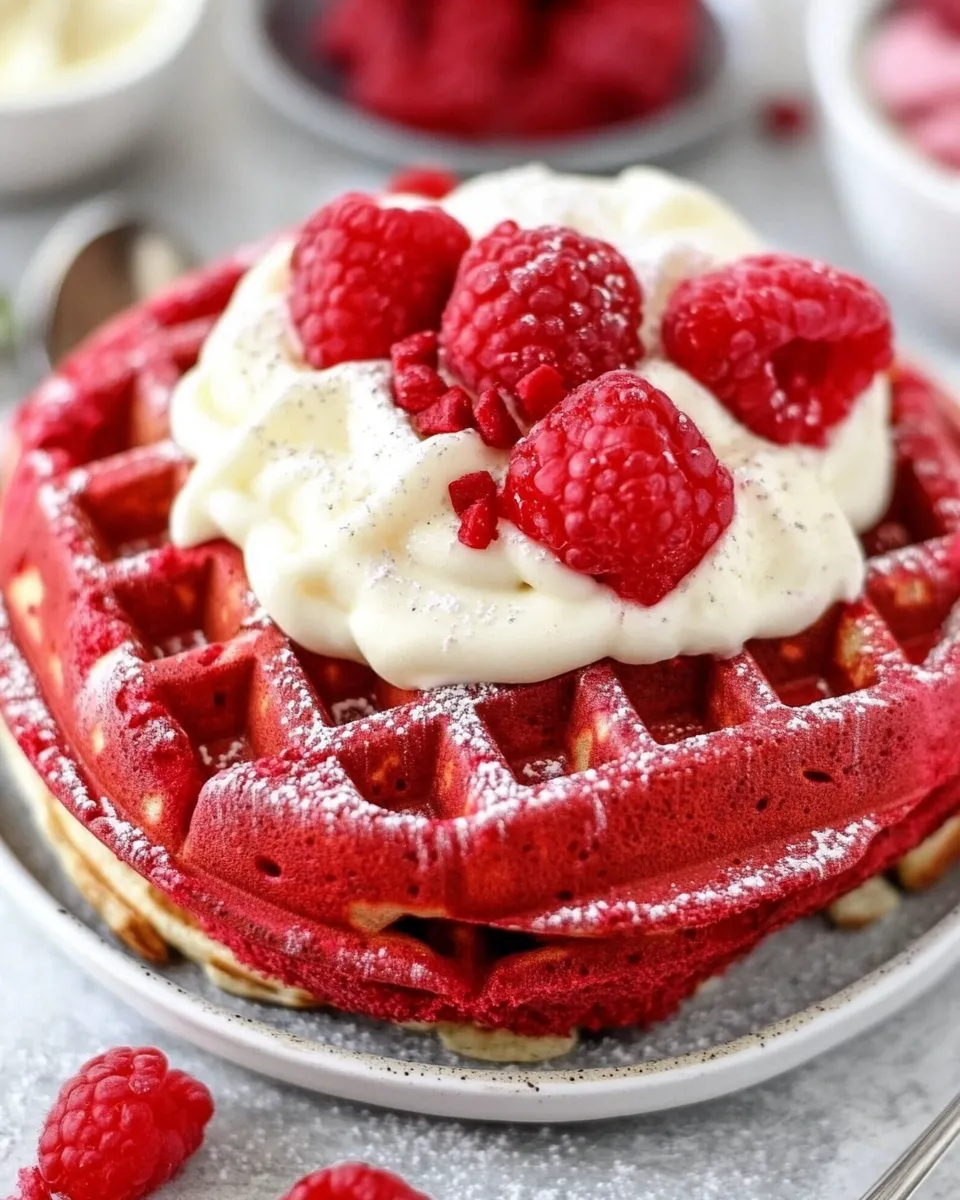
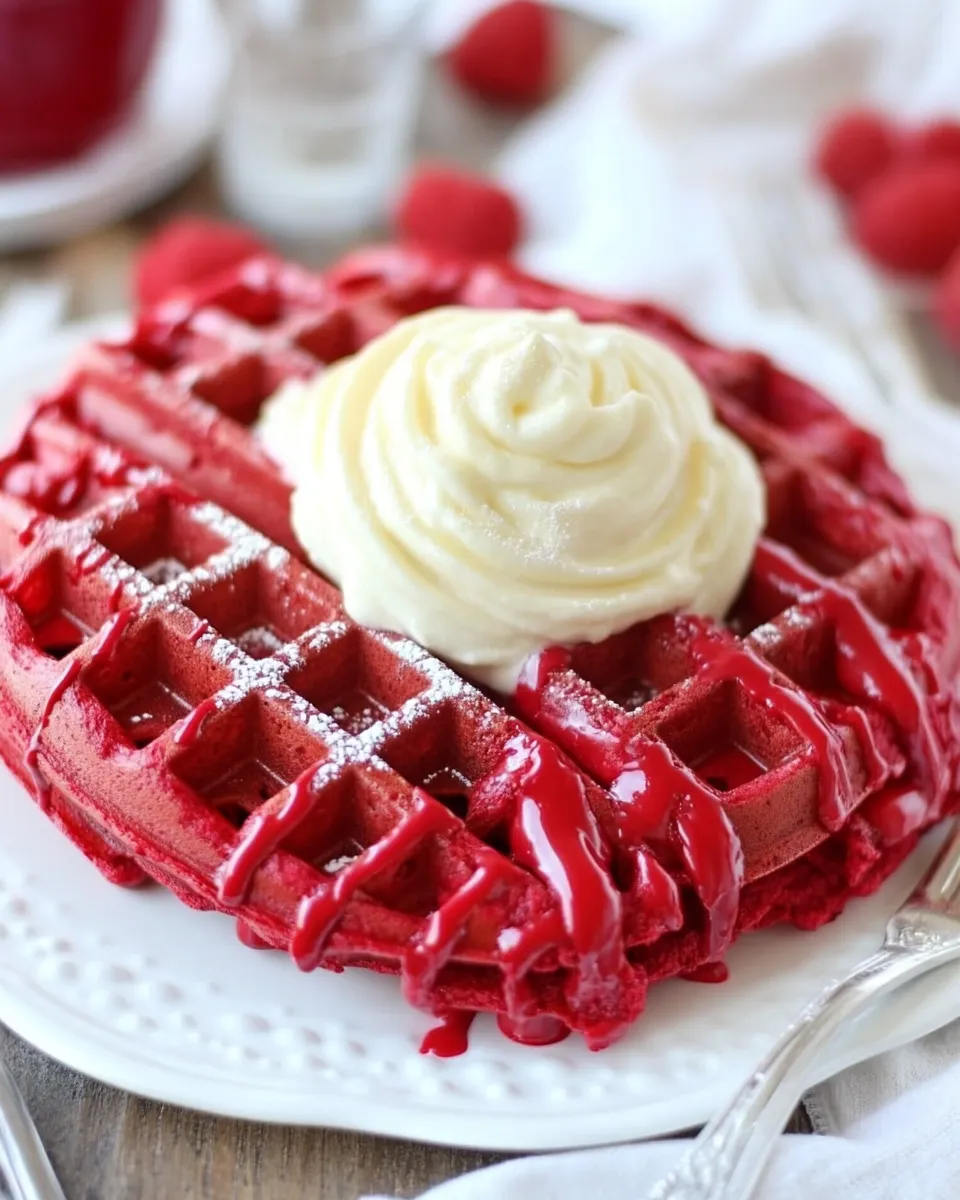
Red Velvet Waffles combine the classic, beloved taste of red velvet cake with the fluffy, crispy texture of traditional waffles. They are soft, tender, and oh-so-delicious, making them the star of any breakfast table. Whether you top them with cream cheese frosting, whipped cream, or fresh berries, they will always impress. The vibrant color alone will add a fun twist to your breakfast routine. Plus, this recipe is straightforward, ensuring that even novice bakers can achieve that perfect waffle bliss without breaking a sweat.
Ingredients
To create these scrumptious Red Velvet Waffles, you will need the following ingredients:
- 2 ½ cups all-purpose flour
- ¾ teaspoon salt
- 4 teaspoons baking powder
- 1 ½ tablespoons granulated sugar
- 1 tablespoon unsweetened cocoa powder
- 2 large eggs
- 2 ¼ cups milk
- ¾ cup vegetable oil
- 1 tablespoon Lorann Red Velvet Bakery Emulsion OR red food coloring
Make sure to measure your ingredients accurately for the best results. Each element plays a crucial role in achieving that perfect red velvet flavor and texture!
How To Make Red Velvet Waffles
Step 1: Preheat the Waffle Maker
Begin by preheating your waffle maker according to the manufacturer’s instructions. This step is essential to ensure that your waffles cook evenly and become beautifully golden brown.
Step 2: Whisk the Dry Ingredients
In a large mixing bowl, combine the following dry ingredients:
- 2 ½ cups all-purpose flour
- ¾ teaspoon salt
- 4 teaspoons baking powder
- 1 ½ tablespoons granulated sugar
- 1 tablespoon unsweetened cocoa powder
Whisk them together until well blended. This helps to distribute the leavening agents and ensures that your waffles rise perfectly.
Step 3: Mix the Wet Ingredients
In another bowl, beat the two large eggs, then add:
- 2 ¼ cups milk
- ¾ cup vegetable oil
- 1 tablespoon Lorann Red Velvet Bakery Emulsion or red food coloring
Mix until everything is well combined. The color should be a vibrant red if you are using food coloring. If you use the emulsion, your batter will still have that beautiful hue, plus it will infuse the wares with fantastic flavor.
Step 4: Combine Wet and Dry Mixtures
Gradually pour the wet ingredients into the dry ingredients, stirring gently until just combined. Be careful not to overmix; a few lumps in the batter are perfectly fine!
Step 5: Cook the Waffles
Pour the appropriate amount of batter onto the preheated waffle maker (usually around ½ to ¾ cup, depending on the size of your waffle iron). Close the lid and cook according to your waffle maker’s instructions until the waffles are crispy and golden brown.
Step 6: Serve and Enjoy!
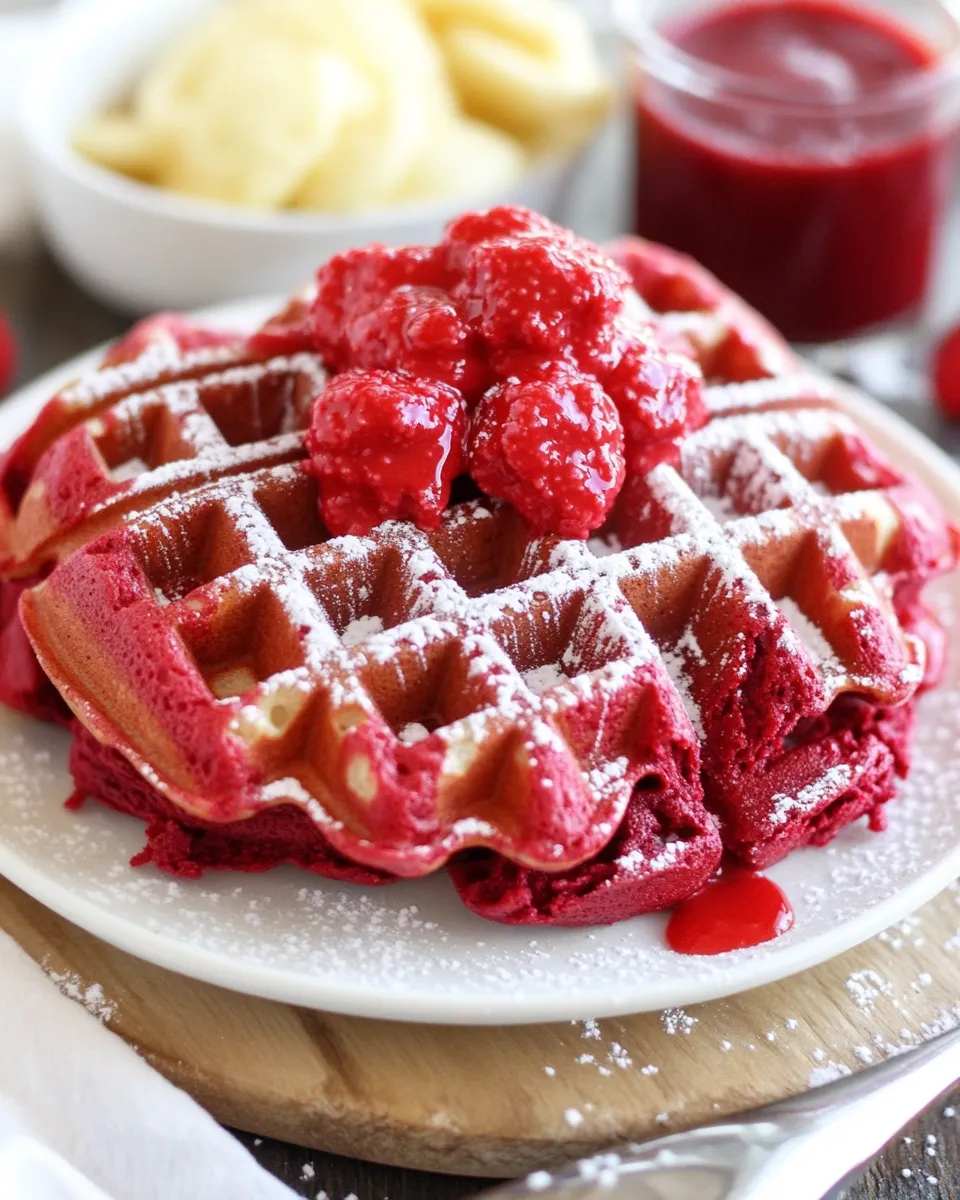
Once cooked, carefully remove the waffles and place them on a wire rack to keep them crisp while you cook the remaining batter. Serve your Red Velvet Waffles warm, topped with your favorites like whipped cream, cream cheese frosting, fresh berries, or even a drizzle of syrup. Enjoy every fluffy, flavorful bite!
Expert Tips
- Make sure to not overmix the batter; it’s okay to have some lumps to keep your waffles fluffy.
- If using food coloring, start with a small amount and gradually add more until you reach your desired shade.
- Keep cooked waffles warm in an oven set to low (about 200°F) until all are done and you’re ready to serve.
- Experiment with toppings! Cream cheese icing, fruit, or even chocolate chips can elevate your red velvet experience.
Variations and Customizations
- Add chocolate chips to the batter for a delightful twist.
- Substitute almond milk or a dairy-free milk alternative for a lactose-free version.
- Incorporate a sprinkle of nuts or seeds for an added crunch.
- Try adding vanilla or nutmeg for different flavor profiles.
How to Store Leftovers
If you have any leftover Red Velvet Waffles (though we doubt you will!), allow them to cool completely, then store them in an airtight container in the refrigerator for up to 3 days. To reheat, pop them in the toaster or oven until warmed through and crisp again. You can also freeze the cooked waffles by placing parchment paper in between each waffle to prevent sticking. They’ll last in the freezer for up to 2 months; simply reheat in the toaster or oven when the craving hits!
FAQ
Can I make these waffles ahead of time?
Absolutely! You can prepare the batter the night before and store it in the refrigerator. Just give it a good stir before cooking. Alternatively, you can cook the waffles ahead of time and store them for later consumption, either in the refrigerator or freezer.
What can I serve with Red Velvet Waffles?
These waffles are delicious on their own but are even better with toppings! Consider pairing them with cream cheese icing, fresh whipped cream, fruits such as strawberries or bananas, or a drizzle of maple syrup.
Can I use whole wheat flour instead of all-purpose flour?
Yes! You can substitute whole wheat flour for all-purpose flour, but the texture may be denser. If you prefer a lighter waffle, consider using half whole wheat and half all-purpose flour.
Are these waffles suitable for a festive occasion?
Yes! Their vibrant color and rich flavor make them perfect for festive occasions like Valentine’s Day, Christmas brunch, or birthday celebrations. They’re sure to impress your guests and add a festive flair to the table!
Conclusion
Making Red Velvet Waffles is a delightful way to switch up your breakfast routine. With their rich flavor, beautiful color, and endless topping options, they have the power to turn an ordinary morning into a special occasion. Use this recipe as your starting point, and feel free to personalize it to suit your taste. Whether it’s for a casual morning or a special celebration, these waffles are sure to become a favorite in your household. So grab your ingredients, fire up that waffle maker, and treat yourself to this scrumptious breakfast treat—you deserve it!

Red Velvet Waffles
Ingredients
Dry Ingredients
- 2.5 cups All-purpose flour
- 0.75 teaspoon Salt
- 4 teaspoons Baking powder
- 1.5 tablespoons Granulated sugar
- 1 tablespoon Unsweetened cocoa powder
Wet Ingredients
- 2 large Eggs
- 2.25 cups Milk
- 0.75 cup Vegetable oil
- 1 tablespoon Lorann Red Velvet Bakery Emulsion or red food coloring
Instructions
- Step 1: Preheat the Waffle Maker. Begin by preheating your waffle maker according to the manufacturer’s instructions.
- Step 2: Whisk the Dry Ingredients. In a large mixing bowl, combine the flour, salt, baking powder, sugar, and cocoa powder. Whisk until well blended.
- Step 3: Mix the Wet Ingredients. In another bowl, beat the eggs, then add milk, vegetable oil, and Lorann Red Velvet Bakery Emulsion or red food coloring. Mix until well combined.
- Step 4: Combine Wet and Dry Mixtures. Gradually pour the wet ingredients into the dry ingredients, stirring gently until just combined.
- Step 5: Cook the Waffles. Pour the appropriate amount of batter onto the preheated waffle maker and cook until crispy and golden brown.
- Step 6: Serve and Enjoy! Remove the waffles and serve warm with your favorite toppings.
Equipment
- Waffle Maker
- Mixing Bowl