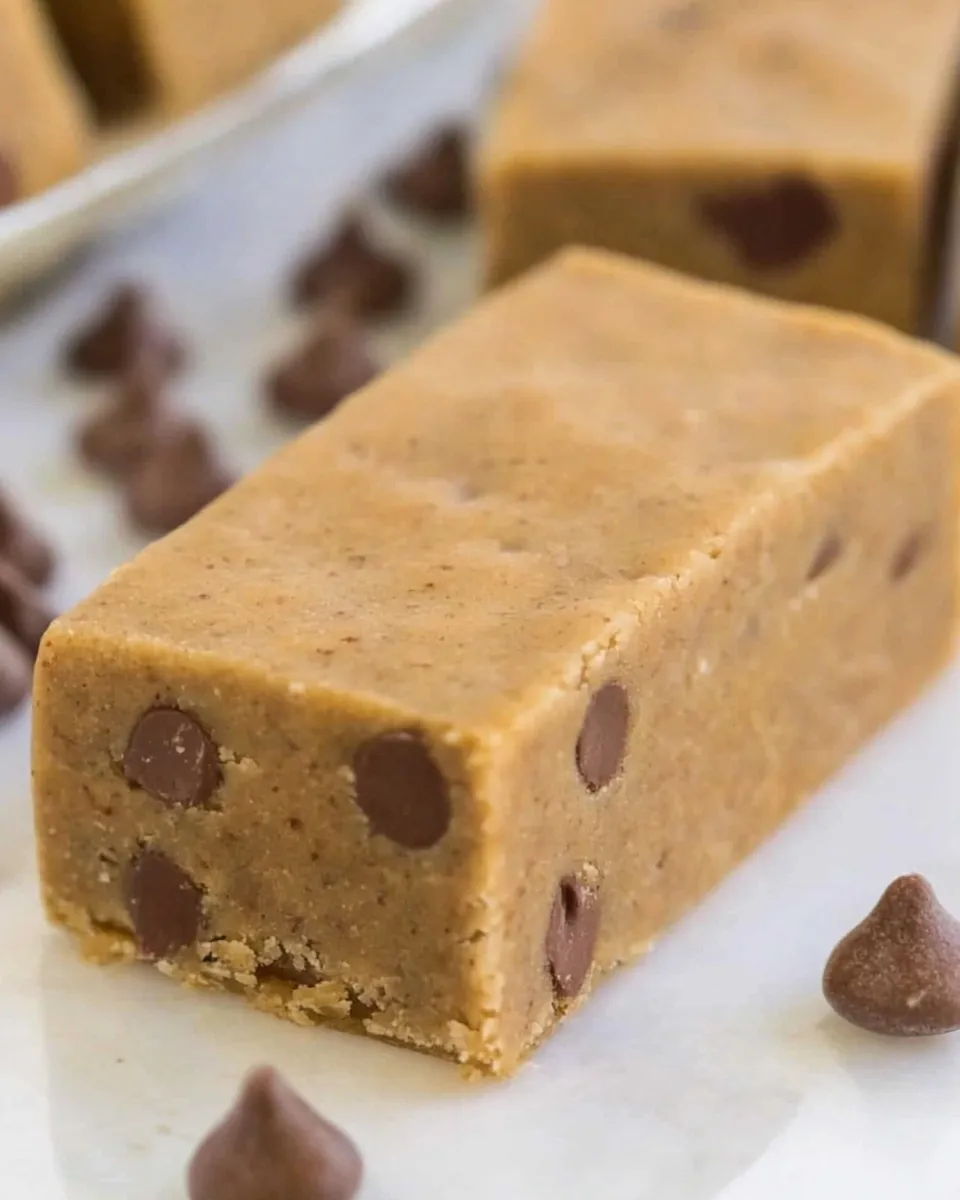
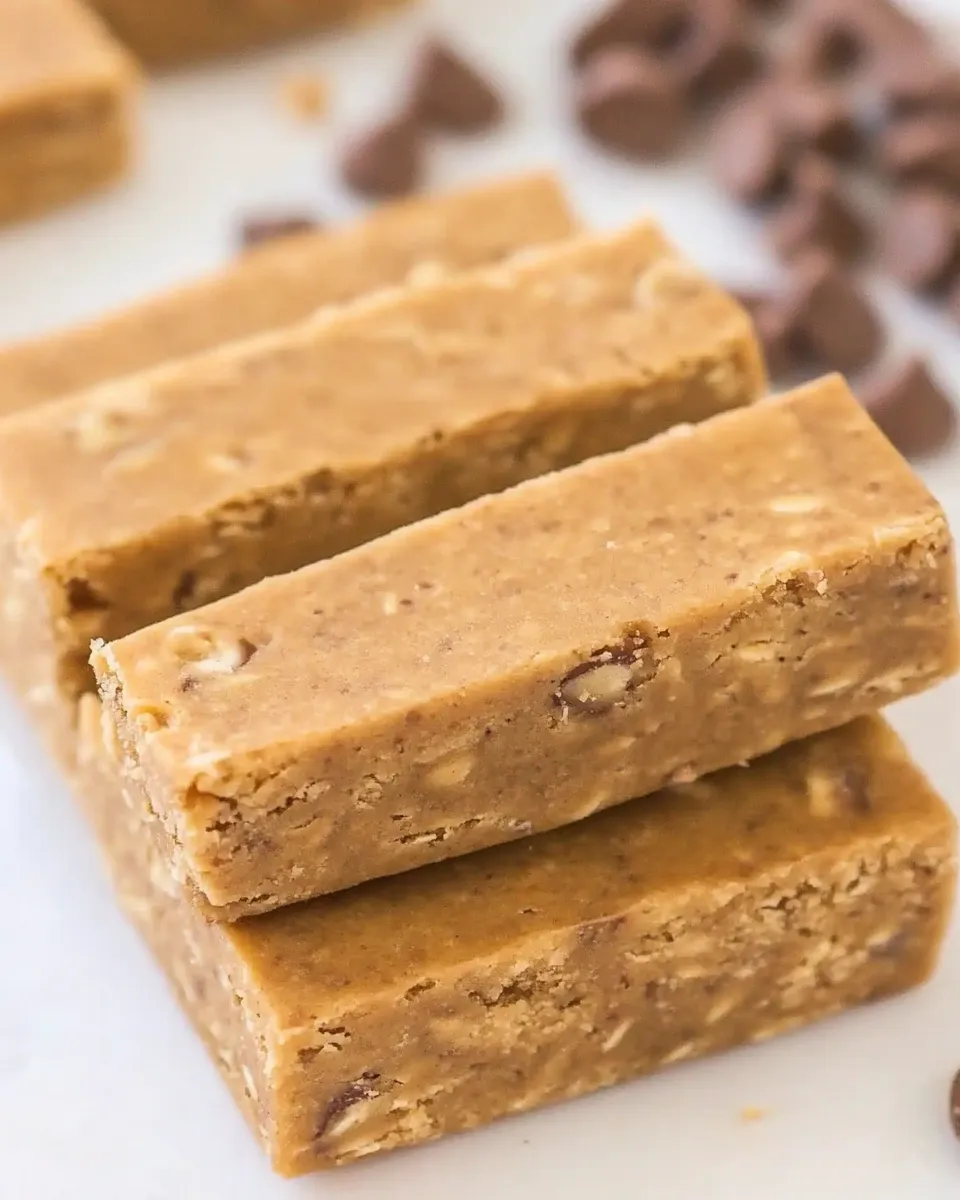
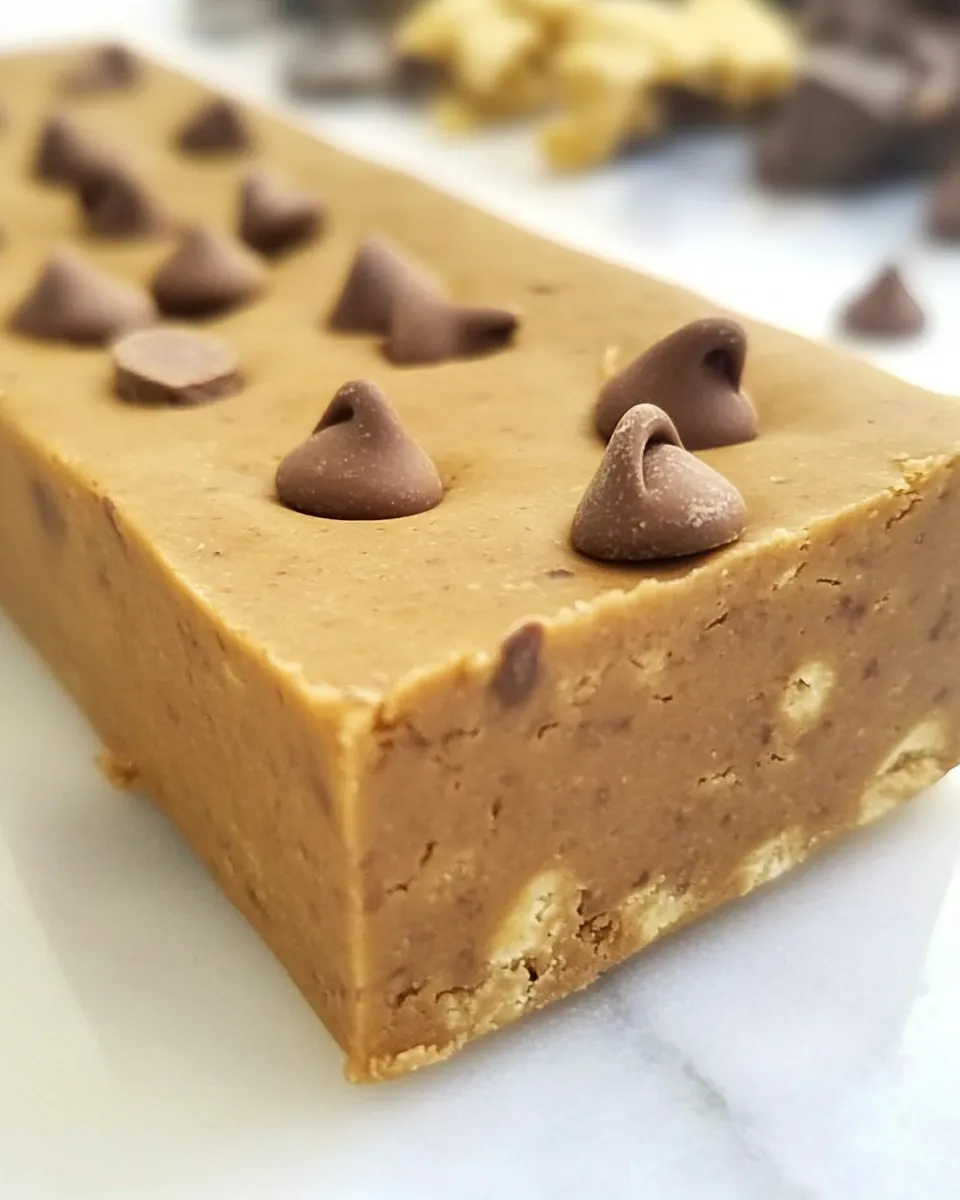
If you’re on the lookout for a delicious and nutritious snack that fits perfectly into your paleo lifestyle, these Paleo Bars are just what you need! Packed with protein and healthy fats, they are not only easy to make but also incredibly satisfying. They make for a great pick-me-up during the day or a post-workout treat. With minimal ingredients and a simple prep process, you’ll wonder how you ever lived without them.
Why This Recipe Belongs in Your Rotation
These Paleo Bars are a game changer for anyone looking to maintain a healthy diet without sacrificing flavor. They are:
- Simple to Prepare: With just a few ingredients, you can whip these up in no time!
- Customizable: Adjust the flavor profile to suit your taste buds by choosing your favorite protein powder or adding mix-ins.
- Nutritious: Full of protein and healthy fats, these bars keep you energized and fueled throughout your day.
- Perfect for Meal Prep: Make a batch at the start of the week and always have a healthy snack on hand.
What We’re Using
To create these scrumptious Paleo Bars, we’ll need the following ingredients:
- 1 cup coconut flour, sifted: This gluten-free flour adds fiber and a subtle sweetness.
- 2 cups flavored protein powder: Choose a flavor you love; it will enhance the taste of the bars.
- 1/2 cup milk of choice: Use almond milk, coconut milk, or any other dairy-free alternative.
- 1/2 cup almond butter (optional): This adds creaminess and healthy fats; feel free to substitute with another nut butter.
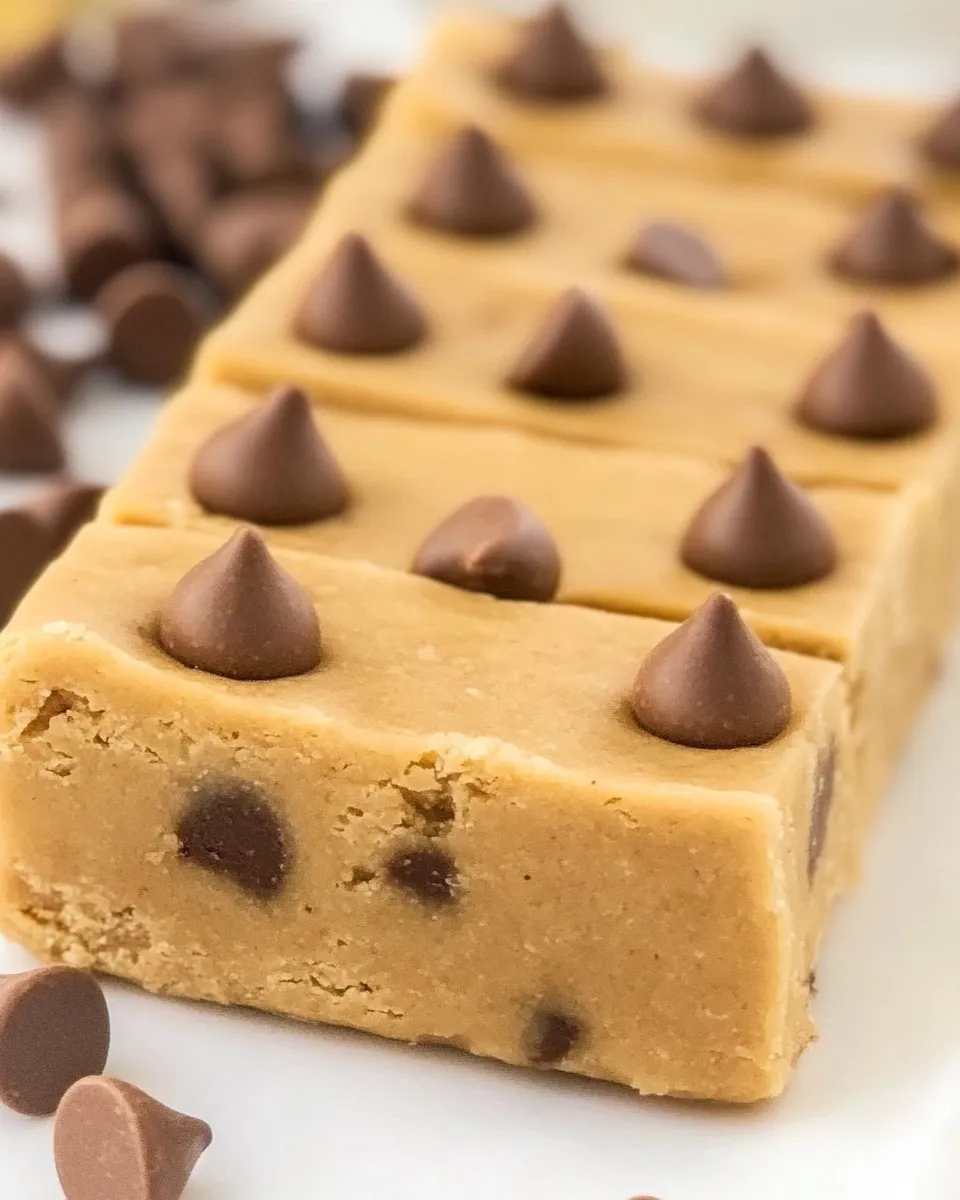
- 1 cup dairy-free chocolate chips (optional): Because who doesn’t love a little chocolate in their life?
Tools of the Trade
Before we dive into the recipe, gather the necessary tools:
- Mixing Bowl: For combining all your ingredients.
- Spatula: To help mix and scrape down the sides of the bowl.
- Baking Pan: A lined 9×9 inch or similar size pan works perfectly.
- Measuring Cups: Accurate measurements are key to a successful batch.
- Oven: Preheated to the right temperature to ensure even baking.
Paleo Bars Made Stepwise
Now, let’s get started on making your very own Paleo Bars! Follow these steps for a foolproof batch:
Step 1: Preheat the Oven
Preheat your oven to 350°F (175°C). This ensures that your Paleo Bars bake evenly.
Step 2: Combine Dry Ingredients
In a large mixing bowl, combine the sifted coconut flour and flavored protein powder. Mix them well so they are evenly distributed.
Step 3: Add Wet Ingredients
Pour in the milk of your choice and almond butter (if using). Use your spatula to mix everything together until a thick batter forms.
Step 4: Fold in Chocolate Chips
If you’re opting for the chocolate chips, fold them into the batter now. This is where the magic happens!
Step 5: Spread into Baking Pan
Pour the mixture into your lined baking pan. Use the spatula to spread it evenly across the pan.
Step 6: Bake
Place the pan in the preheated oven and bake for 20-25 minutes, or until the edges are slightly golden and a toothpick inserted in the center comes out clean.
Step 7: Cool and Cut
Once baked, remove the pan from the oven and let it cool completely. After cooling, cut into bars of your desired size.
Make It Diet-Friendly
These Paleo Bars are already pretty healthy, but if you want to tailor them further, consider these options:
- Low-Carb: Use a low-carb protein powder and skip the chocolate chips.
- Nut-Free: Replace almond butter with sunflower seed butter.
- Vegan: Use a plant-based protein powder and substitute the milk with a non-dairy alternative.
- Sugar-Free: Opt for unsweetened protein powder and omit the chocolate chips.
Learn from These Mistakes
To ensure your Paleo Bars turn out perfectly, avoid these common pitfalls:
- Skipping the Sifting: Not sifting coconut flour can lead to a dense texture.
- Overmixing: Mixing too much can result in tough bars; mix until just combined.
- Not Measuring Accurately: Use proper measuring cups for dry and liquid ingredients to ensure the right consistency.
- Baking Too Long: Keep an eye on your bars; they can go from perfect to overbaked quickly!
Storage Pro Tips
To keep your Paleo Bars fresh and delicious:
- Room Temperature: Store in an airtight container for up to a week.
- Refrigerator: For longer freshness, store them in the fridge for up to two weeks.
- Freezer: These bars freeze really well! Wrap them individually in plastic wrap and store in a freezer-safe bag for up to three months.
Ask & Learn
Can I use a different flour instead of coconut flour?
While coconut flour gives these bars their unique texture and flavor, you can try almond flour, but the ratios will change, so be cautious when substituting.
What if I don’t have protein powder?
You can replace protein powder with additional coconut flour; however, the bars won’t have the same protein content.
Can I add other ingredients?
Absolutely! Feel free to add nuts, seeds, or dried fruits to customize your Paleo Bars to your liking.
Are these bars suitable for kids?
Yes! These bars are healthy and can be a great snack for kids, just be mindful of any allergies they might have.
If you’re looking for more delicious recipes, check these out:
Ready, Set, Cook
Now that you have this fantastic recipe for Paleo Bars, it’s time to roll up your sleeves and get cooking! With their delightful flavor and nutritious ingredients, you’ll be glad you made these. Don’t forget to share your creations with friends and family; they’re sure to be a hit! Enjoy your healthy snacking!
Paleo Bars
Ingredients
For the Bars:
- 1 cup coconut flour sifted
- 2 cups flavored protein powder
- 1/2 cup milk of choice
- 1/2 cup almond butter optional
- 1 cup dairy-free chocolate chips optional
Instructions
Instructions:
- Step 1: Preheat your oven to 350°F (175°C).
- Step 2: In a large mixing bowl, combine the sifted coconut flour and flavored protein powder. Mix well.
- Step 3: Pour in the milk of your choice and almond butter (if using). Mix until a thick batter forms.
- Step 4: Fold in the chocolate chips if using.
- Step 5: Pour the mixture into the lined baking pan and spread evenly.
- Step 6: Bake for 20-25 minutes, or until the edges are slightly golden and a toothpick inserted in the center comes out clean.
- Step 7: Once baked, let cool completely and cut into bars of desired size.
Equipment
- Mixing Bowl
- Spatula
- Baking Pan
- Measuring cups
- Oven
Notes
- Store bars in an airtight container at room temperature for up to a week.
- For longer freshness, store in the fridge for up to two weeks.
- These bars freeze well! Wrap individually and store in a freezer-safe bag for up to three months.