
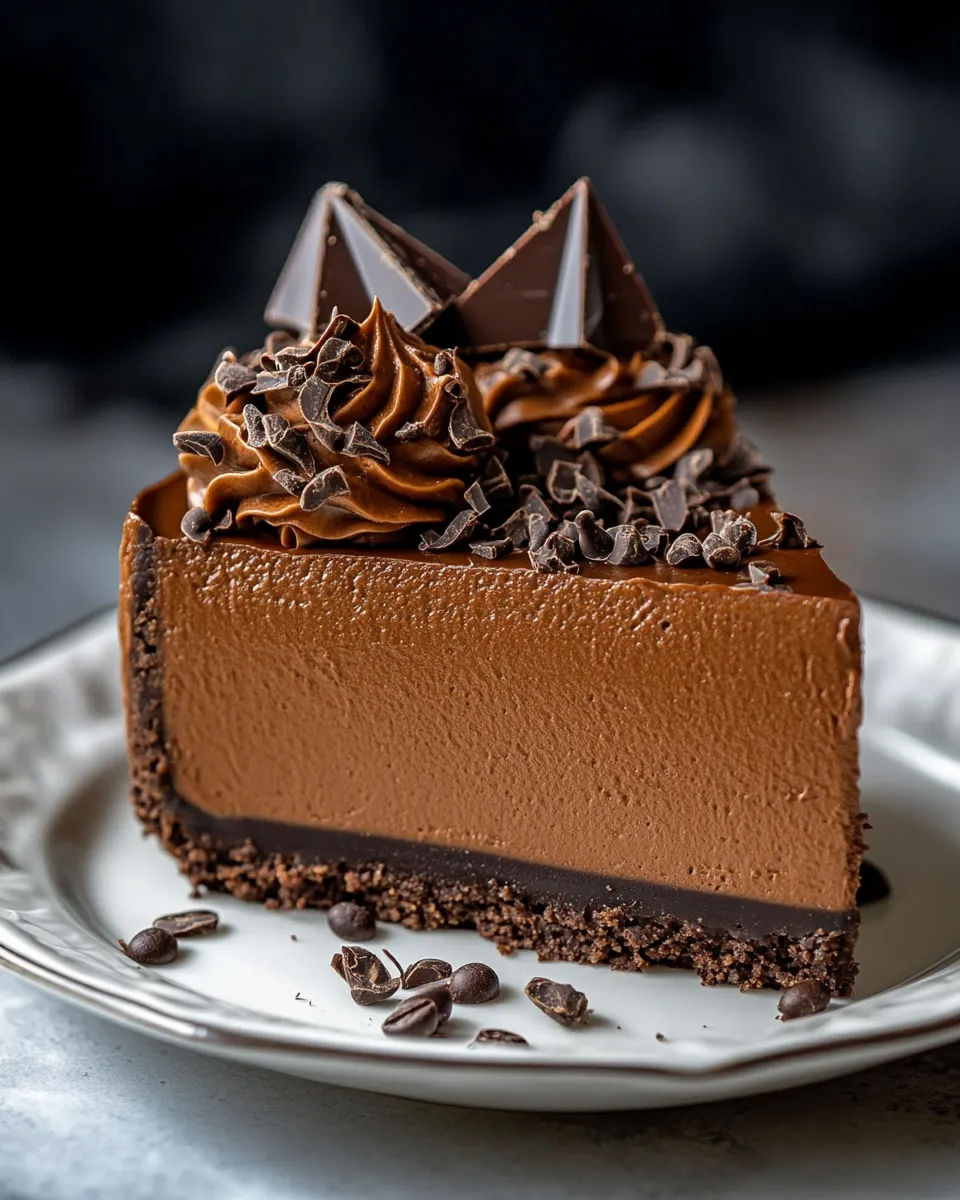
Indulge in the rich and creamy world of desserts with this No-Bake Espresso Chocolate Cheesecake. Perfect for coffee lovers and chocolate enthusiasts alike, this cheesecake combines the bold flavors of espresso and decadent chocolate with the smooth texture of cream cheese. It’s a delightful treat that requires no baking, making it ideal for warm days or anytime you want to impress without the added heat of the oven. Each bite melts in your mouth, leaving you craving more. So grab your ingredients, and let’s get started on this irresistible dessert!
Why Cooks Rave About It
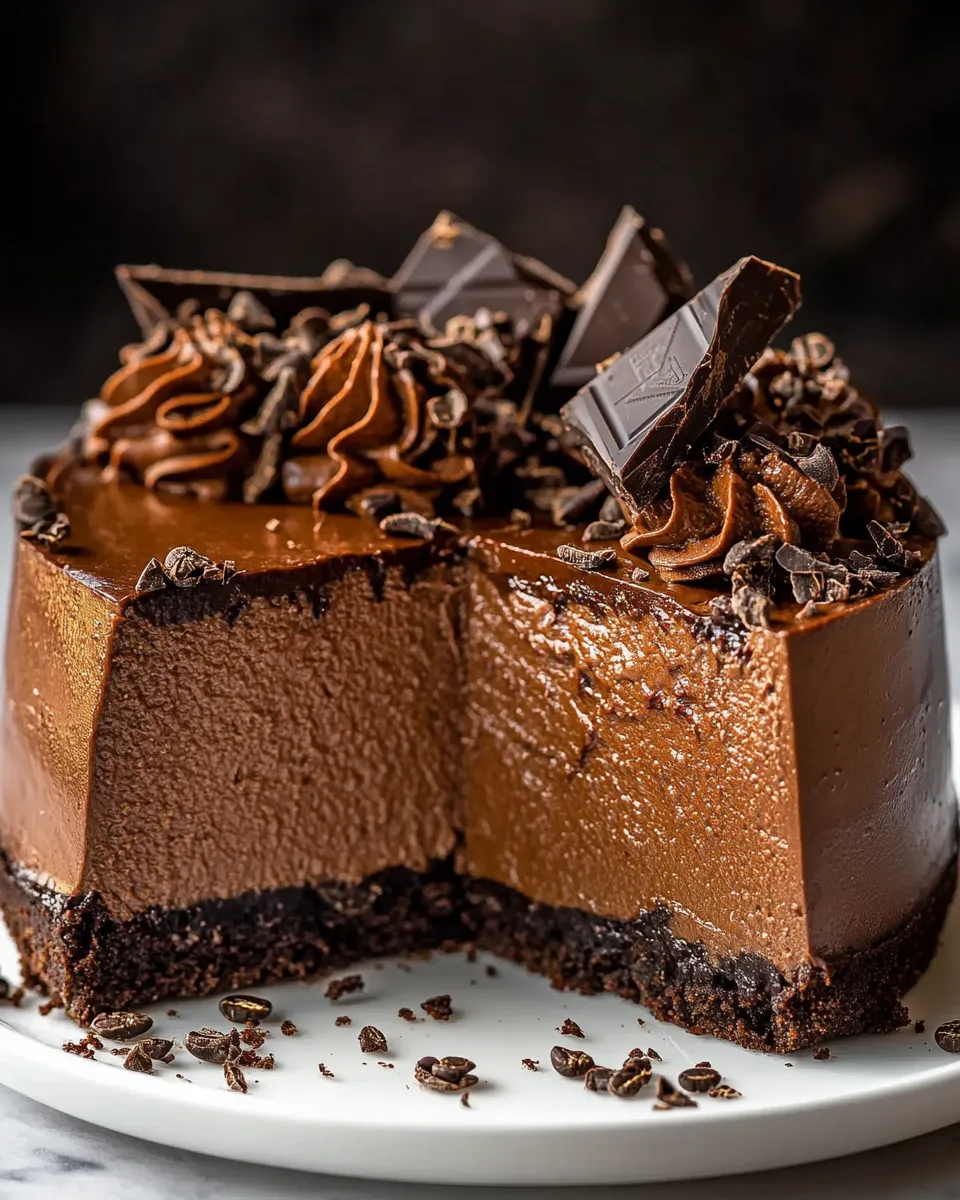
The No-Bake Espresso Chocolate Cheesecake is a sensation among home bakers for several reasons. First, it encapsulates the perfect balance between rich chocolate and the robust flavor of espresso, making it a true crowd-pleaser. Second, the no-bake aspect means you can whip it up quickly without the stress of oven temperatures or timing. Finally, its elegant presentation makes it suitable for any occasion—from casual gatherings to festive celebrations. Once it sets in the fridge, it’s as stunning as it is delicious, leaving your guests in awe.
What Goes In
To create this delectable No-Bake Espresso Chocolate Cheesecake, you’ll need the following ingredients:
- 1 regular full-size package Oreo cookies, crushed into fine crumbs
- 8 tablespoons unsalted butter, melted
- 1/2 teaspoon espresso powder (for the crust)
- 14 ounces bittersweet chocolate, coarsely chopped
- 1 and 1/2 teaspoons espresso powder (for the filling)
- 1 and 1/2 pounds (680g/24 ounces) full-fat cream cheese, at room temperature
- 1 cup (198g/7 ounces) granulated sugar
- 1/4 cup (53g/1 and 7/8 ounces) light brown sugar, packed
- 1 tablespoon Dutch-process cocoa powder
- 1 and 1/2 teaspoons vanilla extract
- 1 cup (8 ounces) heavy cream, at room temperature
- 1 and 1/3 cups (226g/8 ounces) semi-sweet chocolate, finely chopped
- 1 and 1/4 cups (10 ounces) heavy cream
- 1/4 cup (57g/2 ounces) unsalted butter, at room temperature, cut into cubes
- 1 teaspoon espresso powder (for ganache)
- Espresso beans, for garnish (optional)
- Chocolate shavings, for garnish (optional)
Equipment & Tools
To make this No-Bake Espresso Chocolate Cheesecake, you’ll need a few essential tools:
- 9-inch springform pan – Perfect for easily releasing the cheesecake once it’s set.
- Mixing bowls – For combining your crust and filling ingredients.
- Electric mixer – To beat the cream cheese and achieve a smooth texture.
- Rubber spatula – For folding and mixing ingredients gently.
- Double boiler or microwave-safe bowl – To melt the chocolate smoothly.
Cooking No-Bake Espresso Chocolate Cheesecake: The Process
Follow these simple steps to create your No-Bake Espresso Chocolate Cheesecake:
Step 1: Prepare the Crust
In a mixing bowl, combine the crushed Oreo cookies, melted butter, and ½ teaspoon of espresso powder. Stir until the crumbs are evenly moistened. Press this mixture firmly into the bottom of a 9-inch springform pan to create an even layer. Set aside while you prepare the filling.
Step 2: Melt the Bittersweet Chocolate
Using either a double boiler or a microwave, gently melt the 14 ounces of bittersweet chocolate. If using a microwave, heat in 30-second intervals, stirring in between until smooth. Allow to cool slightly once melted.
Step 3: Beat the Cream Cheese
In a large mixing bowl, add the room temperature cream cheese, granulated sugar, light brown sugar, Dutch-process cocoa powder, and 1 and ½ teaspoons of espresso powder. Using an electric mixer, beat the mixture until smooth and creamy, scraping down the sides as needed.
Step 4: Incorporate the Melted Chocolate
Once the chocolate has cooled slightly, gradually add it to the cream cheese mixture. Mix until fully incorporated and smooth. Add the vanilla extract and beat until combined.
Step 5: Whip the Heavy Cream
In a separate bowl, pour in 1 cup of heavy cream. Beat with an electric mixer until soft peaks form. Gently fold the whipped cream into the chocolate cream cheese mixture, being careful not to deflate the whipped cream.
Step 6: Pour and Set
Pour the filling over the prepared crust in the springform pan. Smooth the top with a spatula and refrigerate for at least 4 hours, or overnight for best results.
Step 7: Prepare the Ganache
In a clean bowl, combine the finely chopped semi-sweet chocolate and 1 teaspoon of espresso powder. In a small saucepan, heat 1 and 1/4 cups of heavy cream and 1/4 cup of unsalted butter over medium heat until just boiling. Pour this hot mixture over the chopped chocolate and let it sit for a few minutes. Stir until the ganache is smooth and glossy.
Step 8: Top the Cheesecake
Once the cheesecake has set, pour the ganache over the top, spreading it evenly. Return the cheesecake to the refrigerator for an additional hour to allow the ganache to set.
Step 9: Serve and Garnish
When ready to serve, carefully remove the sides of the springform pan. Garnish with espresso beans and chocolate shavings, if desired. Slice and enjoy your No-Bake Espresso Chocolate Cheesecake!
Budget & Availability Swaps
If you’re looking to make this recipe more budget-friendly or need to swap out certain ingredients, consider the following options:
- Use generic brands of cookies and chocolate, which can be more affordable.
- Substitute the bittersweet chocolate with a mix of semi-sweet and dark chocolate for a similar flavor profile.
- For the cream cheese, consider using a store brand or reduced-fat version if you prefer.
- Heavy cream can be replaced with coconut cream for a dairy-free alternative.
Testing Timeline
If you’re planning to make the No-Bake Espresso Chocolate Cheesecake, here’s a timeline to keep in mind:
- Prep Time: 30 minutes
- Chilling Time: 4 hours (or overnight)
- Ganache Prep: 15 minutes
- Total Time: Approximately 4 hours and 45 minutes (or overnight)
Best Ways to Store
To keep your No-Bake Espresso Chocolate Cheesecake fresh and delicious:
- Store in the refrigerator, covered with plastic wrap or in an airtight container.
- It can be kept in the fridge for up to 5 days.
- For longer storage, consider freezing individual slices, wrapped in plastic wrap and foil. Thaw in the fridge before serving.
Frequently Asked Questions
Can I use low-fat cream cheese instead of full-fat?
While you can use low-fat cream cheese, the texture and flavor may differ slightly. Full-fat cream cheese provides the best creaminess and richness for this cheesecake.
How do I know when the cheesecake is set?
The cheesecake is set when it is firm to the touch and no longer wobbly in the center. It should hold its shape when sliced.
Can I make this cheesecake in advance?
Absolutely! This cheesecake can be made a day or two in advance, making it a great option for parties and gatherings.
What can I substitute for Oreos in the crust?
If you’re looking for a different flavor or dietary preference, you can substitute Oreos with any chocolate cookie or even graham crackers for a different twist.
If you’re looking for more delightful dessert recipes to complement your No-Bake Espresso Chocolate Cheesecake, check out these:
Bring It Home
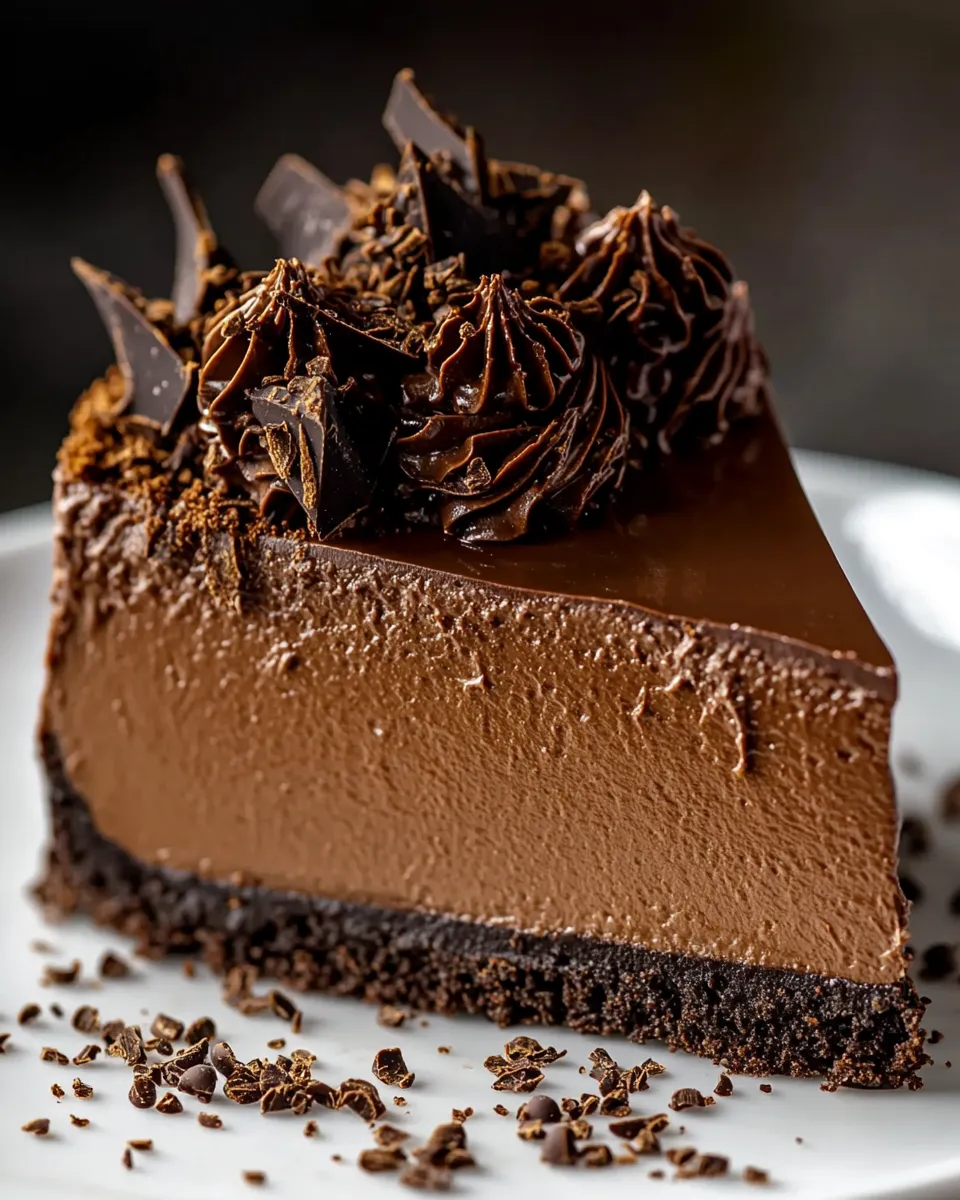
This No-Bake Espresso Chocolate Cheesecake is not just a dessert; it’s an experience that combines the richness of chocolate with the boldness of espresso, creating a symphony of flavors that dance on your palate. Whether it’s for a special occasion or simply a treat for yourself, this cheesecake is sure to impress. Gather your ingredients, follow the steps, and enjoy the delicious results. Your friends and family will thank you!
Indulge in this dessert, and let every bite remind you of the joy that baking—or in this case, no-baking—can bring. With its creamy texture and delightful flavors, the No-Bake Espresso Chocolate Cheesecake is destined to become a favorite in your recipe collection. Enjoy!
No-Bake Espresso Chocolate Cheesecake
Ingredients
For the Crust:
- 1 package Oreo cookies crushed into fine crumbs
- 8 tablespoons unsalted butter melted
- 1/2 teaspoon espresso powder for the crust
For the Filling:
- 14 ounces bittersweet chocolate coarsely chopped
- 1 and 1/2 teaspoons espresso powder for the filling
- 1 and 1/2 pounds full-fat cream cheese at room temperature
- 1 cup granulated sugar
- 1/4 cup light brown sugar packed
- 1 tablespoon Dutch-process cocoa powder
- 1 and 1/2 teaspoons vanilla extract
- 1 cup heavy cream at room temperature
- 1 and 1/3 cups semi-sweet chocolate finely chopped
- 1 and 1/4 cups heavy cream
- 1/4 cup unsalted butter at room temperature, cut into cubes
- 1 teaspoon espresso powder for ganache
- Espresso beans for garnish (optional)
- Chocolate shavings for garnish (optional)
Instructions
Instructions
- Step 1: Prepare the Crust - In a mixing bowl, combine the crushed Oreo cookies, melted butter, and ½ teaspoon of espresso powder. Stir until the crumbs are evenly moistened. Press this mixture firmly into the bottom of a 9-inch springform pan to create an even layer. Set aside while you prepare the filling.
- Step 2: Melt the Bittersweet Chocolate - Using either a double boiler or a microwave, gently melt the 14 ounces of bittersweet chocolate. If using a microwave, heat in 30-second intervals, stirring in between until smooth. Allow to cool slightly once melted.
- Step 3: Beat the Cream Cheese - In a large mixing bowl, add the room temperature cream cheese, granulated sugar, light brown sugar, Dutch-process cocoa powder, and 1 and ½ teaspoons of espresso powder. Using an electric mixer, beat the mixture until smooth and creamy, scraping down the sides as needed.
- Step 4: Incorporate the Melted Chocolate - Once the chocolate has cooled slightly, gradually add it to the cream cheese mixture. Mix until fully incorporated and smooth. Add the vanilla extract and beat until combined.
- Step 5: Whip the Heavy Cream - In a separate bowl, pour in 1 cup of heavy cream. Beat with an electric mixer until soft peaks form. Gently fold the whipped cream into the chocolate cream cheese mixture, being careful not to deflate the whipped cream.
- Step 6: Pour and Set - Pour the filling over the prepared crust in the springform pan. Smooth the top with a spatula and refrigerate for at least 4 hours, or overnight for best results.
- Step 7: Prepare the Ganache - In a clean bowl, combine the finely chopped semi-sweet chocolate and 1 teaspoon of espresso powder. In a small saucepan, heat 1 and 1/4 cups of heavy cream and 1/4 cup of unsalted butter over medium heat until just boiling. Pour this hot mixture over the chopped chocolate and let it sit for a few minutes. Stir until the ganache is smooth and glossy.
- Step 8: Top the Cheesecake - Once the cheesecake has set, pour the ganache over the top, spreading it evenly. Return the cheesecake to the refrigerator for an additional hour to allow the ganache to set.
- Step 9: Serve and Garnish - When ready to serve, carefully remove the sides of the springform pan. Garnish with espresso beans and chocolate shavings, if desired. Slice and enjoy your No-Bake Espresso Chocolate Cheesecake!
Equipment
- 9-inch springform pan
- Mixing Bowls
- Electric Mixer
- Rubber Spatula
- Double boiler or microwave-safe bowl
Notes
- Store in the refrigerator, covered with plastic wrap or in an airtight container.
- It can be kept in the fridge for up to 5 days.
- For longer storage, consider freezing individual slices, wrapped in plastic wrap and foil. Thaw in the fridge before serving.


