
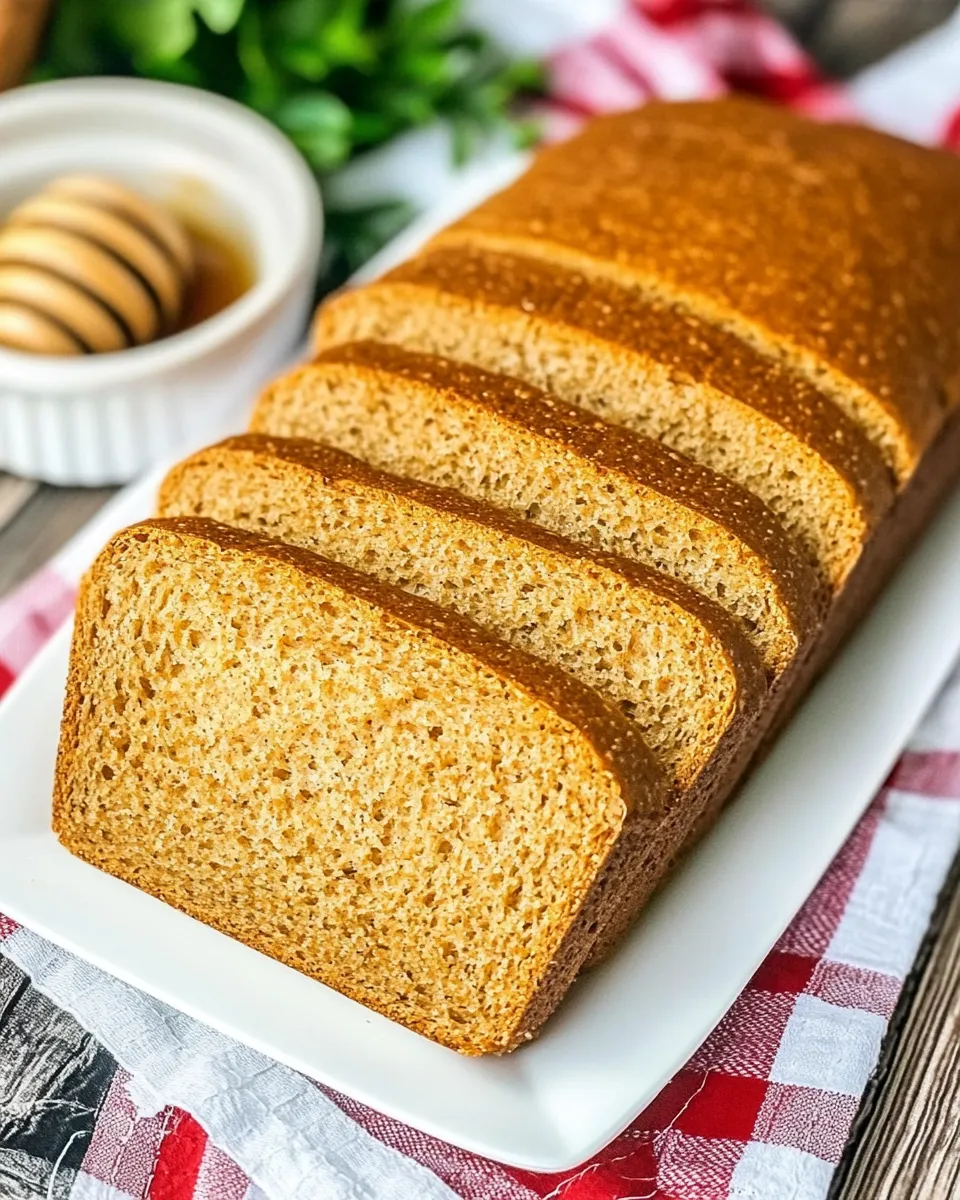
There’s something incredibly comforting about the aroma of fresh bread wafting through your home, and when that bread is infused with the natural sweetness of honey and the wholesome goodness of whole wheat, it becomes a culinary experience you won’t want to miss. Honey wheat bread is not just a delicious addition to your meals; it’s also a fantastic way to nourish your body and enjoy the process of baking. With this easy-to-follow recipe, you’ll have a warm, inviting loaf that’s perfect for sandwiches, toast, or simply enjoying with a pat of butter.
Why Honey Wheat Bread is Worth Your Time
Baking your own bread can seem daunting, but the rewards far outweigh the effort. Honey wheat bread is rich in nutrients, thanks to the whole wheat flour, which is packed with fiber, vitamins, and minerals. The honey adds a delightful sweetness and moisture, making each slice soft and tender. Moreover, there’s an undeniable satisfaction that comes from kneading dough and watching it rise. Plus, homemade bread is free from preservatives and artificial ingredients, making it a healthier choice for you and your family.
Shopping List
- 2 (0.25-oz) packages active dry yeast
- 1 cup warm water (around 110°F)
- 1 cup honey
- 1 cup unsalted butter, softened
- 1 tablespoon salt
- 2 cups very warm water (around 120°F)
- 4 cups whole wheat flour
- 2 cups all-purpose flour
Essential Tools for Success
- Mixing Bowl: A large bowl for mixing your ingredients.
- Measuring Cups and Spoons: Accurate measurements are key to successful baking.
- Wooden Spoon or Dough Scraper: For mixing and kneading the dough.
- Loaf Pans: Two standard-sized loaf pans for baking your bread.
- Kitchen Towel: To cover the dough while it rises.
- Oven Thermometer: To ensure your oven is at the correct temperature.
The Method for Honey Wheat Bread
Step 1: Activate the Yeast
Start by pouring 1 cup of warm water into a mixing bowl. Sprinkle the active dry yeast over the water and let it sit for about 5-10 minutes until it becomes frothy. This step is crucial as it ensures your yeast is alive and ready to help your bread rise.
Step 2: Mix the Wet Ingredients
Once the yeast is activated, add the honey, softened unsalted butter, and salt to the bowl. Stir the mixture until well combined.
Step 3: Incorporate the Warm Water
Add the 2 cups of very warm water to the bowl. This will help to create a warm environment for the yeast, promoting better rising.
Step 4: Add the Flours
Gradually add the whole wheat flour followed by the all-purpose flour, stirring until a dough begins to form. You may find it easier to use a wooden spoon or a dough scraper for this step.
Step 5: Knead the Dough
Transfer the dough to a floured surface and knead for about 10 minutes. The dough should be smooth and elastic. If it’s too sticky, sprinkle a little more flour as needed.
Step 6: First Rise
Place the kneaded dough in a lightly greased bowl, cover it with a kitchen towel, and let it rise in a warm place for about 1 to 1.5 hours, or until it has doubled in size.
Step 7: Shape the Loaves
Once risen, punch the dough down to release the air. Divide it into two equal portions and shape each portion into a loaf. Place the loaves into the prepared loaf pans.
Step 8: Second Rise
Cover the loaves again with a towel and let them rise for another 30-40 minutes, or until they have risen above the rim of the pans.
Step 9: Preheat the Oven
While the loaves are rising, preheat your oven to 350°F (175°C). This ensures that the bread starts baking at the right temperature.
Step 10: Bake the Bread
Once the loaves have finished rising, place them in the preheated oven and bake for 30-35 minutes, or until the tops are golden brown and the loaves sound hollow when tapped.
Step 11: Cool the Bread
Remove the bread from the oven and let it cool in the pans for about 10 minutes. Then, transfer the loaves to a wire rack to cool completely before slicing. This step is essential for a good texture.
Allergy-Friendly Swaps
- Gluten-Free Flour: Substitute with a gluten-free all-purpose flour blend for a gluten-free version.
- Dairy-Free Butter: Use a plant-based butter or coconut oil in place of unsalted butter.
- Agave Syrup or Maple Syrup: These can be used instead of honey if you prefer a different sweetener.
Don’t Do This
When baking honey wheat bread, avoid these common pitfalls:
- Don’t rush the rising process; yeast needs time to work its magic.
- Don’t skip the kneading step, as it develops the gluten structure necessary for good texture.
- Don’t open the oven door frequently while baking, as it can cause the bread to sink.
- Don’t skip cooling the bread before slicing; it will be gummy if cut too soon.
Keep-It-Fresh Plan
To keep your honey wheat bread fresh and delicious:
- Store in an airtight container or tightly wrapped in plastic wrap to maintain moisture.
- For longer storage, freeze the bread by wrapping it tightly in plastic wrap and placing it in a freezer bag.
- To thaw, leave it at room temperature or heat slices in the toaster for a quick warm-up.
Common Qs About Honey Wheat Bread
Can I use instant yeast instead of active dry yeast?
Yes, you can use instant yeast in place of active dry yeast. Simply mix it directly with the dry ingredients without proofing it first.
Why does my bread not rise?
There are several reasons why bread may not rise: the yeast might be expired, the water temperature could be too hot or too cold, or the dough may not have had enough time to rise.
How can I tell when my bread is done baking?
Your bread is done when it has a golden-brown crust and sounds hollow when tapped on the bottom. A kitchen thermometer can also be used; the internal temperature should be around 190°F (88°C).
Can I add ingredients like nuts or dried fruits to the dough?
Absolutely! You can fold in nuts, seeds, or dried fruits during the last few minutes of kneading for added flavor and texture.
Time to Try It
There’s no better time than now to dive into the world of baking with this honey wheat bread recipe. Gather your ingredients, put on your apron, and let the warm, inviting aroma fill your kitchen. You’ll be amazed at the difference between store-bought bread and your own fresh creation. So go ahead, roll up your sleeves and enjoy the process of creating something delicious from scratch. Your taste buds will thank you, and you’ll have a wholesome loaf to share with family and friends. Happy baking!
Honey Wheat Bread
Ingredients
- 2 packages active dry yeast (0.25-oz each)
- 1 cup warm water (around 110°F)
- 1 cup honey
- 1 cup unsalted butter (softened)
- 1 tablespoon salt
- 2 cups very warm water (around 120°F)
- 4 cups whole wheat flour
- 2 cups all-purpose flour
Instructions
- Start by pouring 1 cup of warm water into a mixing bowl. Sprinkle the active dry yeast over the water and let it sit for about 5-10 minutes until it becomes frothy.
- Once the yeast is activated, add the honey, softened unsalted butter, and salt to the bowl. Stir the mixture until well combined.
- Add the 2 cups of very warm water to the bowl.
- Gradually add the whole wheat flour followed by the all-purpose flour, stirring until a dough begins to form.
- Transfer the dough to a floured surface and knead for about 10 minutes until smooth and elastic.
- Place the kneaded dough in a lightly greased bowl, cover it with a kitchen towel, and let it rise in a warm place for about 1 to 1.5 hours, until doubled in size.
- Once risen, punch the dough down, divide it into two portions, and shape each into a loaf.
- Cover the loaves with a towel and let them rise for another 30-40 minutes, until they have risen above the rim of the pans.
- Preheat your oven to 350°F (175°C).
- Once the loaves have finished rising, bake them for 30-35 minutes, until golden brown and hollow sounding when tapped.
- Remove the bread from the oven, let it cool in the pans for about 10 minutes, then transfer to a wire rack to cool completely before slicing.
Equipment
- Mixing Bowl
- Measuring cups and spoons
- Wooden spoon or dough scraper
- Loaf pans
- Kitchen Towel
- Oven thermometer
Notes
- Store in an airtight container to maintain moisture.
- Freeze the bread wrapped tightly to preserve freshness.
- Let bread cool completely before slicing to prevent gumminess.


