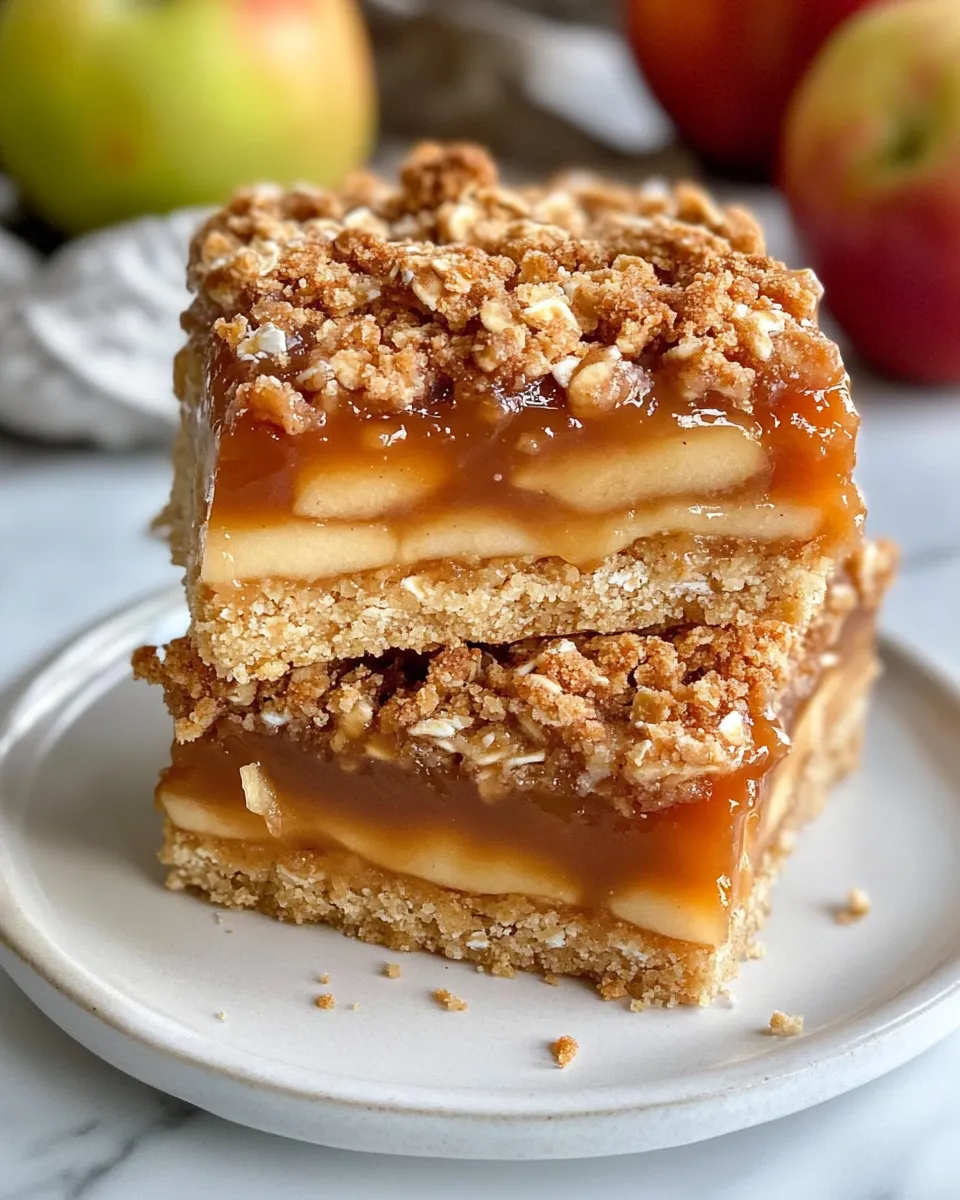
If you’re searching for that perfect fall-inspired treat that brings together the cozy flavors of apples, cinnamon, and rich caramel, look no further than these Caramel Apple Crumble Bars. They’re the ideal balance of crumbly, chewy, and gooey, making every bite a delightful experience. Whether you need a crowd-pleaser for a family gathering or a sweet afternoon pick-me-up, these bars deliver all the comfort and sweetness you crave without any fuss. Plus, with a simple oat and flour crumble crust layered with tender apples and luscious caramel, they’re a treat that feels homemade and indulgent in every way.
Why Caramel Apple Crumble Bars is Worth Your Time
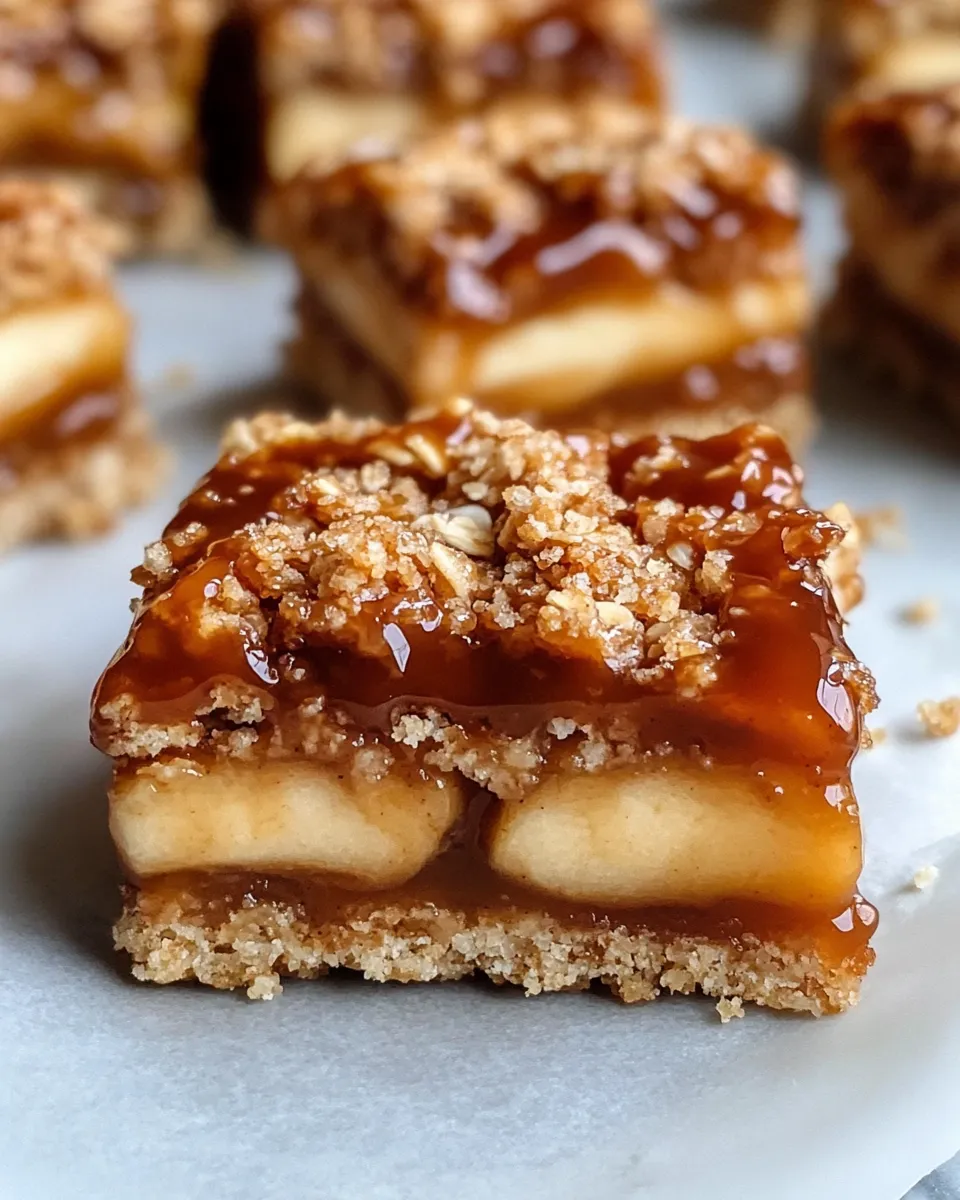
These bars are a shining example of how a few humble ingredients can come together to create something truly spectacular. Unlike many desserts that require complicated techniques or elusive components, Caramel Apple Crumble Bars rely on pantry staples and fresh fruit, making them accessible for bakers of all skill levels. The texture contrast between the crunchy oat crust, the soft cinnamon-spiced apples, and the smooth, buttery caramel topping is downright irresistible.
Not only do they satisfy your sweet tooth, but they also evoke a sense of nostalgia and warmth—perfect for cozying up with a cup of tea or coffee. And if you love treats like Caramel Pumpkin Snickerdoodle Cookies or Apple Crisp Cheesecake, these bars will quickly become a new favorite in your dessert rotation. The best part? They’re easy to customize and ideal for sharing, making any occasion a little sweeter.
What Goes Into Caramel Apple Crumble Bars
- 2 cups rolled oats – for that hearty, chewy crumble base
- 1 1/2 cups all-purpose flour – gives structure to the bars
- 1 cup brown sugar – adds deep caramel notes and sweetness
- 1/2 cup granulated sugar – balances the sweetness and enhances crispness
- 1 teaspoon baking soda – helps lighten the texture slightly
- 1/2 teaspoon salt – enhances flavor complexity
- 1 cup cold unsalted butter, cubed – binds the crumble and creates flakiness
- 2 large apples, peeled and diced – the star of the filling, providing moisture and natural sweetness
- 1 cup caramel sauce – drizzled generously for that luscious, sticky finish
- 1 teaspoon ground cinnamon – warms the filling with a classic autumn spice
Recommended Tools
- 9×13-inch baking pan – for the perfect sized bars
- Mixing bowls – a couple of bowls for combining ingredients
- Pastry cutter or fork – to cut the cold butter into the dry ingredients
- Peeler and knife – to prepare the apples
- Measuring cups and spoons – for accurate ingredient amounts
- Spatula – to spread the apple mixture evenly
- Cooling rack – to cool the bars evenly and prevent sogginess
Cooking Caramel Apple Crumble Bars: The Process
Step 1: Prepare the Crumble Base
Preheat your oven to 350°F (175°C). In a large mixing bowl, combine the rolled oats, all-purpose flour, brown sugar, granulated sugar, baking soda, and salt. Stir everything together until evenly mixed. Add the cold cubed butter and use a pastry cutter or fork to incorporate it until the mixture becomes crumbly and the butter is evenly distributed in small pieces.
Step 2: Press the Base Into the Pan
Reserve about 1 1/2 cups of the crumble mixture for the topping, then firmly press the remaining crumble evenly into the bottom of the greased 9×13-inch baking pan. Make sure to create a solid, even layer as this will form the base of your bars. Bake this base for about 10-12 minutes or until it’s just beginning to turn golden.
Step 3: Prepare the Apple Filling
While the base bakes, peel and dice your apples into small, bite-sized pieces. In a mixing bowl, toss the diced apples with the ground cinnamon, coating them well. This cinnamon-spiced apple filling is what makes these bars truly shine.
Step 4: Assemble the Bars
Once the base is slightly crisped, remove it from the oven. Evenly spread the cinnamon apples over the warm base. Drizzle the caramel sauce generously over the apples, letting it seep into the fruit. Finally, crumble the reserved oat mixture over the top to create a crunchy, textured topping.
Step 5: Bake to Perfection
Return the assembled bars to the oven and bake for an additional 25-30 minutes, or until the crumble topping is golden brown and the apples are tender. The caramel will bubble slightly around the edges, signaling that your bars are perfectly baked.
Step 6: Cool and Slice
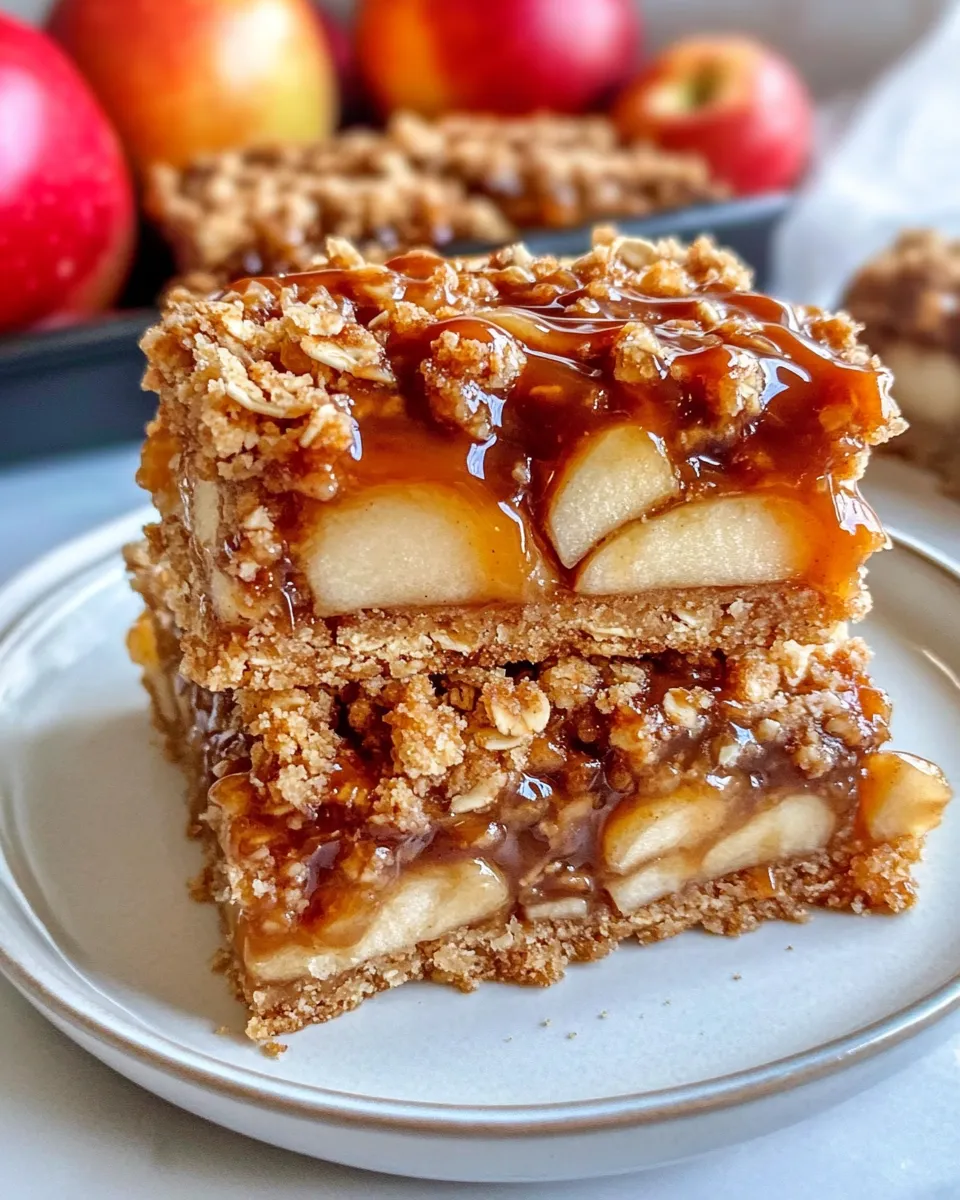
Allow the bars to cool completely on a cooling rack before slicing. This helps the caramel set and ensures clean, neat bars when cutting. Slice into squares or rectangles and serve with a scoop of vanilla ice cream or a drizzle of extra caramel sauce if desired.
What to Use Instead

- Apples: Pears or peaches can be used for a different fruity twist.
- Caramel Sauce: Substitute with dulce de leche or a simple brown sugar glaze.
- Butter: Use a plant-based butter alternative if preferred.
- Brown Sugar: Coconut sugar or maple sugar can be used for a different flavor profile.
- Rolled Oats: Quick oats work in a pinch but will alter texture slightly.
Chef’s Rationale
Creating the Caramel Apple Crumble Bars involves balancing textures and flavors. The oats provide chewiness and rustic appeal, while the flour lends structure. Using cold butter is essential—it melts during baking to create flaky pockets within the crumble. The combination of brown and granulated sugar achieves a perfect caramelization and sweetness without overwhelming the fruit.
The cinnamon in the apples complements both the fruit’s natural tartness and the caramel’s rich sweetness, enhancing the autumnal vibe of the bars. Baking the base first ensures it stays crisp under the moist apple layer, avoiding a soggy bottom. Finally, reserving some crumble for the topping adds a delightful crunch that contrasts beautifully with the soft apples and sticky caramel.
Meal Prep & Storage Notes
- These bars can be baked a day ahead and stored in an airtight container at room temperature for up to 3 days.
- For longer storage, refrigerate the bars for up to a week. Bring to room temperature or warm slightly before serving for the best flavor and texture.
- You can freeze individual bars by wrapping them tightly in plastic wrap and placing them in a freezer bag for up to 3 months. Thaw overnight in the fridge before enjoying.
- They’re perfect for slicing and packing as a sweet snack or dessert on the go.
Quick Questions
Can I use different types of apples for these bars?
Absolutely! While Granny Smith apples provide a nice tartness that balances the sweetness, Fuji, Honeycrisp, or Gala apples can also be used depending on your flavor preference. Just keep in mind that sweeter apples may require a bit less sugar in the crumble.
Is it necessary to peel the apples?
Peeling the apples is recommended for a smoother texture in the bars, but if you enjoy a bit of extra fiber and rustic feel, you can leave the skins on. Just make sure to wash the apples thoroughly before dicing.
Can I make these bars gluten-free?
Yes, you can swap the all-purpose flour for a gluten-free flour blend. Ensure the oats you use are labeled gluten-free as well. The bars may be a bit more delicate but will still taste delicious.
What’s the best way to serve Caramel Apple Crumble Bars?
They’re fantastic warm or at room temperature. For an extra indulgent touch, serve with vanilla ice cream, a dollop of whipped cream, or a drizzle of extra caramel sauce.
See You at the Table
There’s something truly special about sharing homemade desserts like these Caramel Apple Crumble Bars. They’re the kind of treat that brings smiles, invites conversation, and creates memories. Whether you’re enjoying them with loved ones or savoring a quiet moment alone, these bars are a reminder of life’s simple pleasures. So preheat that oven, gather your ingredients, and get ready to indulge in a slice of autumn bliss. Happy baking!
Share on Pinterest
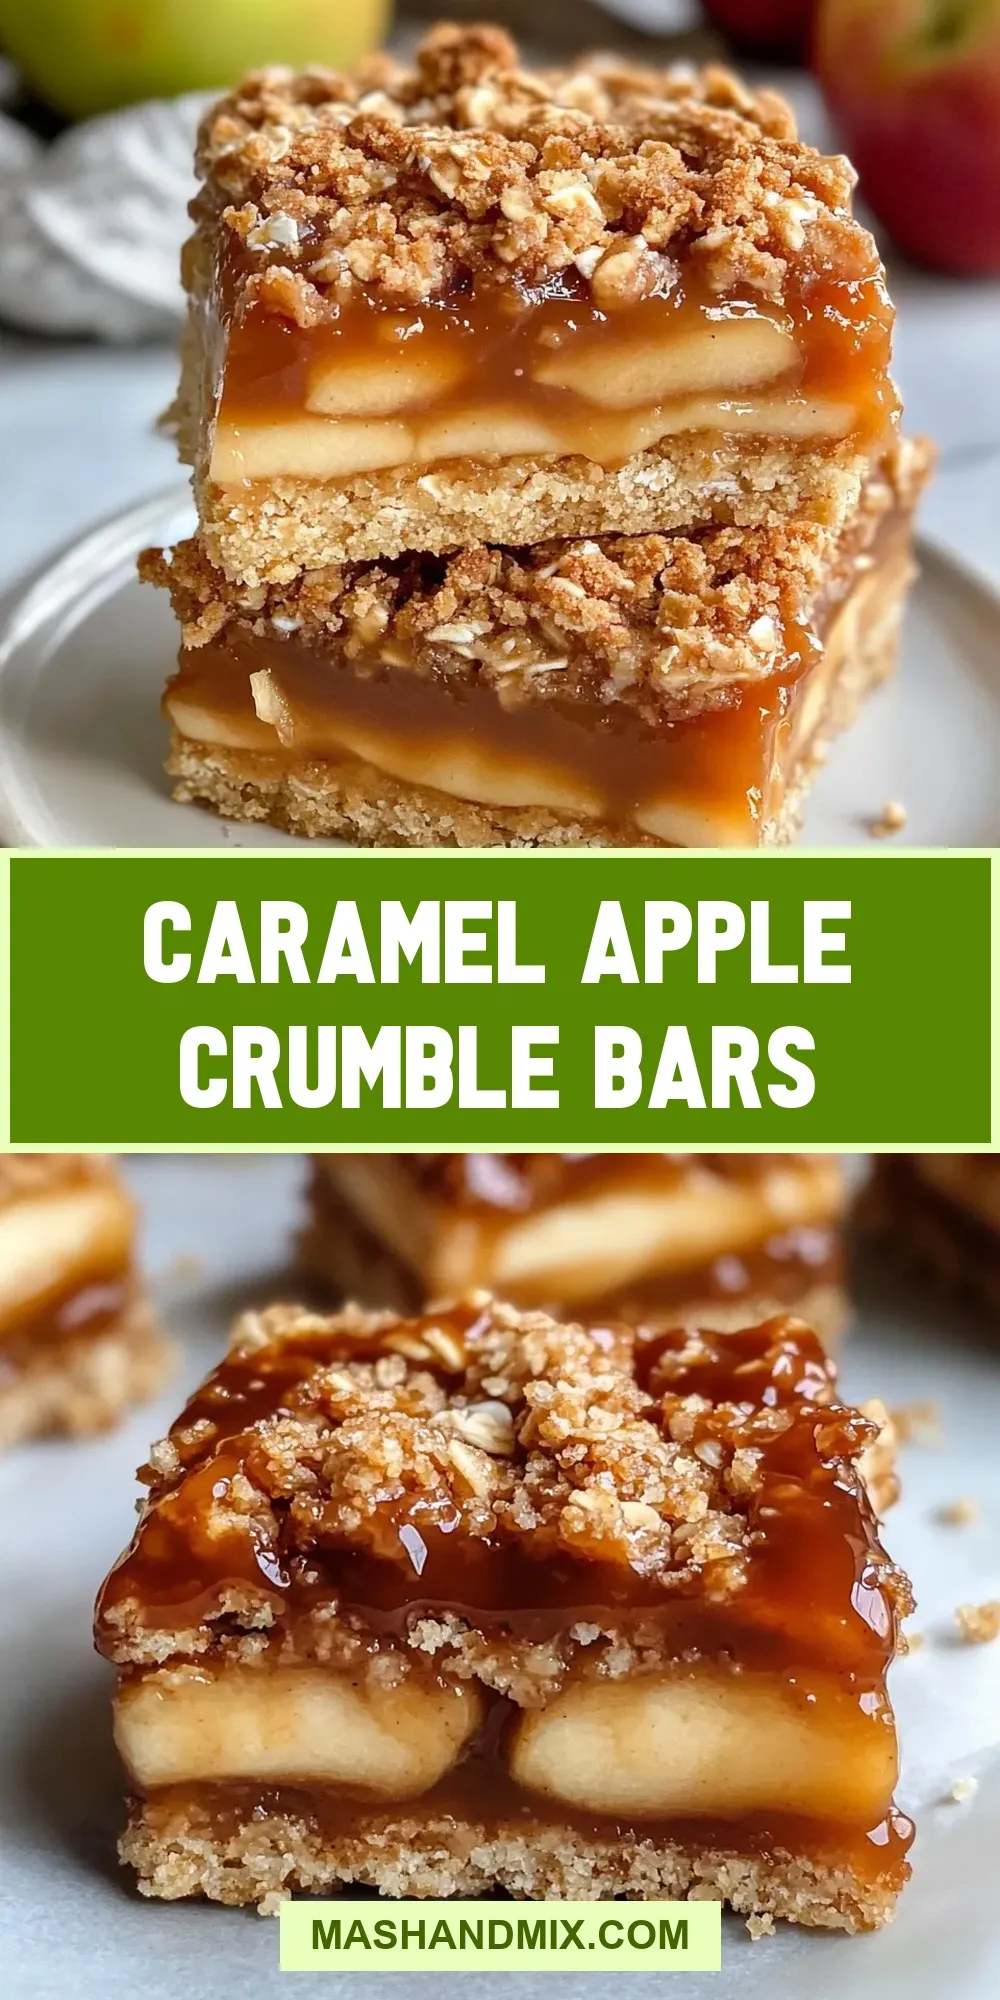
Caramel Apple Crumble Bars
Ingredients
- 2 cups rolled oats
- 1 1/2 cups all-purpose flour
- 1 cup brown sugar
- 1/2 cup granulated sugar
- 1 teaspoon baking soda
- 1/2 teaspoon salt
- 1 cup cold unsalted butter cubed
- 2 large apples peeled and diced
- 1 cup caramel sauce
- 1 teaspoon ground cinnamon
Instructions
Step 1: Prepare the Crumble Base
- Preheat your oven to 350°F (175°C). In a large mixing bowl, combine the rolled oats, all-purpose flour, brown sugar, granulated sugar, baking soda, and salt. Stir everything together until evenly mixed. Add the cold cubed butter and use a pastry cutter or fork to incorporate it until the mixture becomes crumbly and the butter is evenly distributed in small pieces.
Step 2: Press the Base Into the Pan
- Reserve about 1 1/2 cups of the crumble mixture for the topping, then firmly press the remaining crumble evenly into the bottom of the greased 9x13-inch baking pan. Make sure to create a solid, even layer as this will form the base of your bars. Bake this base for about 10-12 minutes or until it’s just beginning to turn golden.
Step 3: Prepare the Apple Filling
- While the base bakes, peel and dice your apples into small, bite-sized pieces. In a mixing bowl, toss the diced apples with the ground cinnamon, coating them well. This cinnamon-spiced apple filling is what makes these bars truly shine.
Step 4: Assemble the Bars
- Once the base is slightly crisped, remove it from the oven. Evenly spread the cinnamon apples over the warm base. Drizzle the caramel sauce generously over the apples, letting it seep into the fruit. Finally, crumble the reserved oat mixture over the top to create a crunchy, textured topping.
Step 5: Bake to Perfection
- Return the assembled bars to the oven and bake for an additional 25-30 minutes, or until the crumble topping is golden brown and the apples are tender. The caramel will bubble slightly around the edges, signaling that your bars are perfectly baked.
Step 6: Cool and Slice
- Allow the bars to cool completely on a cooling rack before slicing. This helps the caramel set and ensures clean, neat bars when cutting. Slice into squares or rectangles and serve with a scoop of vanilla ice cream or a drizzle of extra caramel sauce if desired.
Equipment
- 9x13-inch Baking Pan
- Mixing Bowls
- Pastry cutter or fork
- Peeler and knife
- Measuring cups and spoons
- Spatula
- Cooling rack
Notes
- These bars can be baked a day ahead and stored in an airtight container at room temperature for up to 3 days.
- For longer storage, refrigerate the bars for up to a week and warm slightly before serving for best texture.
- Freeze individual bars wrapped tightly for up to 3 months; thaw overnight in the fridge before enjoying.