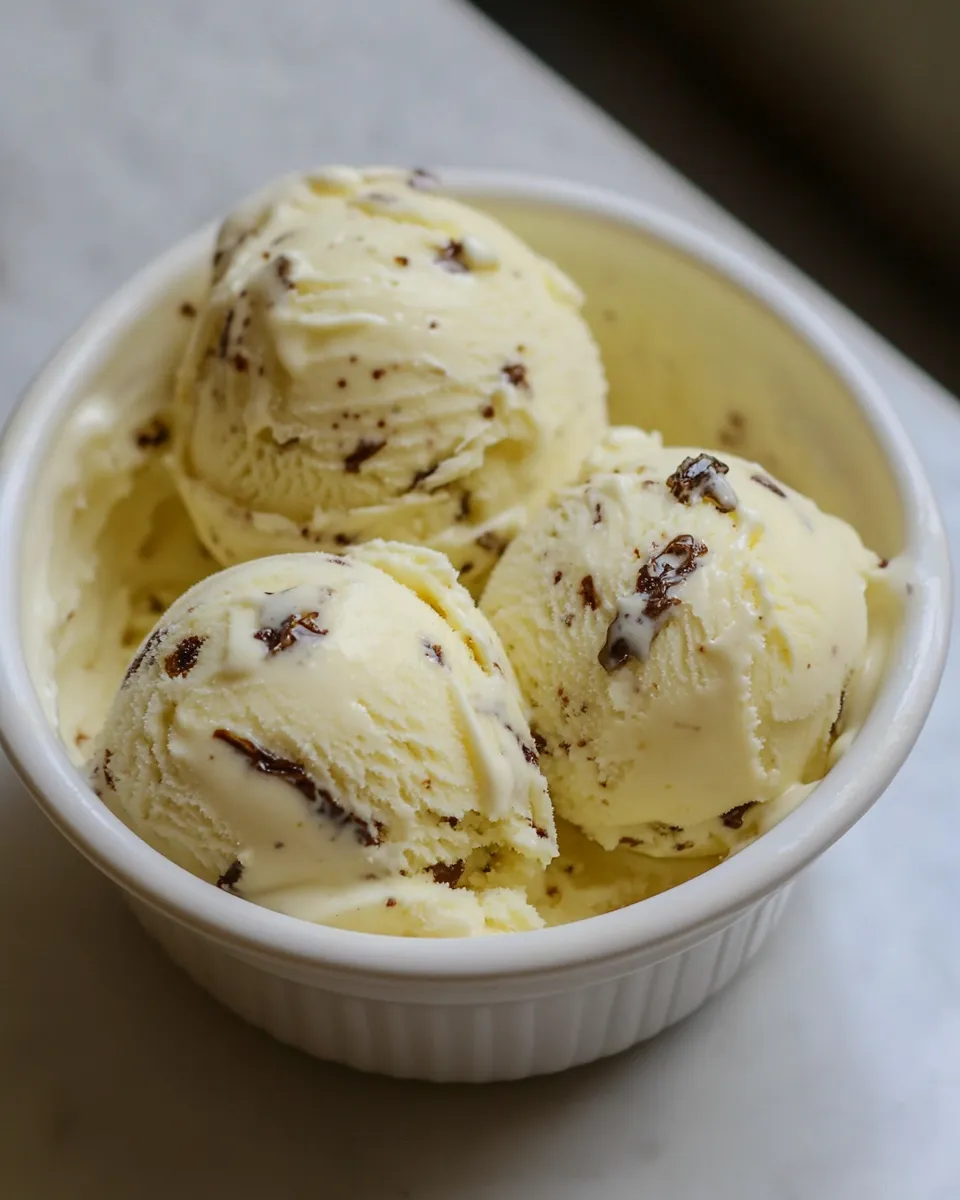
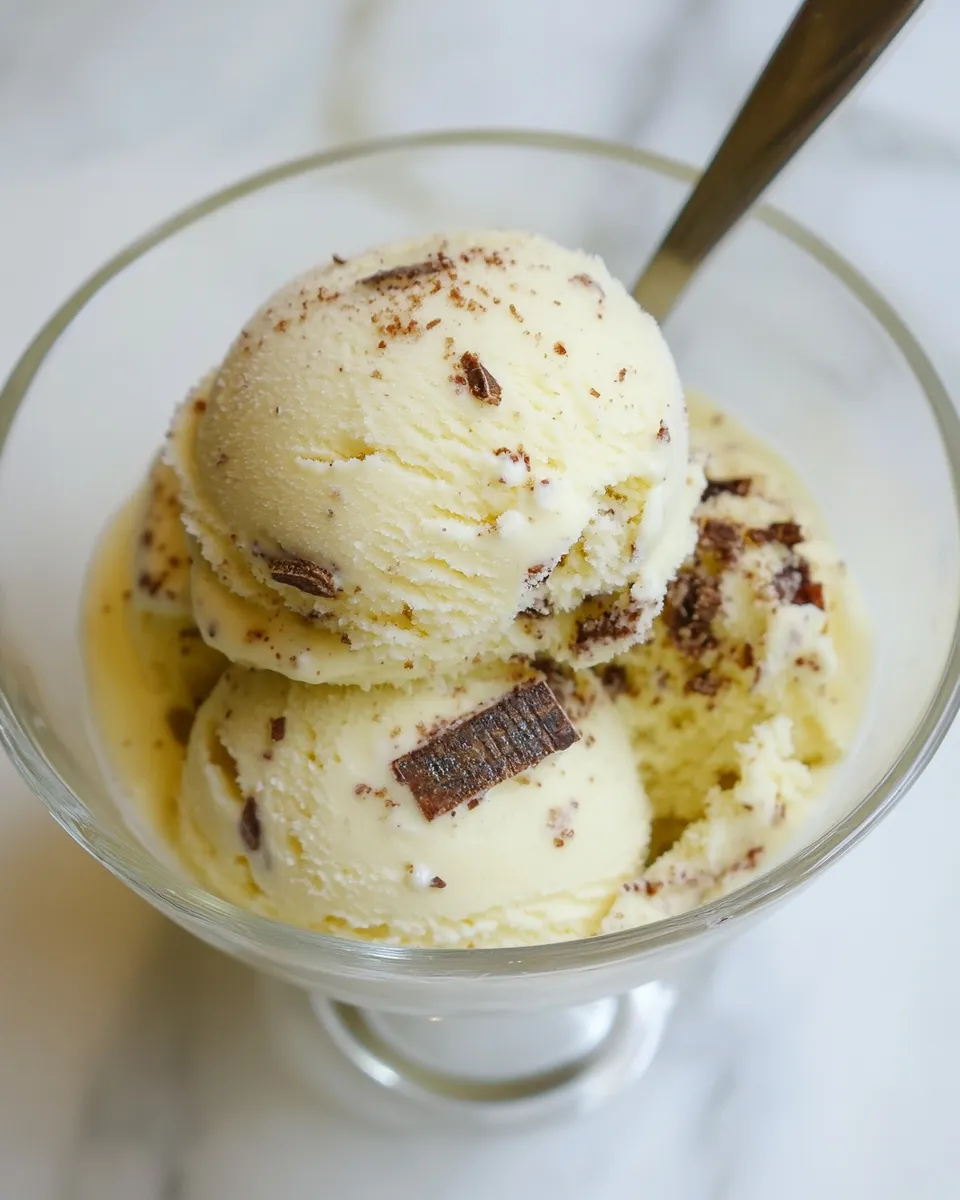
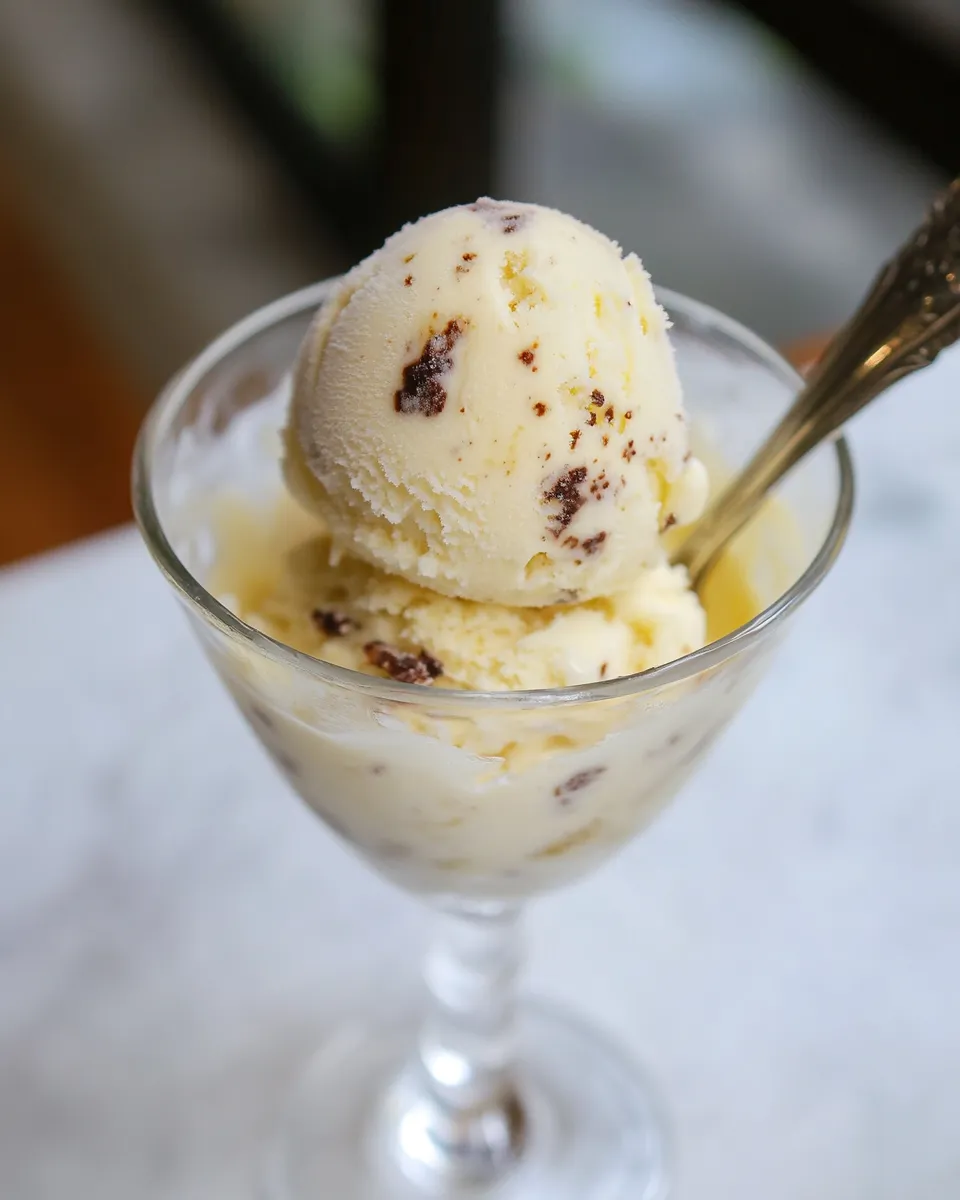
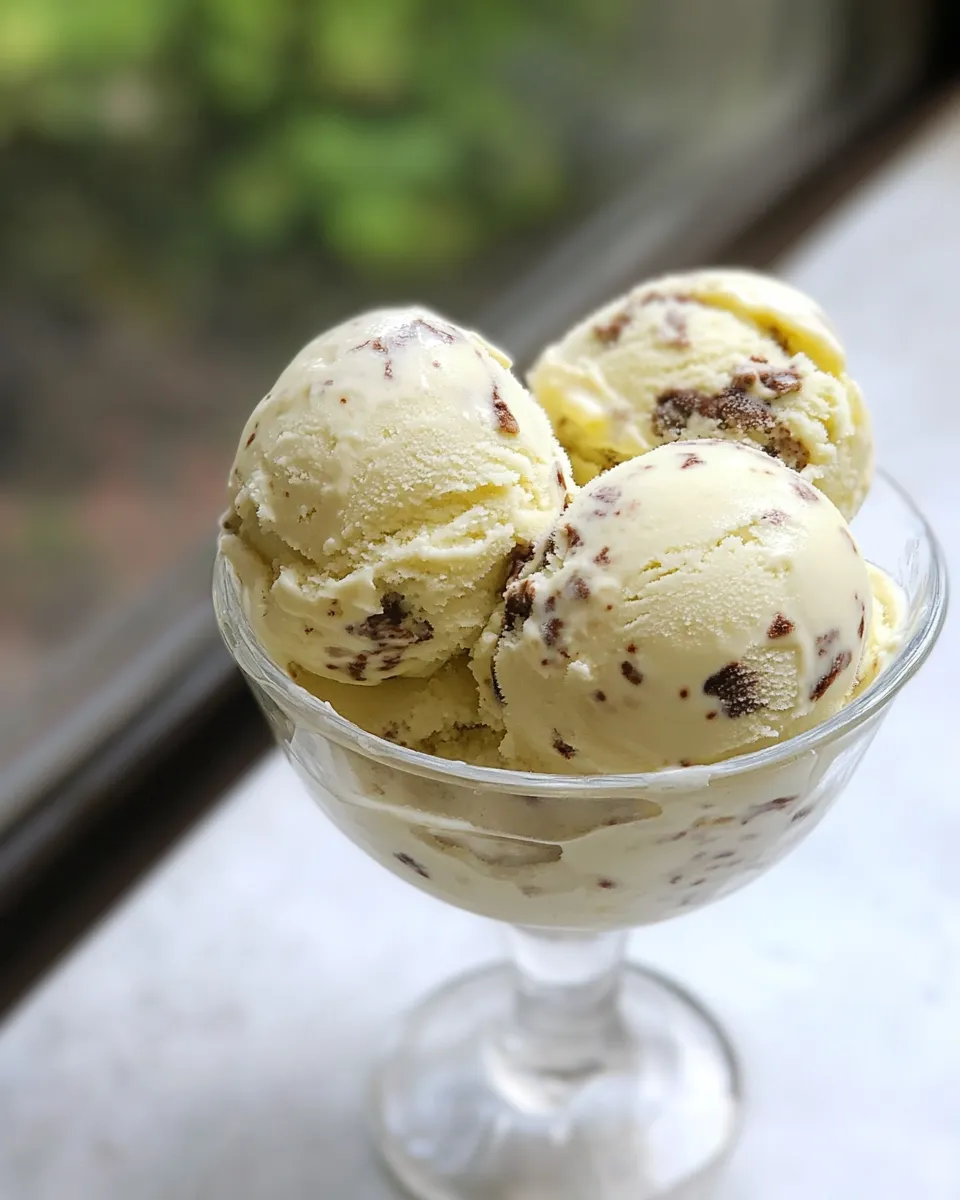
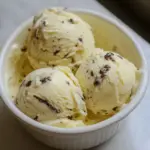
If you’re searching for a dessert that tantalizes the taste buds and sparks conversation, look no further than this exquisite Absinthe Ice Cream. With its unique herbal flavor profile and creamy texture, this ice cream is not just a treat for the palate but also an experience for the senses. Imagine indulging in a scoop of this delightful frozen dessert on a warm summer evening, the cool creaminess melting in your mouth while the distinct notes of absinthe dance on your tongue. It’s a perfect blend of indulgence and sophistication that will surely impress your guests or simply elevate your evening.
Top Reasons to Make Absinthe Ice Cream
- Unique Flavor: Absinthe has a complex flavor profile with herbal, anise, and floral notes, making this ice cream a standout dessert that is sure to intrigue.
- Impressive Dessert: It’s a conversation starter! Serve this at gatherings, and watch your friends marvel at your culinary creativity.
- Easy to Make: With a few simple ingredients and a straightforward method, you can whip up this gourmet dessert in no time.
- Customizable: Feel free to add your own twist with various mix-ins or toppings, such as nuts or fresh fruits.
- Decadent Creaminess: The combination of heavy cream and egg yolks ensures a rich, creamy texture that is simply irresistible.
Ingredient Checklist
- 1 cup (250ml) whole milk
- Pinch of salt
- 2/3 cup (130g) sugar
- 2 cups (500ml) heavy cream or half-and-half
- 5 large egg yolks
- 3-4 tablespoons absinthe
- About 1 1/2 cups chopped chocolate truffles or chocolate chips
Tools & Equipment Needed
- Ice Cream Maker: Essential for achieving that smooth, creamy texture.
- Mixing Bowls: For combining your ingredients.
- Whisk: To beat the egg yolks and incorporate air into the mixture.
- Measuring Cups and Spoons: For accuracy in your ingredients.
- Spatula: For scraping down the sides of your bowl and ensuring an even mix.
- Storage Container: To store your ice cream in the freezer.
Absinthe Ice Cream in Steps
Step 1: Prepare the Base
In a medium saucepan, combine the whole milk, pinch of salt, and sugar. Heat over medium heat, stirring occasionally until the sugar dissolves and the mixture is warm, but do not let it boil.
Step 2: Whisk the Egg Yolks
In a separate bowl, whisk the egg yolks until they become slightly pale and frothy. This will help incorporate air and create a light texture in your ice cream.
Step 3: Temper the Egg Yolks
Slowly pour about half of the warm milk mixture into the egg yolks while whisking continuously. This process is called tempering and prevents the yolks from scrambling.
Step 4: Combine and Heat Again
Pour the tempered egg yolk mixture back into the saucepan with the remaining milk mixture. Cook over low heat, stirring constantly until the mixture thickens and coats the back of a spoon, about 5-7 minutes.
Step 5: Add the Cream and Absinthe
Remove the saucepan from heat. Stir in the heavy cream (or half-and-half) and the absinthe. Mix well until fully combined.
Step 6: Chill the Mixture
Pour the mixture into a bowl and cover it with plastic wrap. Let it cool to room temperature, then refrigerate for at least 4 hours, or overnight for best results.
Step 7: Churn the Ice Cream
Once chilled, pour the mixture into your ice cream maker and churn according to the manufacturer’s instructions. During the last few minutes, add in the chopped chocolate truffles or chips.
Step 8: Freeze and Enjoy
Transfer the churned ice cream to a storage container and freeze for at least 4 hours or until firm. Scoop and serve, and enjoy the delightful flavors of your homemade Absinthe Ice Cream!
Easy Ingredient Swaps
- For a lighter version, you can use half-and-half instead of heavy cream.
- If absinthe is not available, consider using anise extract for a similar flavor.
- Instead of chocolate truffles, try adding crushed cookies or nuts for a different texture.
- For a dairy-free version, use coconut milk or almond milk and dairy-free cream.
Method to the Madness
Making Absinthe Ice Cream is not just about mixing ingredients; it’s about creating an experience. The key to a successful ice cream lies in the balance of flavors and the creaminess of the base. The steps are straightforward, yet each one builds upon the last to create a dessert that’s more than just cold and sweet. The careful tempering of the egg yolks with the warm mixture ensures a smooth, rich consistency, while the infusion of absinthe adds a unique twist that elevates the whole dessert. Don’t rush the chilling process; patience is key to achieving that perfect scoopable texture.
Freezer-Friendly Notes
This Absinthe Ice Cream can be stored in the freezer for up to two weeks. To maintain its creamy texture, ensure that it is stored in an airtight container. If you notice ice crystals forming, simply let it sit at room temperature for a few minutes before scooping to return it to its original creamy state. If you plan to keep it longer, consider wrapping the surface with plastic wrap before sealing the container to prevent freezer burn.
Absinthe Ice Cream FAQs
Can I make this ice cream without an ice cream maker?
Yes! If you don’t have an ice cream maker, you can place the mixture in a shallow dish and freeze it. Stir it every 30 minutes for the first 2-3 hours to break up the ice crystals until it reaches a creamy consistency.
Is it safe for children to eat Absinthe Ice Cream?
While absinthe does contain alcohol, the amount used in this recipe is minimal. However, it’s always best to consult with your doctor or avoid serving it to children altogether if you’re concerned about alcohol consumption.
What can I use instead of chocolate truffles?
You can substitute chocolate truffles with chocolate chips, crushed cookies, or even nuts if you prefer a different mix-in. Just make sure whatever you add complements the herbal flavor of the absinthe.
How can I enhance the flavor of the ice cream?
For an extra flavor boost, consider adding a splash of vanilla extract or a pinch of mint to the base. These flavors will harmonize beautifully with the absinthe and create a more complex dessert.
Final Bite
Creating your own Absinthe Ice Cream at home is not just about enjoying a unique dessert; it’s about exploring flavors and sharing something special with friends and family. The creamy base, combined with the herbal notes of absinthe and the richness of chocolate, culminates in a delightful treat that is both refreshing and indulgent. The effort put into making this ice cream is well worth it when you see the joy on your loved ones’ faces as they take their first bite. So, gather your ingredients, don your apron, and get ready to impress with this extraordinary frozen delicacy!
Absinthe Ice Cream
Ingredients
- 1 cup whole milk
- pinch salt
- 2/3 cup sugar
- 2 cups heavy cream or half-and-half
- 5 large egg yolks
- 3-4 tablespoons absinthe
- 1 1/2 cups chopped chocolate truffles or chocolate chips
Instructions
- In a medium saucepan, combine the whole milk, pinch of salt, and sugar. Heat over medium heat, stirring occasionally until the sugar dissolves and the mixture is warm, but do not let it boil.
- In a separate bowl, whisk the egg yolks until they become slightly pale and frothy.
- Slowly pour about half of the warm milk mixture into the egg yolks while whisking continuously.
- Pour the tempered egg yolk mixture back into the saucepan with the remaining milk mixture. Cook over low heat, stirring constantly until the mixture thickens and coats the back of a spoon, about 5-7 minutes.
- Remove the saucepan from heat. Stir in the heavy cream (or half-and-half) and the absinthe. Mix well until fully combined.
- Pour the mixture into a bowl and cover it with plastic wrap. Let it cool to room temperature, then refrigerate for at least 4 hours, or overnight for best results.
- Once chilled, pour the mixture into your ice cream maker and churn according to the manufacturer’s instructions. During the last few minutes, add in the chopped chocolate truffles or chips.
- Transfer the churned ice cream to a storage container and freeze for at least 4 hours or until firm. Scoop and serve, and enjoy!
Equipment
- Ice Cream Maker
- Mixing Bowls
- Whisk
- Measuring cups and spoons
- Spatula
- Storage container
Notes
- Store ice cream in an airtight container for up to two weeks.
- If ice crystals form, let it sit at room temperature for a few minutes before scooping.
- For a lighter version, use half-and-half instead of heavy cream.