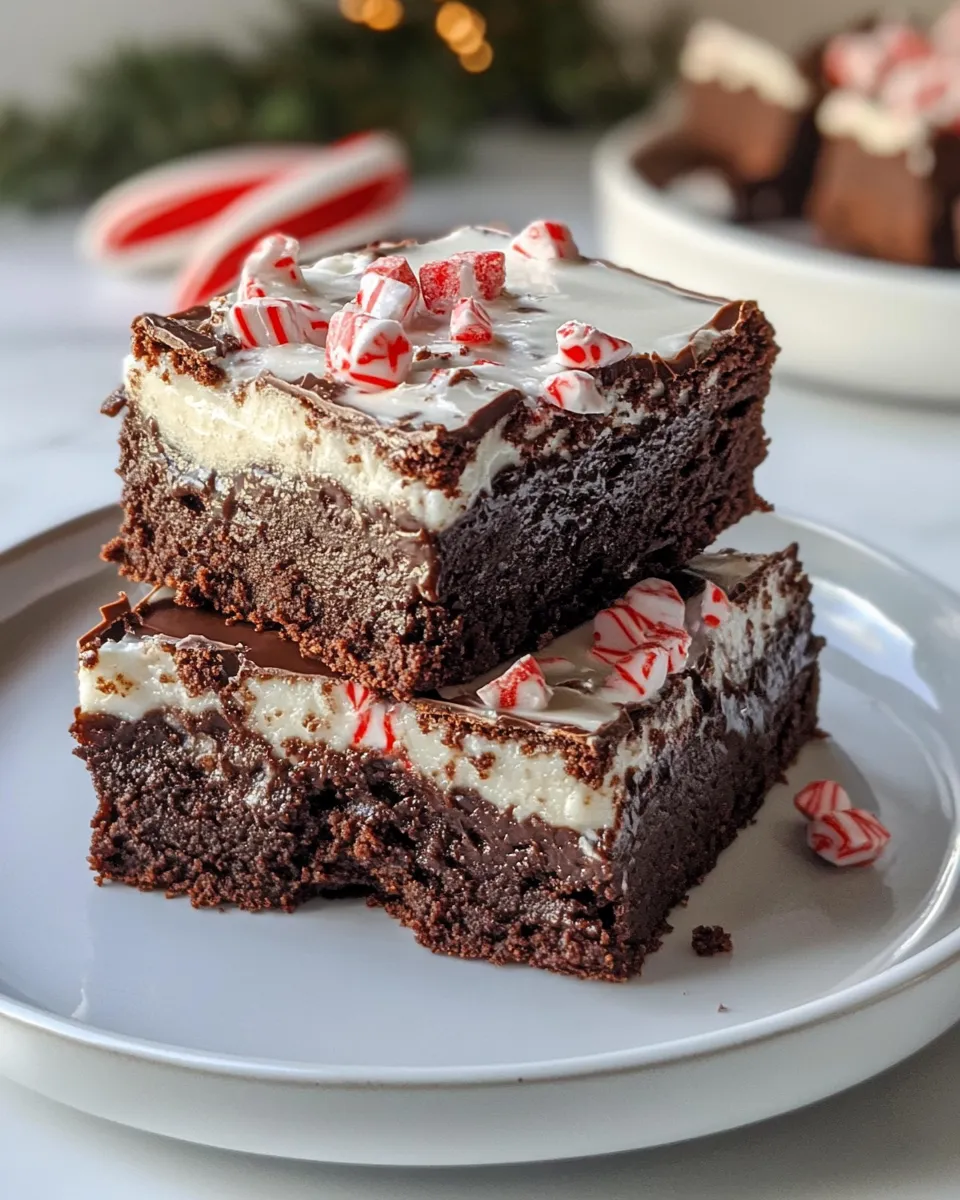
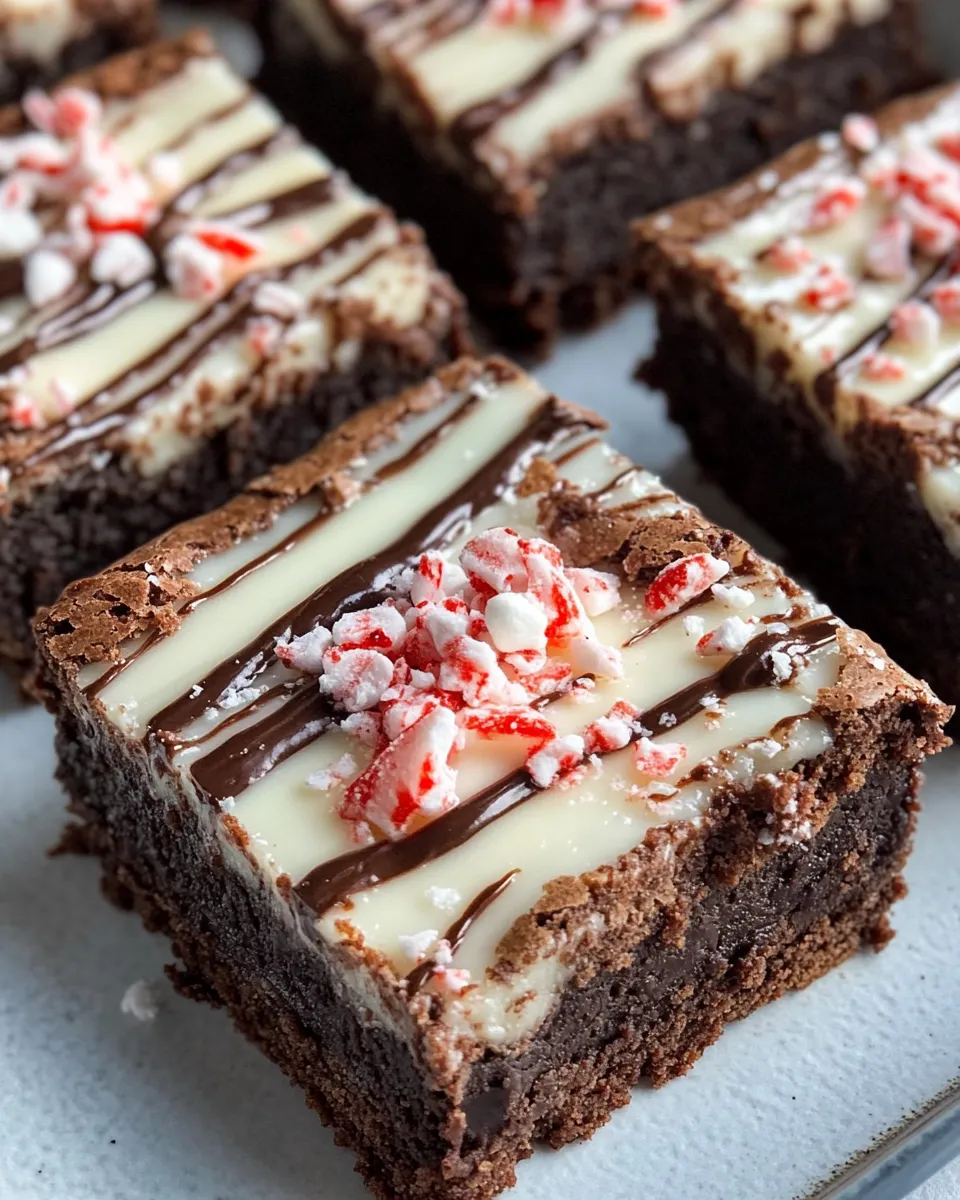
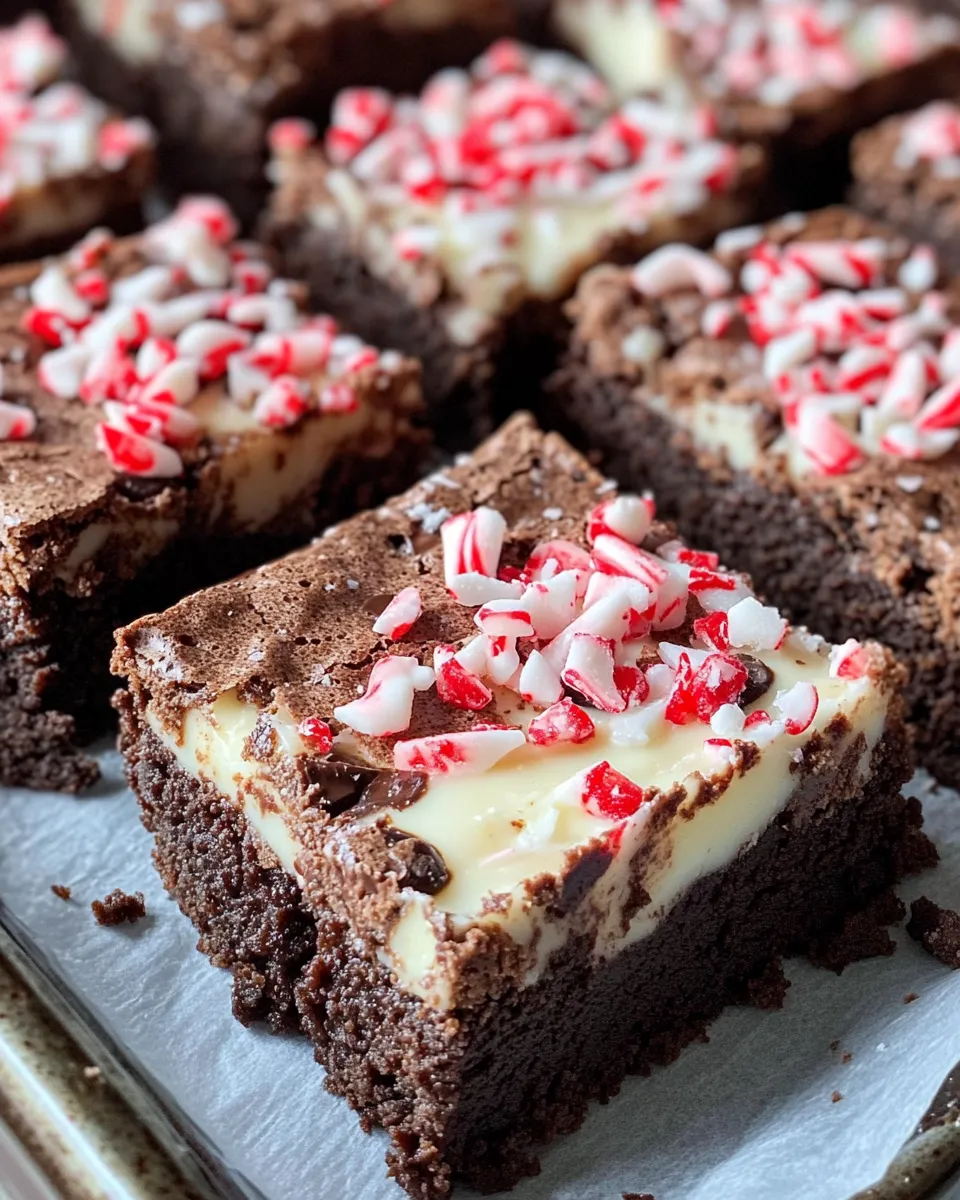
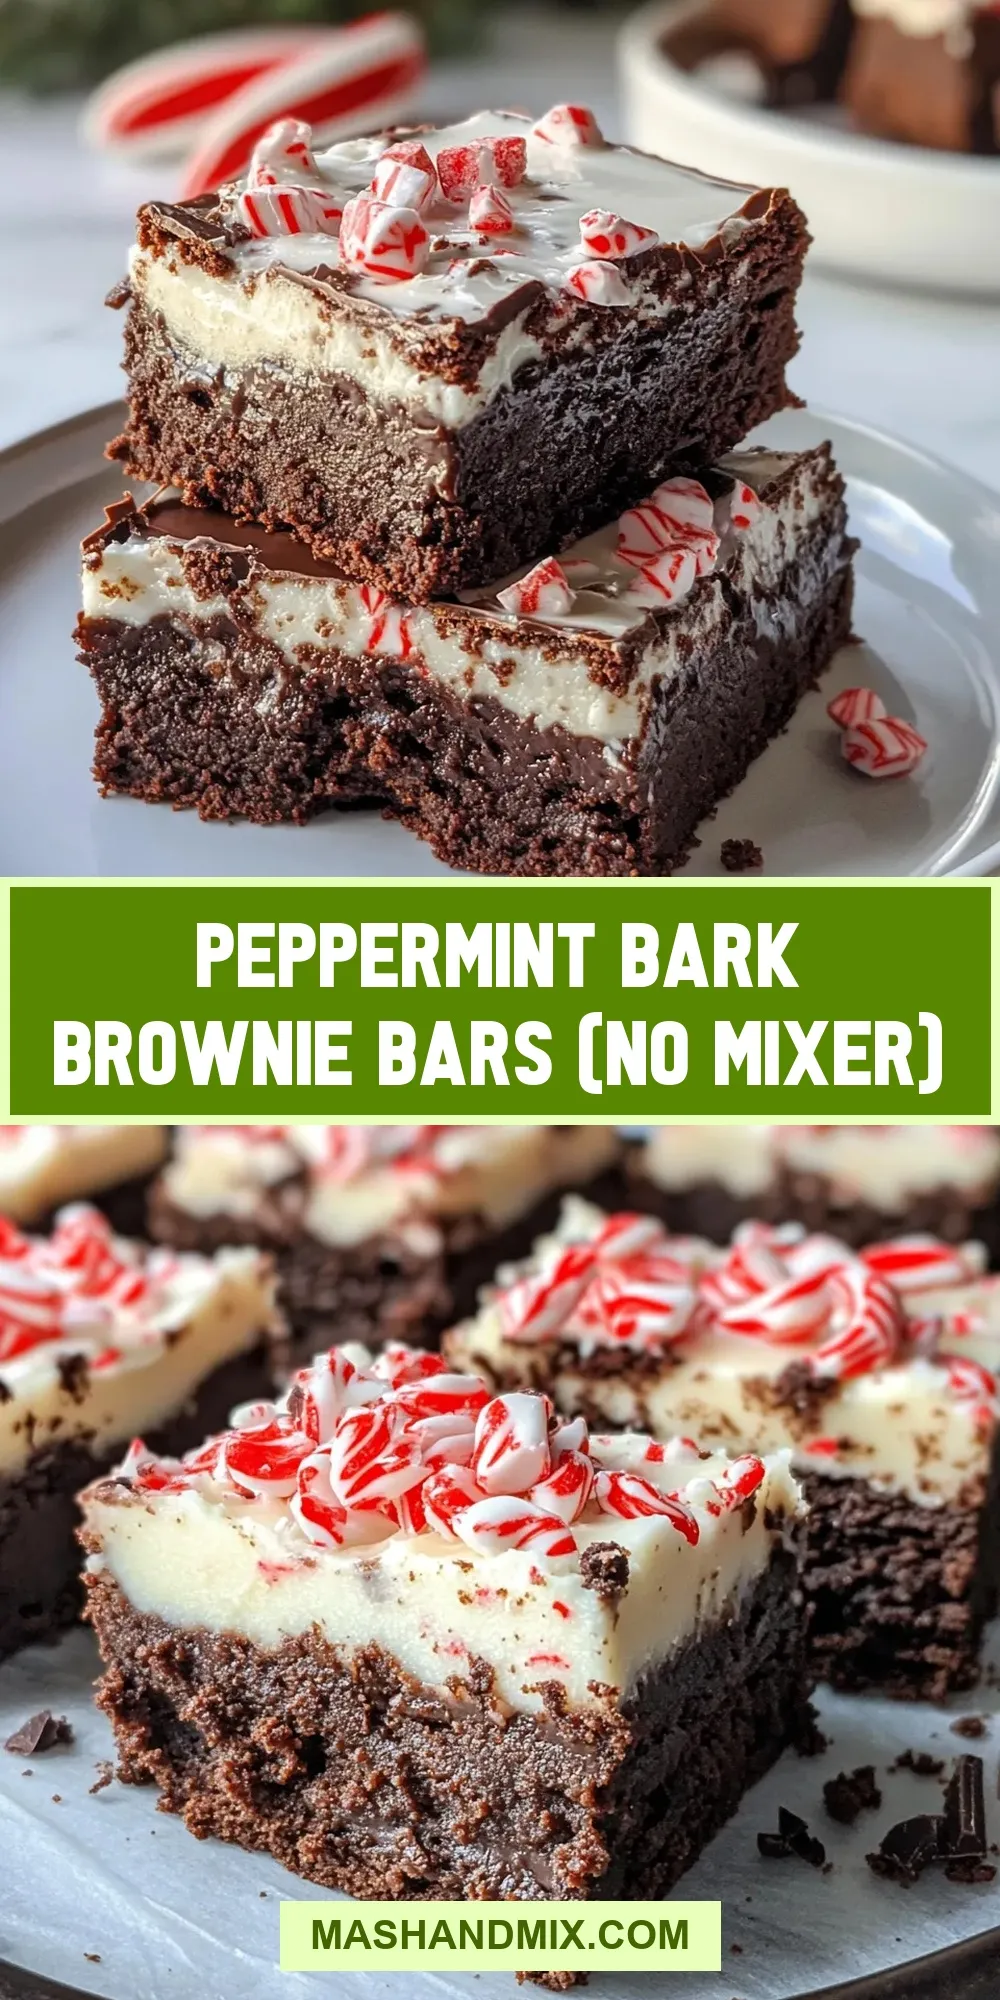
If you’re craving a festive dessert that’s rich, chocolaty, and bursting with peppermint flavor, these Peppermint Bark Brownie Bars (No Mixer) are exactly what you need. Imagine fudgy brownie bars topped with a layer of crushed peppermint candies, melted white and semi-sweet chocolate chips—without even having to pull out a mixer! This easy-to-make treat is perfect for holiday gatherings, cozy nights in, or anytime you want an indulgent bite with a refreshing twist. Let’s dive into why these bars stand out, what you’ll need, and how to create them from scratch in no time.
Why This Peppermint Bark Brownie Bars (No Mixer) Stands Out
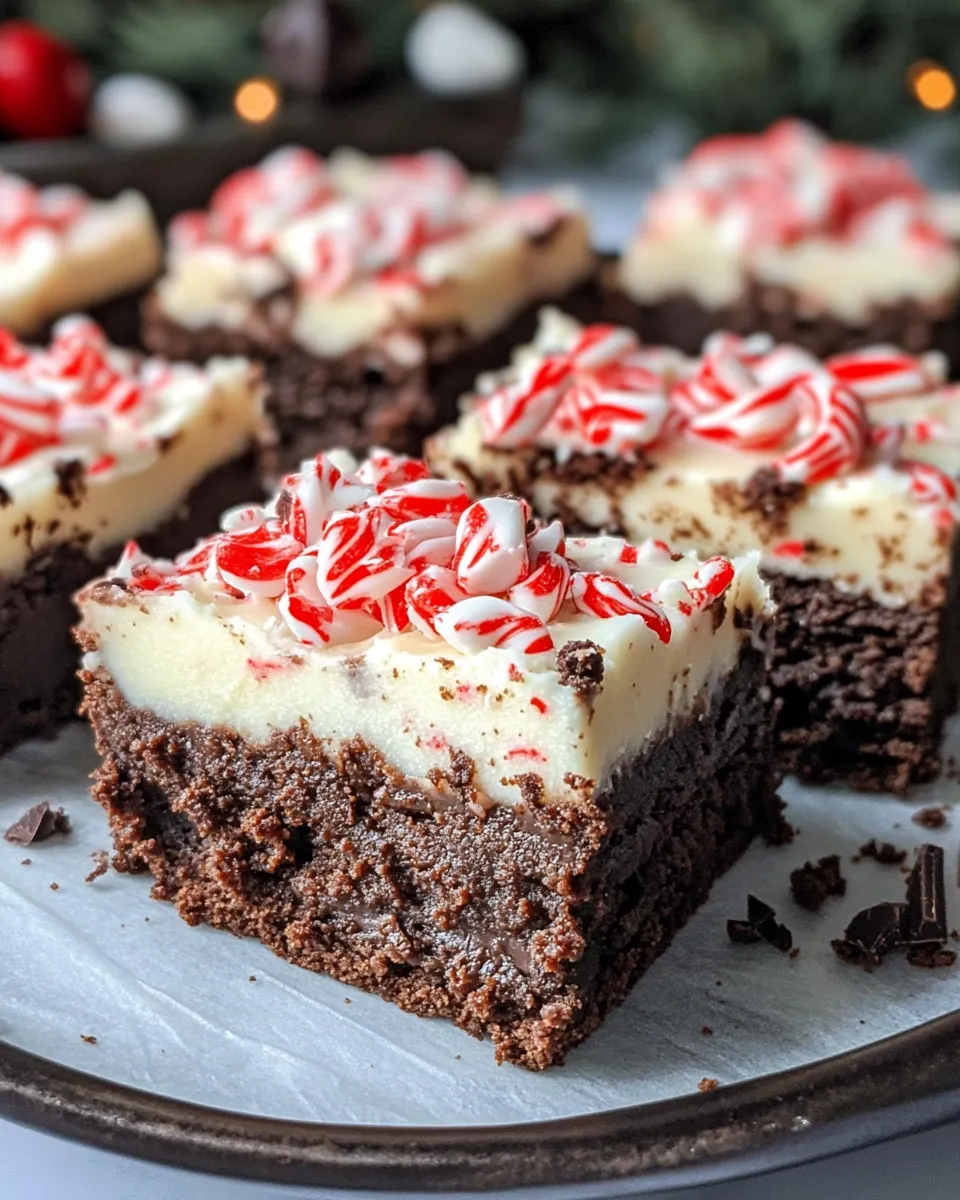
These Peppermint Bark Brownie Bars (No Mixer) combine the best of brownie and peppermint bark worlds into one decadent dessert. First off, you don’t need a mixer, which means less cleanup and more time enjoying your creation. The texture is perfectly fudgy and dense, thanks to melted butter and eggs, while the cocoa powder brings deep chocolate flavor without bitterness. The crushed peppermint candies add a festive crunch and cool bite that brighten every mouthful. Also, the white chocolate layer with a touch of vegetable oil melts smoothly on top, creating a glossy, irresistible finish. This recipe is straightforward, uses pantry staples, and can be whipped up in under an hour. Whether for gifting or treating yourself, these bars are a holiday game-changer.
Ingredient Breakdown
- 1 cup unsalted butter, melted – This forms the rich, fudgy base of the brownies without needing a mixer.
- 2 cups granulated sugar – Adds the perfect sweetness and helps with the chewy texture.
- 4 large eggs – Eggs bind the batter and add moisture for that classic brownie softness.
- 1 tablespoon vanilla extract – Enhances the chocolate flavor and adds a warm, aromatic note.
- 1 cup all-purpose flour – The structure of the brownies; be sure to measure accurately for the right density.
- 1 cup unsweetened cocoa powder – Provides deep chocolate richness and color.
- 1/2 teaspoon salt – Balances the sweetness and intensifies the chocolate flavor.
- 1 cup semi-sweet chocolate chips – Mixed into the batter for pockets of melty chocolate goodness.
- 1/2 cup crushed peppermint candies – The star topping that delivers festive crunch and peppermint zing.
- 1/2 cup white chocolate chips – Melted on top to create the signature bark layer.
- 1 tablespoon vegetable oil – Added to the white chocolate to ensure a smooth, shiny finish.
Gear Up: What to Grab
- 9×13 inch baking pan – For perfect-sized bars with even baking.
- Mixing bowl – One large bowl is all you need since no mixer is involved.
- Rubber spatula – For folding in ingredients without overmixing.
- Measuring cups and spoons – Accurate measurements make all the difference.
- Microwave-safe bowl or double boiler – To melt the white chocolate chips with vegetable oil smoothly.
- Knife or rolling pin – For crushing the peppermint candies evenly.
- Parchment paper (optional) – To line the pan for easy removal and cleanup.
Peppermint Bark Brownie Bars (No Mixer): Step-by-Step Guide
Step 1: Prep Your Pan and Ingredients
Preheat your oven to 350°F (175°C). Lightly grease a 9×13 inch baking pan or line it with parchment paper for effortless removal. Crush your peppermint candies by placing them in a zip-top bag and gently pounding with a rolling pin or the back of a spoon until broken into small pieces.
Step 2: Mix the Wet Ingredients
In a large bowl, combine the melted unsalted butter and granulated sugar. Stir well until smooth and glossy. Add the eggs one at a time, mixing thoroughly after each addition. Then, stir in the vanilla extract for that lovely aroma.
Step 3: Combine Dry Ingredients
In a separate bowl, sift together the all-purpose flour, unsweetened cocoa powder, and salt. This ensures there are no lumps and distributes the cocoa evenly.
Step 4: Make the Brownie Batter
Gradually fold the dry ingredients into the wet mixture using a rubber spatula. Be gentle and stop mixing once combined to avoid tough brownies. Fold in the semi-sweet chocolate chips last for bursts of melty chocolate.
Step 5: Bake the Brownies
Pour the batter evenly into your prepared pan and smooth the top with the spatula. Bake for 25-30 minutes, or until a toothpick inserted near the center comes out with a few moist crumbs but no wet batter. Let the brownies cool completely in the pan before moving on to the topping.
Step 6: Prepare the Peppermint Bark Topping
In a microwave-safe bowl, combine the white chocolate chips and vegetable oil. Heat in 20-second intervals, stirring between each, until melted and smooth. Pour this over the cooled brownies and spread evenly with a spatula.
Step 7: Sprinkle the Crushed Peppermint
While the white chocolate layer is still warm, sprinkle the crushed peppermint candies evenly over the top. Gently press them in so they stick as the chocolate hardens.
Step 8: Chill and Serve
Place the pan in the refrigerator for at least 30 minutes to set the topping. Once firm, cut into bars and enjoy the perfect balance of fudgy chocolate and refreshing peppermint crunch.
Dairy-Free/Gluten-Free Swaps
- Dairy-Free Butter: Use vegan butter or coconut oil melted as a substitute for unsalted butter.
- Gluten-Free Flour: Replace all-purpose flour with a 1:1 gluten-free baking flour blend.
- Dairy-Free Chocolate Chips: Opt for dairy-free semi-sweet and white chocolate chips available in specialty stores.
- Vanilla Extract: Ensure it’s pure and alcohol-free if preferred for dietary restrictions.
Easy-to-Miss Gotchas
- Don’t overmix the batter once you add the flour; this can make the brownies tough instead of tender and fudgy.
- Make sure the brownies are completely cool before adding the white chocolate layer, or it might melt into the brownie and lose that crisp peppermint bark effect.
- Use fresh peppermint candies for the best flavor and crunch—old candies can become soft or stale.
- If your white chocolate seems too thick, adding the vegetable oil is key to achieving a smooth, spreadable consistency.
Keep It Fresh: Storage Guide
Store your Peppermint Bark Brownie Bars (No Mixer) in an airtight container at room temperature for up to 3 days. To keep the peppermint topping crisp, avoid refrigeration unless your kitchen is very warm; if you do refrigerate, let the bars come to room temperature before serving. For longer storage, freeze the bars tightly wrapped in plastic wrap and foil for up to 2 months. Thaw overnight in the fridge or for a few hours at room temperature.
Reader Questions
Can I use dark chocolate instead of semi-sweet chocolate chips?
Absolutely! Dark chocolate will add a richer, slightly more bitter depth to the brownies, which balances nicely with the sweetness of the peppermint and white chocolate. Just use an equal amount in place of the semi-sweet chips.
What’s the best way to crush peppermint candies without making a mess?
Place the candies in a sealable plastic bag and use a rolling pin or the back of a heavy pan to gently crush them. This keeps the pieces contained and minimizes sticky mess. You can also pulse them briefly in a food processor but be careful not to pulverize them into powder.
Can I make these bars ahead of time for a party?
Yes! These bars keep well and can be made up to 2 days in advance. Just store them in an airtight container at room temperature. If you want to prepare even earlier, freeze and thaw as needed. They’re a great make-ahead treat.
Why didn’t my white chocolate topping harden properly?
Sometimes white chocolate can be tricky. Make sure to add the vegetable oil when melting, as it thins the chocolate and helps it set with a nice sheen. Also, let the brownies cool fully before pouring the topping. If your kitchen is very warm, chilling the bars after topping helps the chocolate harden faster.
Final Thoughts
These Peppermint Bark Brownie Bars (No Mixer) are a fantastic, fuss-free way to celebrate the season with chocolate and peppermint in perfect harmony. Their fudgy texture, combined with the crisp peppermint topping and smooth white chocolate layer, makes every bite a joy. Plus, not needing a mixer means you can get these bars in the oven quickly, with minimal cleanup. Whether you’re baking for family, friends, or just indulging yourself, this recipe is sure to become a holiday favorite. Give it a try, and watch these bars disappear fast!
Making these bars is a wonderful way to add a festive touch to your dessert table. Don’t forget to explore other recipes that bring warmth and flavor to your kitchen all year round!
Share on Pinterest
Peppermint Bark Brownie Bars (No Mixer)
Ingredients
- 1 cup unsalted butter melted
- 2 cups granulated sugar
- 4 large eggs
- 1 tablespoon vanilla extract
- 1 cup all-purpose flour
- 1 cup unsweetened cocoa powder
- 0.5 teaspoon salt
- 1 cup semi-sweet chocolate chips
- 0.5 cup crushed peppermint candies
- 0.5 cup white chocolate chips
- 1 tablespoon vegetable oil
Instructions
- Preheat your oven to 350°F (175°C). Lightly grease a 9x13 inch baking pan or line it with parchment paper for effortless removal. Crush your peppermint candies by placing them in a zip-top bag and gently pounding with a rolling pin or the back of a spoon until broken into small pieces.
- In a large bowl, combine the melted unsalted butter and granulated sugar. Stir well until smooth and glossy. Add the eggs one at a time, mixing thoroughly after each addition. Then, stir in the vanilla extract for that lovely aroma.
- In a separate bowl, sift together the all-purpose flour, unsweetened cocoa powder, and salt. This ensures there are no lumps and distributes the cocoa evenly.
- Gradually fold the dry ingredients into the wet mixture using a rubber spatula. Be gentle and stop mixing once combined to avoid tough brownies. Fold in the semi-sweet chocolate chips last for bursts of melty chocolate.
- Pour the batter evenly into your prepared pan and smooth the top with the spatula. Bake for 25-30 minutes, or until a toothpick inserted near the center comes out with a few moist crumbs but no wet batter. Let the brownies cool completely in the pan before moving on to the topping.
- In a microwave-safe bowl, combine the white chocolate chips and vegetable oil. Heat in 20-second intervals, stirring between each, until melted and smooth. Pour this over the cooled brownies and spread evenly with a spatula.
- While the white chocolate layer is still warm, sprinkle the crushed peppermint candies evenly over the top. Gently press them in so they stick as the chocolate hardens.
- Place the pan in the refrigerator for at least 30 minutes to set the topping. Once firm, cut into bars and enjoy the perfect balance of fudgy chocolate and refreshing peppermint crunch.
Equipment
- 9x13-inch Baking Pan
- Mixing Bowl
- Rubber Spatula
- Measuring cups and spoons
- Microwave-safe bowl or double boiler
- Knife or rolling pin
- Parchment paper (optional)
Notes
- Don’t overmix the batter once you add the flour to keep brownies tender and fudgy.
- Ensure brownies are completely cool before adding the white chocolate layer for a crisp peppermint bark effect.
- Use fresh peppermint candies for best flavor and crunch.
- Adding vegetable oil to white chocolate helps achieve a smooth, spreadable topping.
- Store bars airtight at room temperature up to 3 days; freeze for longer storage.